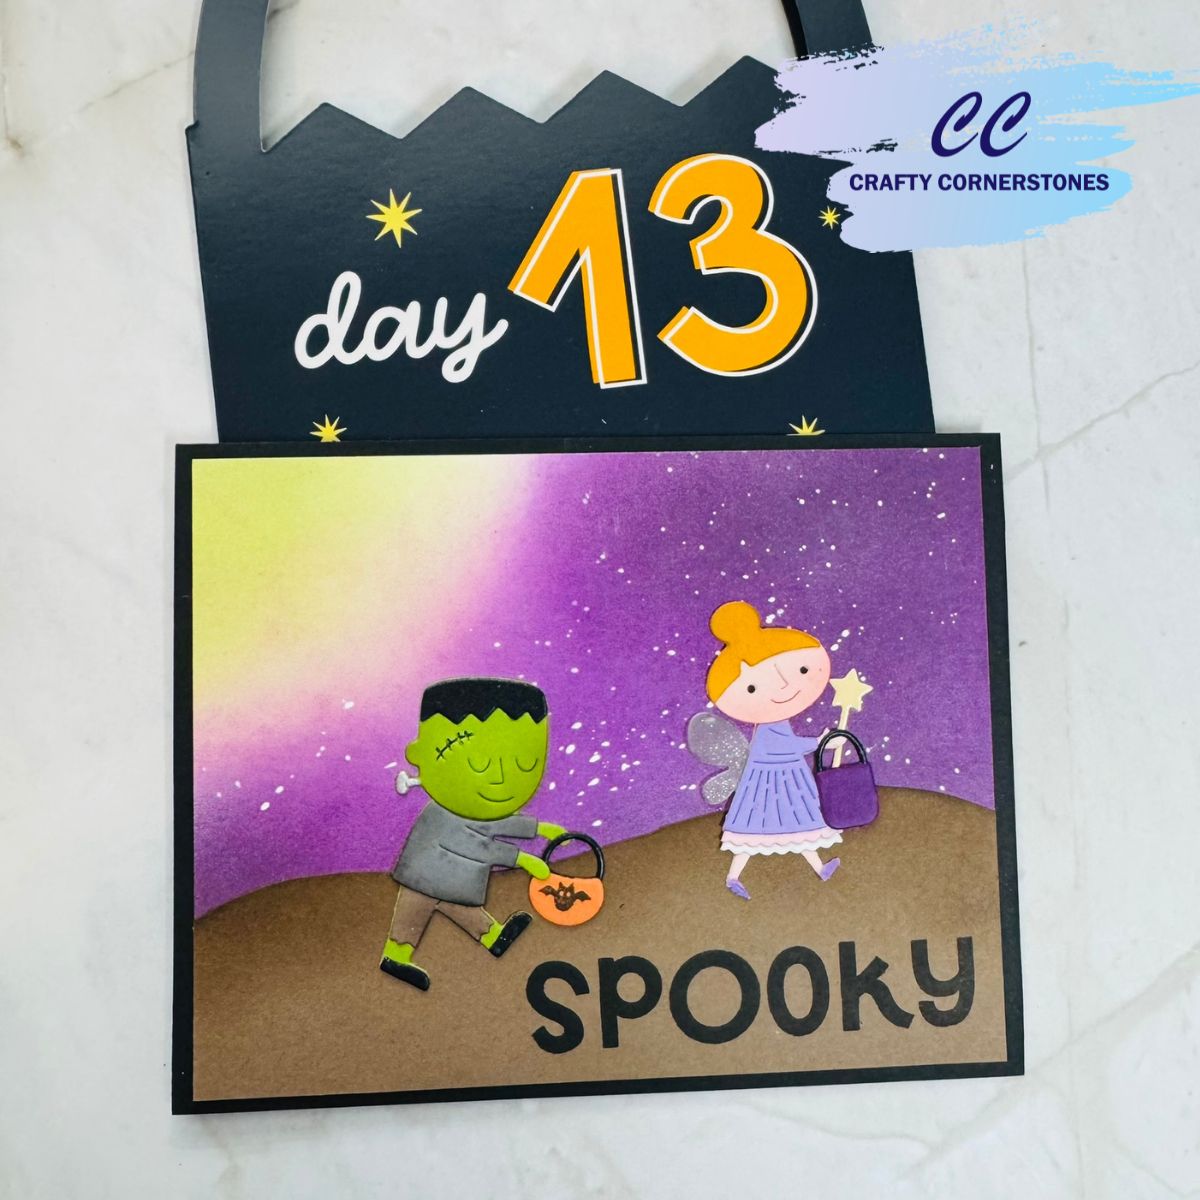
Wrapping up the 13 Days of HEROween with a magical night sky and two adorable trick-or-treaters!
Day 13 – The Grand Finale!
Wow, this is the final day of the HEROween box! But just because we’ve officially opened Day 13 doesn’t mean the creativity stops here. So many of the items in this box are Halloween staples that can easily be used for other seasons too — think Christmas, birthdays, or even springtime treats. I can’t wait to see what you come up with next!

Creating the Moonlit Sky
Since the base of my card needed a little drying time, I started there. I used a panel of white cardstock slightly larger than my final size so I could trim away any harsh brush marks later.
For the moonlit sky, I began with the moon itself — blending Hero Arts Green Apple ink from one corner and fading outward. On the opposite corner, I blended Hero Arts Grape Juice, fading as I approached the moon. The transition between these two colors creates that glowing moonlight effect. To deepen the purple tones, I added a touch of Charcoal ink along the edges.
Once I was happy with the blending, it was time for stars! I covered the moon with a sticky note to keep it clean and used Dr. PH Martin’s Bleed Proof White, thinned slightly with water and applied using a #6 round brush for splatter.
Tip: Try different brushes — each gives a unique splatter pattern. If you prefer more control, use a white gel pen instead. My favorite is the Panda Fly brand.
Cutting and Coloring the Trick-or-Treaters
While my background dried, I cut all the pieces for my trick-or-treaters using Spellbinders Colorwheel Cardstocks:
- Classic White – Dress Ruffle
- Acorn – Pants
- Lavender – Dress
- Saffron – Hair
- Rainforest – Monster
- Raven – Bucket Handles, Behind Fairy Eyes
- Onyx Treasured Set – Monster Hair and Shoes
- Anchor – Monster Shirt
- Tutu – Dress Ruffle
- Bellini – Girl’s Face
- Violet – Treat Bag
- Carrot – Treat Bucket
I also used a scrap of yellow for the wand and vellum for the fairy wings, colored with a silver sparkle pen. The hill was freehand cut from Acorn cardstock.
Before assembling, I added ink blending for depth:
- Cup ‘o Joe on the hilltop, pants, and fairy hair
- Charcoal on the monster’s shirt and face
- Cherry on the girl’s face for warmth
I used a black fineline pen to accentuate the monster’s scar and a silver gel pen for the bolt — it was too tiny to die-cut!
Assembling the Scene
Once everything was blended and ready, I adhered the hill to my starry background and trimmed the panel to 5.25″ x 4″. This cleaned up the edges and ensured perfect alignment.
I stamped “SPOOKY” from the Day 12 set, directly onto the hill using Hero Arts Black Intense Ink, then mounted the panel onto a black card base. Finally, I added the trick-or-treaters — and just like that, my moonlit Halloween scene was complete!
Final Thoughts
Even though the HEROween box has officially come to an end, I’m not done with Halloween crafting yet! I hope you’ve enjoyed this series as much as I have. If you haven’t picked up your HEROween box yet, grab it before it disappears into the night!
Question for You
What’s your favorite project from the HEROween box? Or how would you repurpose these dies for another season? I’d love to hear your ideas!
Thank You
Thank you so much for stopping by Crafty Cornerstones! Your support means the world to me. When you use my affiliate links, it helps me continue bringing you tutorials and inspiration — at no cost to you. I truly appreciate it!
Supply List
- Hero Arts HEROween Box
- Hero Arts Inks: Green Apple, Grape Juice, Charcoal, Cup ‘o Joe, Cherry, Intense Black
- Spellbinders Colorwheel Cardstocks (listed above)
- Dr. PH Martin’s Bleed Proof White
- Panda Fly White and Silver Gel Pens
- Black Fineliner Pen
- Silver Sparkle Pen
- Platinum 6 Die Cutting and Embossing Machine
- Scoring Board
- Paper Trimmer
- Stamp Positioning Tool
- 9″ Shears
- Liquid Adhesive
More HEROween Inspiration
If you are enjoying this series, be sure to check out the rest of my HEROween posts as we make our way through all 13 days.
- Day 1: A Trick-or-Treating Ghost Card Tutorial
- Day 2:Repeating Stamped Backgrounds with Hero Arts Passion Flower Ink
- Day 3 and 4: Haunted House and Ghost Lollipop Cards with Hero Arts
- Day 5 and 6: A Spooky Tree Card and a Front Door Card with Hero Arts
- Day 7 and 8: A Spooky Fence Scene and a Trick or Treat Shaker Card
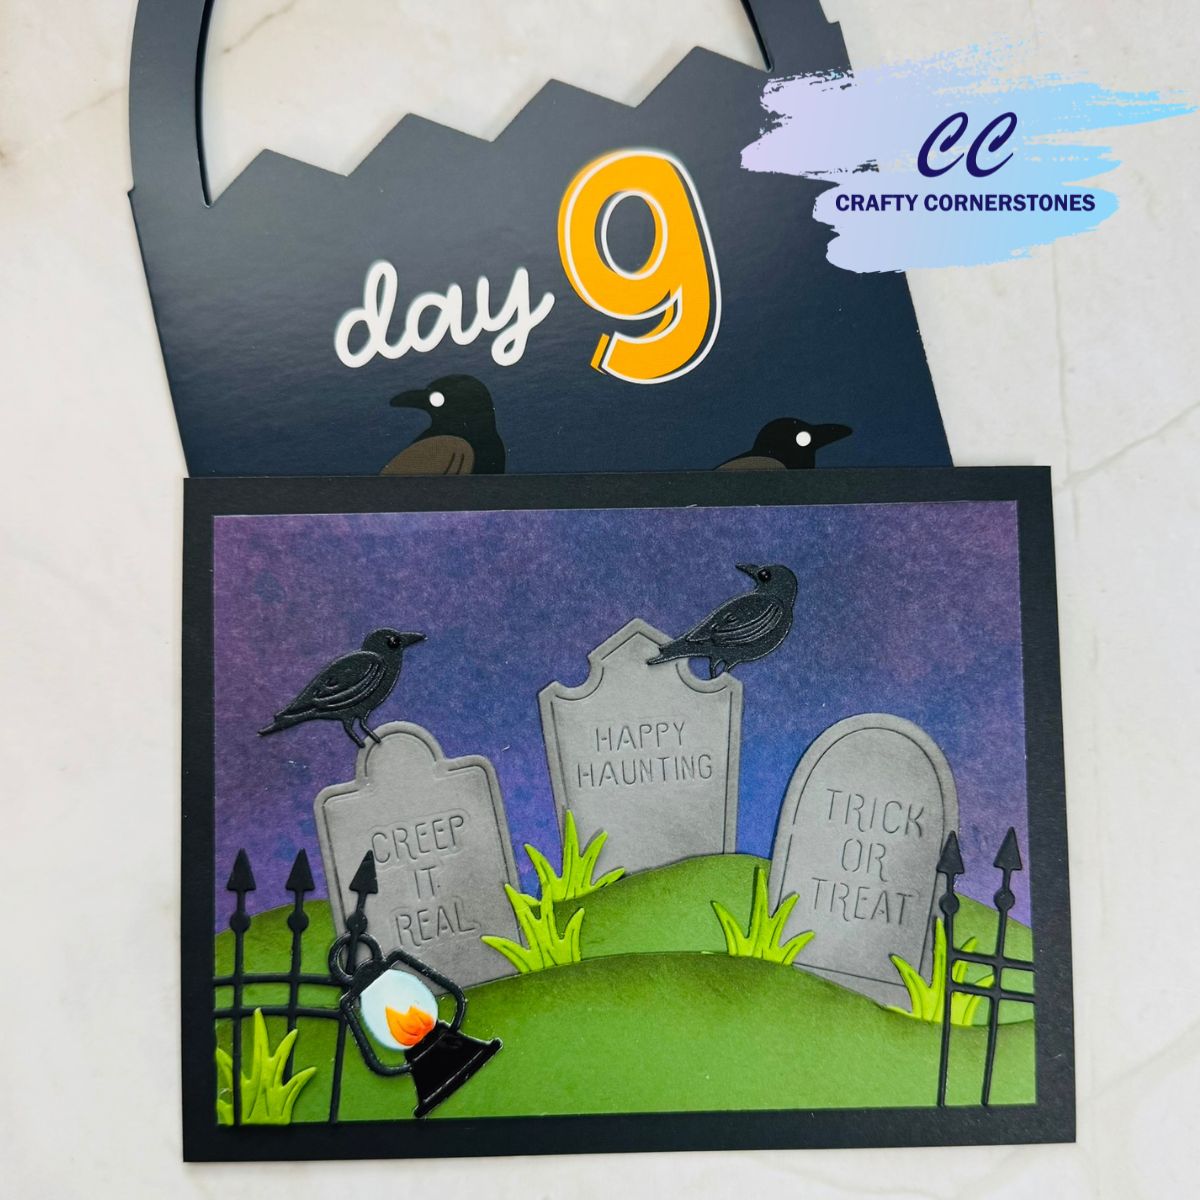
- Day 9 and 10: A moonlit cemetery scene and a witchy cat stirring up trouble
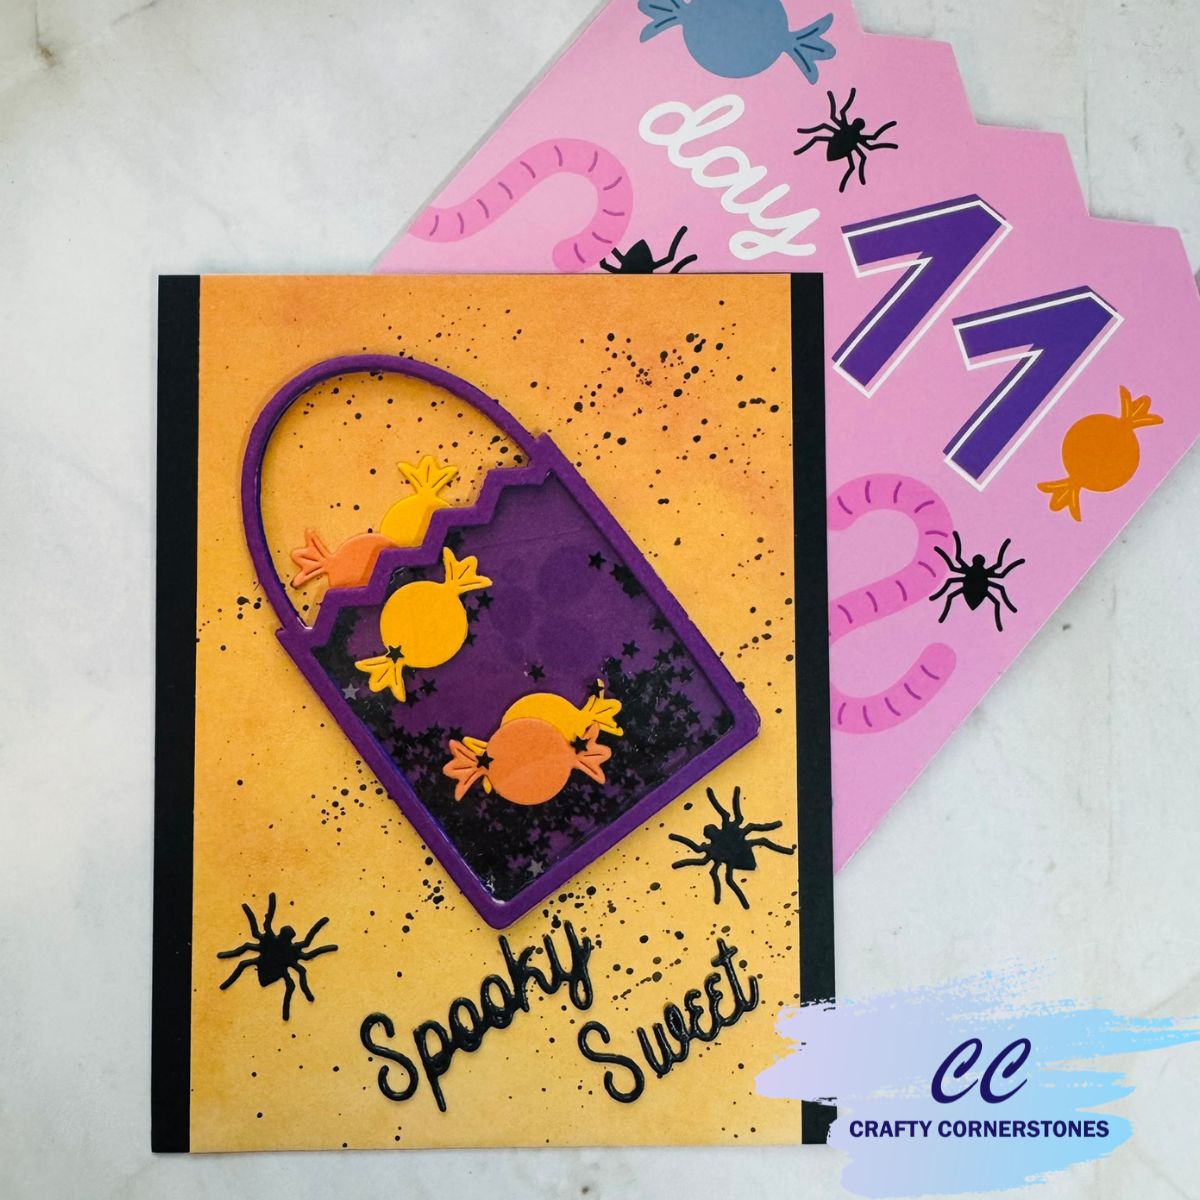
- Day 11 and 12: Halloween shaker treat bag and “It’s Boo Time” card inspiration
Love Crafty Advent Calendars
Do you love getting a crafty surprise each day to create with? You won’t want to miss the Spellbinders Crafty Advent Calendar on sale now! This advent calendar is NOT holiday themed but is sure to bring you joy and inspiration. Grab yours before it is gone!


More Halloween Crafting Inspiration
If you are loving this HEROween series, you can find even more Halloween inspiration in my Craftoween series from 2025.
- Day 1: Dracula with red gilding flakes and dimensional arch background
- Day 2: Raven and skulls against a sunset beach scene
- Day 3: Poison bottle transformed into a glowing cocktail
- Day 4: Playful layered ghosts with wavy sentiment strip
- Day 5: Spider with a flocked velvet hat
- Day 6: Swinging skeleton interactive card
- Day 7: Stacked books and candles with glossy wax accents
- Day 8: Skeleton mug with ghostly steam
- Day 9: Cute monster with embossed sentiment
- Day 10: Bold floral centerpiece with smaller blooms
- Day 11: Haunted house scene with glowing windows and splattered starry sky
- Day 12: Bubbling cauldron with vellum-colored bubbles
- Day 13: Coffin layered over a pile of bones with glittered lining



Leave a Reply