
Two spooky-cute makes from the Hero Arts HEROween box, featuring a glowing haunted house and a trick-or-treating ghost
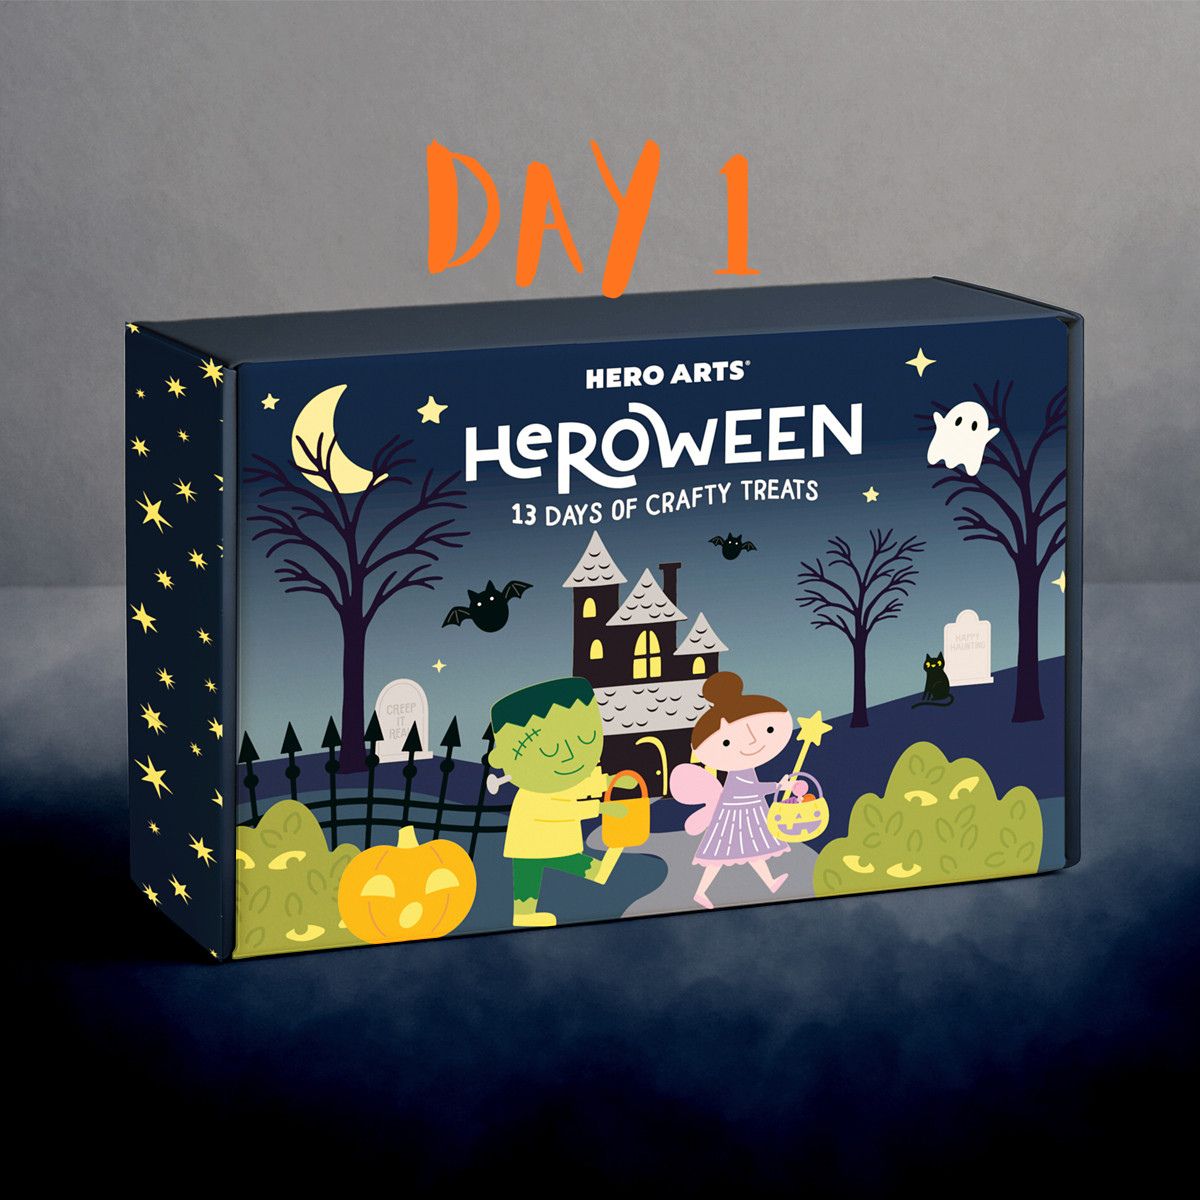
Today I am bringing you two more HEROween projects, this time for Day 3 and Day 4. One of the things I am loving most about this box is how easily you can create stunning cards with just a handful of additional supplies. Grab your coffee and let’s get into today’s spooky-cute makes.


Day 3 Project: A Glowing Haunted House
Day 3 brings us a haunted house die complete with ghosts and a rather ghoulish looking bush. I chose not to use the bush this time, but I had a lot of fun bringing the house and ghosts to life.

Cutting and Ink Blending the House
I cut my house from Onyx Pearl cardstock from the Onyx Treasured cardstock pack. The roof lines were cut from Anchor, and the backing of the house came from Saffron. The ghosts were cut from Classic White, with the sentiment and ghost eye backs cut from Raven.
Before putting the house together, I lined up the top piece with the Saffron backer, shifted it slightly, and made small pencil marks in each of the windows. I removed the top layer and used those pencil marks as my guide to blend a small amount of Hero Arts Cherry ink at the base of each window. For the roofing, I blended the edges with Hero Arts Charcoal ink.
With all my pieces cut and ink blended, I adhered them together and set the house aside for final assembly.
Creating the Sentiment
For the sentiment, I used a stamp and die from Day 2. Using embossing ink and detail white embossing powder from Hero Arts, I stamped, embossed, and heat set the sentiment. I let it cool for just a moment before using the coordinating die to cut it out.
Designing the Background
Next, I worked on the background. I ink blended a piece of Classic White cardstock cut to 4.25 x 5.5 inches using Hero Arts inks in Grape Juice, Cherry, Pumpkin, and Butter Bar. I trimmed an eighth of an inch off each side to remove the hard blending lines, then matted it onto a piece of Raven cardstock trimmed to 4.25 x 5.5 inches.
Final Assembly
With the background complete, all that was left was assembly. I added foam tape to the back of the house and ghosts and adhered them to the card front. I placed the ghosts so they looked like they were floating up and out of the chimney. The sentiment was adhered directly to the card panel, and the entire project was added to a card base.
I chose a black card base, so for the inside I used the Hero Arts Squiggly Rectangle Frames set to cut a piece of white cardstock, giving the recipient a spot to write their message. I saved the frame piece itself for another project and used the negative space cutout for the inside. I really like how the squiggly edges add a bit of extra fun compared to a straight rectangle.
I love how this project turned out and I am already excited to use this house die in other ways.
Tip: by changing the house colors to white with a grey roof and adding a bit of garland and a wreath, this same die makes the perfect little Christmas house.
Day 4 Project: A Ghost with a Spider Lollipop
Day 4 brought us some fun candy dies to play with. I chose to use just the lollipop for this project and paired it with the ghost die from Day 1 along with the HEROween main stamp set.

Cutting the Pieces
I started by cutting everything out. The lollipop was cut from Bellini and Carrot cardstock, and the ghost was cut from Classic White and Raven. For the panel background and arch, I used some Ombre Purple paper I had on hand from an old 12×12 cardstock pack. It was Craft Smith Ombre Brights, and I do not see it available for sale any longer, but any ombre purple cardstock would work beautifully here. For the arch, I used the Spellbinders Make a Wish Arch Labels die set.
Stamping and Assembling
With everything cut, it was time for a few finishing touches before assembling all the pieces. On the Carrot layer of the lollipop, I stamped a spider using the spider stamp from the Main HEROween stamp set. I used that same stamp set to stamp the Trick or Treat sentiment onto the arched panel. I then assembled the ghost and lollipop, securing the finished lollipop into the ghost’s hands.
Putting It All Together
The main purple panel was trimmed to 4 x 5.25 inches and adhered directly to a piece of Raven cardstock trimmed to 4.25 x 5.5 inches. For the arch, I added foam tape to the back and secured it in the center of the purple panel. I also added foam tape behind the ghost before adhering it at an angle around the stamped sentiment.
Day 4 was officially done, and I am already excited to play with the additional candy dies in this set. Tip: change up the colors and this same lollipop die works perfectly for a Valentine’s Day candy card too.
Which Card Is Your Favorite?
I would love to know, which of these two cards is calling your name, the glowing haunted house or the sweet little ghost with her spider lollipop? Let me know in the comments below.
Thank you so much for stopping by Crafty Cornerstones today. I truly appreciate every one of you who shops through my affiliate links. It costs you nothing extra, and it helps me keep bringing you fun, honest content and tutorials like this one.
Supply List
- Hero Arts HEROween box
- Hero Arts Squiggly Rectangle Frames die set
- Spellbinders Make a Wish Arch Labels die set
- Onyx Treasured cardstock pack (Onyx Pearl)
- Anchor cardstock
- Saffron cardstock
- Classic White cardstock
- Raven cardstock
- Bellini cardstock
- Carrot cardstock
- Craft Smith Ombre Brights cardstock (or similar ombre purple cardstock)
- Hero Arts embossing ink
- Hero Arts detail white embossing powder
- Hero Arts Cherry ink
- Hero Arts Charcoal ink
- Hero Arts Grape Juice ink
- Hero Arts Pumpkin ink
- Hero Arts Butter Bar ink
- Foam tape
- Platinum 6 Die Cutting and Embossing Machine
- Scoring Board
- Liquid Adhesive
- Stamping Platform
- Blending brushes – Mini
- Blending Brushes – Large
More HEROween Inspiration
If you are enjoying this series, be sure to check out the rest of my HEROween posts as we make our way through all 13 days.
- Day 1: A Trick-or-Treating Ghost Card Tutorial
- Day 2:Repeating Stamped Backgrounds with Hero Arts Passion Flower Ink
Love Crafty Advent Calendars
Do you love getting a crafty surprise each day to create with? You won’t want to miss the Spellbinders Crafty Advent Calendar on sale now! This advent calendar is NOT holiday themed but is sure to bring you joy and inspiration. Grab yours before it is gone!


More Halloween Crafting Inspiration
If you are loving this HEROween series, you can find even more Halloween inspiration in my Craftoween series from 2025.
- Day 1: Dracula with red gilding flakes and dimensional arch background
- Day 2: Raven and skulls against a sunset beach scene
- Day 3: Poison bottle transformed into a glowing cocktail
- Day 4: Playful layered ghosts with wavy sentiment strip
- Day 5: Spider with a flocked velvet hat
- Day 6: Swinging skeleton interactive card
- Day 7: Stacked books and candles with glossy wax accents
- Day 8: Skeleton mug with ghostly steam
- Day 9: Cute monster with embossed sentiment
- Day 10: Bold floral centerpiece with smaller blooms
- Day 11: Haunted house scene with glowing windows and splattered starry sky
- Day 12: Bubbling cauldron with vellum-colored bubbles
- Day 13: Coffin layered over a pile of bones with glittered lining



Leave a Reply