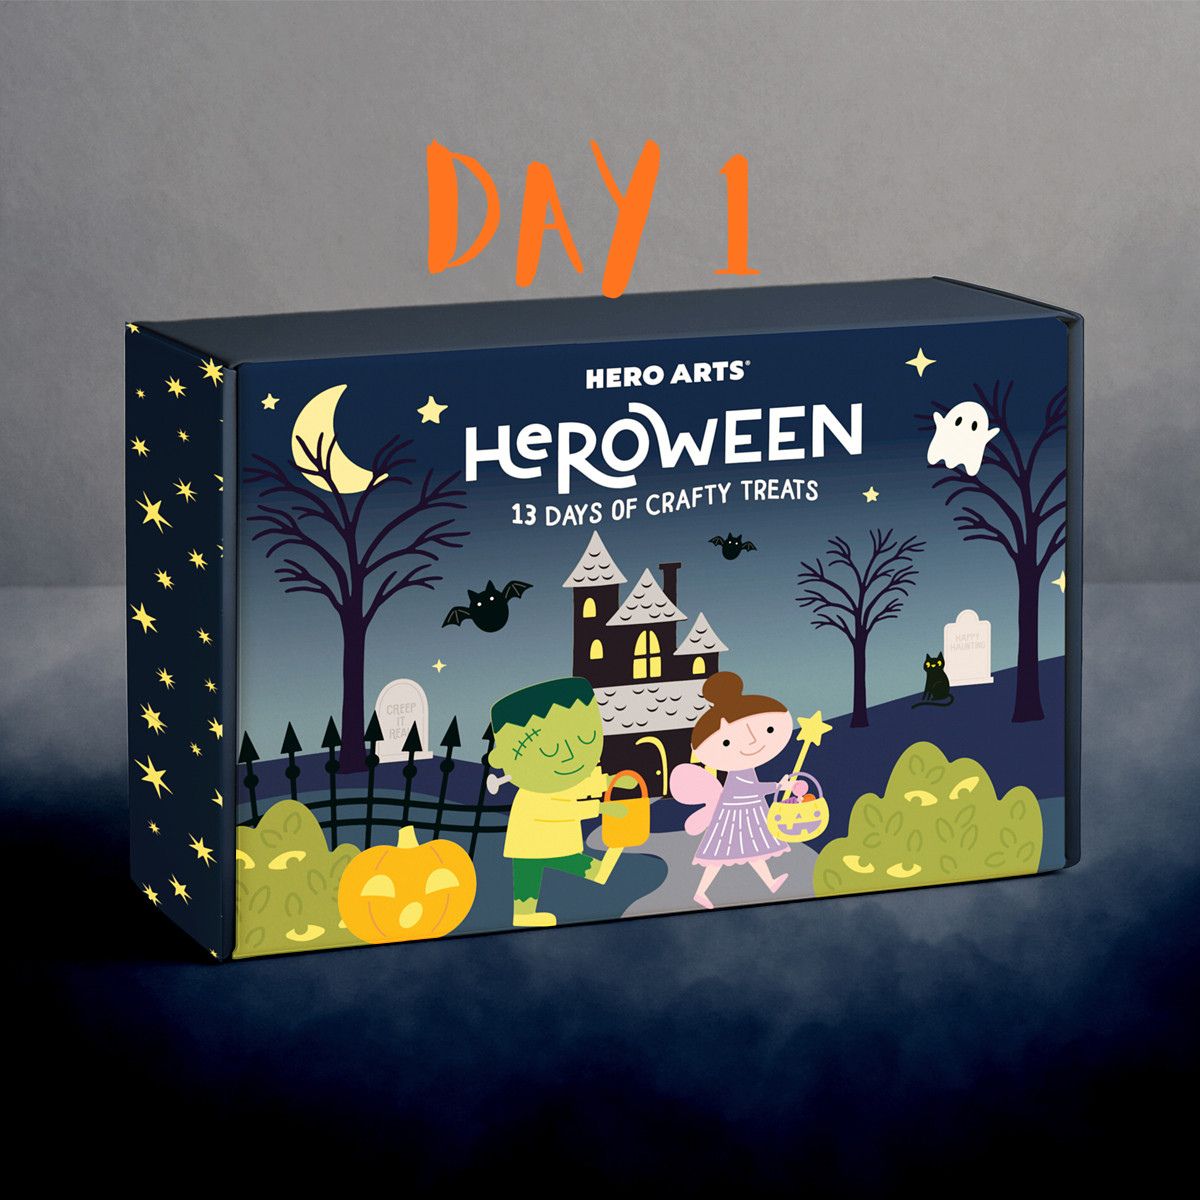
Unboxing Day 1 of the Hero Arts HEROween 13 Days of Halloween Countdown Box

HEROween Day 1 is finally here, and the contents did not disappoint! Today’s box contained a die set with the cutest little ghost heading out trick-or-treating, complete with a costume and some friendly bats flying around to keep her company.
I decided to lean fully into the trick-or-treating theme for this one. I started by cutting out all the pieces I would need, then added in a door and a moon that I created using a nesting arch die and tag set from my stash.
With all the pieces cut, it was time to work on the design.

Giving the Pumpkin That Plastic Trick-or-Treat Look
I wanted the pumpkin to have that fun, glossy feel of a plastic trick-or-treat pumpkin bucket. To get that effect, I assembled the pumpkin and added Glaze n’ Glue over the top, then set it aside to dry. The shine it leaves behind makes such a difference and instantly reads as plastic instead of flat cardstock.

Creating a Faux Wood Door
For the door, I wanted it to look like real wood rather than plain cardstock. I had already cut the door from acorn cardstock, which was the perfect warm base to start from. To create that wood grain look, I used Cup ‘o Joe ink and swiped it across the door in one direction using only the edge of the ink pad at an angle. Once that was in place, I added the house address using a stamp from the main stamp set in the HEROween box. For the door handle, I repurposed what was actually meant to be the crazy cat eyes from today’s die set.
Adding Texture to the Bats with Flocking
I wanted my bats to have a little texture instead of being completely flat, so I settled on flocking to get that effect. I added double sided adhesive to black cardstock on the front side, then re-cut my bat from that. Adding the adhesive to the front first gave me a sticky surface I could add the black flocking directly to, and the result is a bat with a soft, fuzzy texture that really stands out on the card.
Blending a Glowing Moon
The moon was cut from white cardstock using the top portion of an arch die. To bring it to life, I used Green Apple and Charcoal inks from Hero Arts to build up color and give it some dimension.
Building an Ombre Night Sky Card Base
For the card base, I used Green Apple ink to create a soft glow behind where my moon would sit. The rest of the card base was blended using Deep Ocean and Charcoal, with the Charcoal helping to darken certain areas of the Deep Ocean for more depth. To get rid of the harsh edges left over from blending, I trimmed all the edges by 1/16 of an inch before adhering the panel to a black A2 card base. That small trim makes such a difference in giving the background a cleaner, more polished look.
Assembling the Candy and Ghost
The candy pieces were simple, I just assembled the layers as they were designed. For the ghost, I added the cat ear costume pieces, and to create the inside of the cat ears, I cut small pink triangles from scraps I had on hand.
Putting It All Together
With all my pieces ready to go, it was time for assembly. I adhered the moon on top of the glowing space I created on the card base to really make it pop. For the door, I added a slight amount of foam tape behind it to give it some added dimension, and I did the same with the bat to make him appear as if he is flying across the night sky.
I stamped my sentiment using White Pigment ink from Hero Arts directly onto the card base so it would show up crisp against the dark background. Then I added the candy into the Halloween bucket and adhered that piece right into the ghost’s hands. For the ghost herself, I used an action wobbler so she would float and wiggle right by the door, just like she is waiting for it to open. A few extra pieces of candy were scattered at the bottom of the door to look like they had spilled out of her overflowing bucket.
I hope you enjoyed Day 1 of HEROween. We have a total of 13 fun filled days coming your way, so stay tuned! If you have not had a chance to grab your HEROween box yet, get it now before it disappears forever.
What Would You Add to Your Trick-or-Treating Scene?
If you were creating your own version of this card, would you go with a ghost, a witch, or maybe something a little more spooky? I would love to hear your ideas in the comments below.
Thank you so much for stopping by and following along with Day 1 of HEROween. I truly appreciate each and every one of you who takes the time to shop through my affiliate links. It comes at no extra cost to you, and it helps me keep bringing you tutorials, tips, and fun projects like this one all year long. Your support means the world to me.
Supplies
- Hero Arts HEROween Box
- Nesting Arch Die and Tag Set
- Hero Hues Core Ink – Charcoal
- Hero Hues Core Ink – Cup ‘o Joe
- Hero Hues Core Ink – Green Apple
- Hero Hues Core Ink – Deep Ocean
- Hero Arts White Pigment Ink
- Glaze n’ Glue
- Black Flocking
- Double Sided Adhesive
- Acorn Cardstock
- White Cardstock
- Raven Cardstock
- Foam Tape
- Action Wobbler
- Platinum 6 Die Cutting and Embossing Machine
- Scoring Board
- Bearly Arts Liquid Adhesive



Leave a Reply