
Day 2 of the Hero Arts HEROween box: a stamp and die sentiment set and an easy repeating stamped background technique
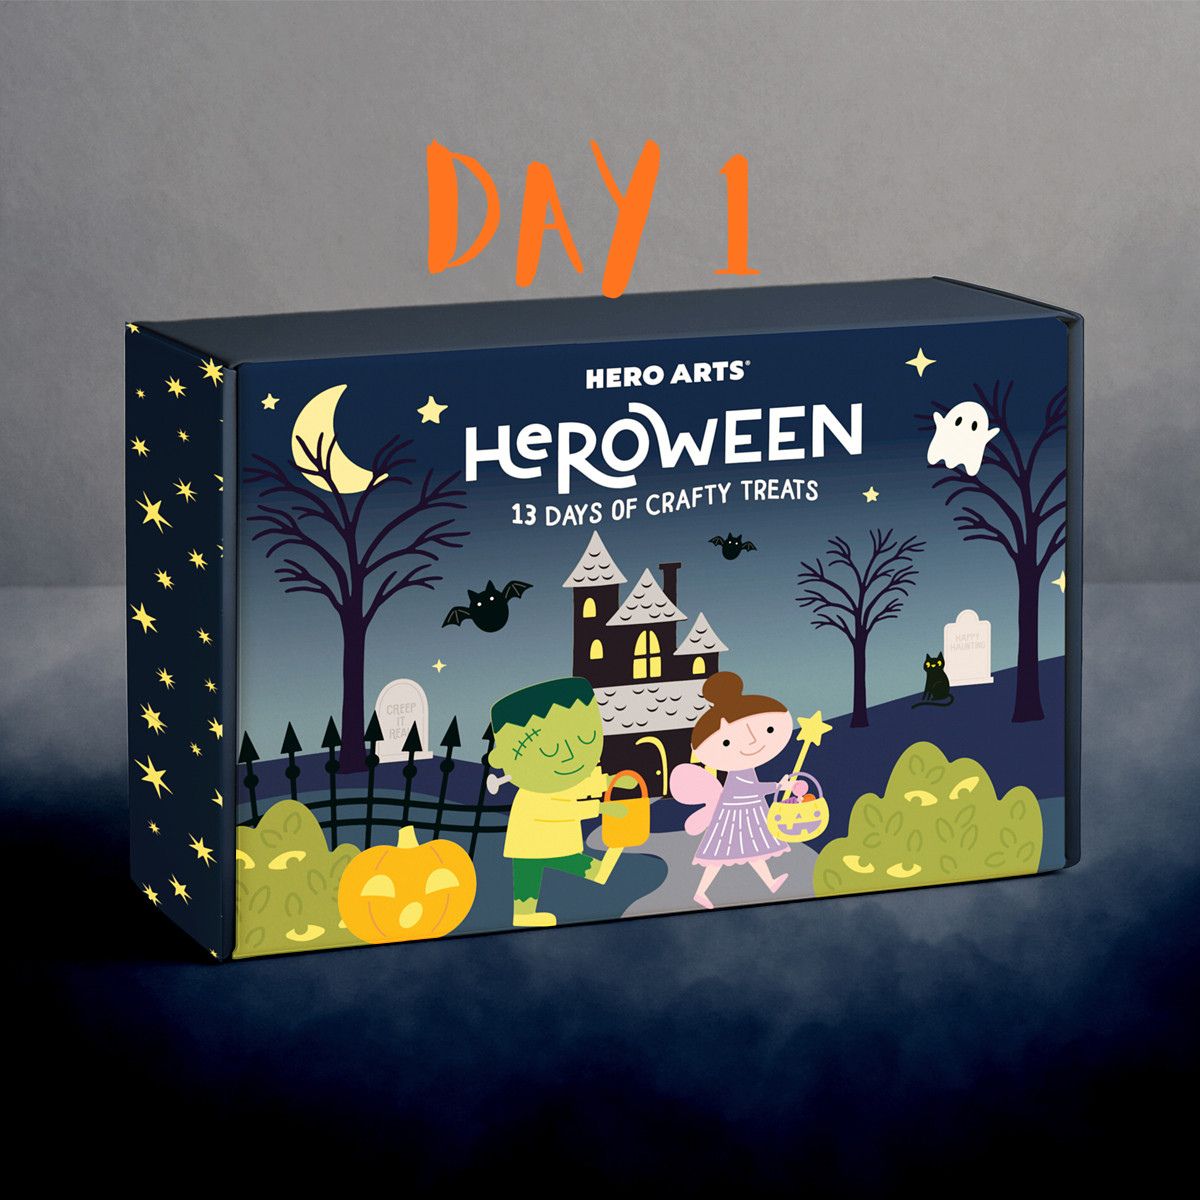
Welcome to Day 2 of HEROween
Day 2 of the Hero Arts HEROween box is here, and this set is packed with sentiments perfect for spooky season cards and tags. When I opened this set, I knew right away I wanted to build a repeating stamped background and keep the rest of the design nice and simple so that background could really shine.

Creating a Stamping Jig for a Repeating Background
The secret to a clean, evenly spaced repeating background is not a fancy tool, it is a simple jig you can make yourself. I cut a piece of cardstock at an angle and used that angled edge to line up my stamps for each impression. Lining the stamp up against the same angled edge every time kept my angle consistent throughout the whole design.
Once my jig was ready, I began stamping the sentiments across my panel, moving the jig about a quarter inch each time before stamping again. This little shift is what creates that layered, repeating pattern effect. Once the background pattern was finished, I trimmed the panel down to 3.75 inches by 5 inches.
For this background I used Spellbinders Mulberry cardstock stamped with Hero Arts Passion Flower ink. The rich purple tone against the mulberry cardstock gives the background a lovely tonal, almost shadowed look, which is exactly the kind of subtle detail I love on a Halloween card.
Tip: if you want to try this technique yourself, cut your jig from a scrap of cardstock you do not mind reusing. Keeping the same jig on hand means you can recreate this same angled, repeating look on future projects too.
Matting the Background Panel
Once my stamped background panel was trimmed, I matted it on a piece of Spellbinders Raven cardstock measuring 4.25 inches by 5.5 inches. The black mat gives the purple background a nice bit of contrast and makes the panel feel more finished before it even gets to the card base.
Building a Dimensional Sentiment
To finish the card, I pulled an additional sentiment from the set and stamped it in Intense Black ink, then used its coordinating die to cut it out. I did not stop at one layer, though. I cut three additional pieces with the same die and adhered them together with the inked sentiment layered on top. Stacking those extra die cut layers underneath gives the sentiment some real dimension and makes it pop off the background instead of just sitting flat on the page.
This dimensional sentiment was then centered on the stamped background panel and adhered in place.
Finishing the Card
With the sentiment adhered, the whole panel was attached to an A2 card base, and the card was complete. Simple layers, a repeating background, and one dimensional sentiment came together for a card that feels intentional without being complicated.
Why I Love Repetitive Stamping Backgrounds
Repetitive stamping is one of my favorite ways to build a background, whether the placement is random or as intentional as this angled jig technique. You always end up with something unique, since no two repeating stamped backgrounds ever turn out quite the same. It is a great technique to keep in your back pocket any time you want a background with texture and interest but still want your sentiment to be the star of the show.
More Halloween Crafting Inspiration
If you are loving this HEROween series, you can find even more Halloween inspiration in my Craftoween series from 2025.
- Day 1: Dracula with red gilding flakes and dimensional arch background
- Day 2: Raven and skulls against a sunset beach scene
- Day 3: Poison bottle transformed into a glowing cocktail
- Day 4: Playful layered ghosts with wavy sentiment strip
- Day 5: Spider with a flocked velvet hat
- Day 6: Swinging skeleton interactive card
- Day 7: Stacked books and candles with glossy wax accents
- Day 8: Skeleton mug with ghostly steam
- Day 9: Cute monster with embossed sentiment
- Day 10: Bold floral centerpiece with smaller blooms
- Day 11: Haunted house scene with glowing windows and splattered starry sky
- Day 12: Bubbling cauldron with vellum-colored bubbles
- Day 13: Coffin layered over a pile of bones with glittered lining
Tell me your Thoughts…
What technique do you like to use most for a stamped background on your Halloween cards? I would love to hear your favorite tips in the comments below.
Love Crafty Advent Calendars
Do you love getting a crafty surprise each day to create with? You won’t want to mis the Spellbinders Crafty Advent Calendar on sale now! This advent calendar is NOT holiday themed but is sure to bring you joy and inspiration. Grab yours before it is gone!


Thank you so much for stopping by today and following along with Day 2 of HEROween. I truly appreciate every one of you who shops through my affiliate links, it helps me keep bringing you tutorials and inspiration like this, and it never costs you a single extra cent. Thank you for your continued support.
Supply List
- Hero Arts HEROween box (Day 2 stamp and die set)
- Hero Arts Passion Flower ink
- Hero Arts Intense Black ink
- Spellbinders Mulberry cardstock
- Spellbinders Raven cardstock
- Spellbinders Classic White cardstock
- Bearly Arts Adhesive
- Platinum 6 Die Cutting and Embossing Machine
- Scoring Board
- Stamping Platform


Leave a Reply