
Two more days of Hero Arts HEROween inspiration featuring a splattered spooky tree scene and a layered front door card
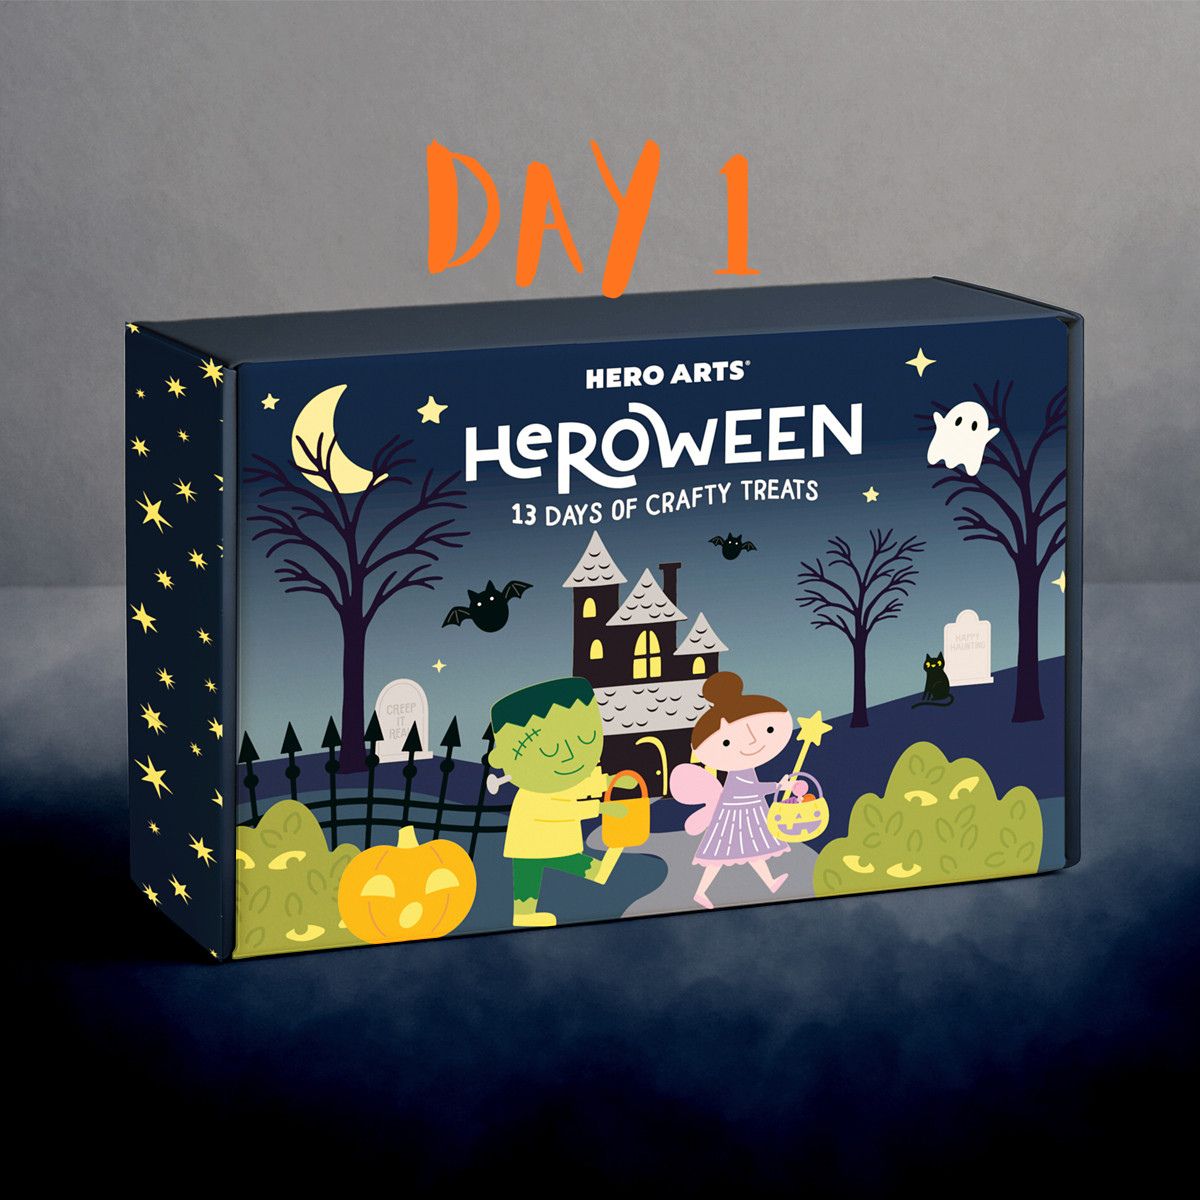
Today I bring you a little more spooky fun from the HEROween kits, this time with Day 5 and Day 6. Day 5 brings us a Halloween crafting staple: a spooky tree complete with cats, bats, and a moon. Day 6 brings us a front door perfect for a trick or treating pallet.
But do not get stuck on Halloween. Keep on using these dies for other seasons. The tree can easily be cut in brown with a few leaves added to the ground for a nice fall card. Or how about using the front door as the centerpiece for a congrats on your new home card? Or even a nice cozy Christmas scene?
Day 5: Spooky Tree Card

For Day 5 I kept it simple yet fun. Using the Day 5 die set, I cut a piece of ombre orange cardstock from my stash to 4″ x 5.25″ and added black splatter. I set that aside to dry while I cut my tree and bats from Raven cardstock.
Once the ombre orange panel was dry, I stamped “Trick Or Treat” on it in the bottom left corner using the main kit stamp set and Hero Arts Intensified Black ink.
I then adhered this panel to a piece of Raven cardstock that was cut to 4.25″ x 5.5″.
With my panel adhered, I added the tree and a few bats and the card was complete. I found this project simple but perfect, reminding me that I do not always need to put hours of work into my cards.
Tip: If you love this splattered background technique, save time by prepping a few panels at once. Splatter dries fast, so you can move straight into stamping and assembling your next card while the first one sets.
Day 6: Front Door Card
For Day 6 I pulled in the die set from Day 3 along with the main stamp set and an embossing folder from my stash to give some texture to my sidewalk.

I started by getting all my pieces cut out:
- Peridot: Door
- Raven: Door accents, ghost eyes, railings, lamps, and curtains
- Saffron: Lamp inserts, pumpkin backers
- Carrot: Pumpkins
- Matte Gold Foil: Window backer
- Fog: Sidewalk
- Anchor: Window frame and stairs
- Classic White: Ghosts
- Oceanside: Background panel
With all the pieces cut, I moved on to ink blending and embossing. I first used the Market Weave embossing folder to add texture to my sidewalk. Then I moved on to inking. I added small amounts of green to the rim of the door using whatever was left on my green brush from the last project. Then, using Hero Arts Intensified Black, I added color to the tops of each stair, lightly blended over the sidewalk, and blended around the outside edges of the Oceanside panel, fading off toward the center to leave a halo effect around where I would place my door.
Tip: That halo effect is such an easy way to draw the eye right to your focal image. Just remember to blend from the outside in and fade your color before you reach the center, so the middle stays lighter and brighter.
With everything blended, I added a bit of stamping to the door and steps using the main kit stamp set. I added a “1031” address to the door and the “open if you dare” sentiment to the stairs.
Now it was time to assemble all of my pieces. Once assembled, I laid everything out onto my Oceanside base to see if I liked the layout before adhering everything down. Once I was happy with the placement, I adhered it all down using liquid adhesive.
Once again, I love how this turned out, but then Halloween is my favorite holiday of the year. In fact, I think I send more Halloween cards than I do Christmas ones!
Tell Me What You Think
Which of these two cards is speaking to you more this week, the spooky splattered tree or the trick or treat front door? Let me know in the comments, and tell me if you would try either one in a fall or Christmas color palette instead!
Thank you so much for stopping by and following along with my HEROween journey this year. If you shop through any of the affiliate links in this post, it comes at no extra cost to you, but it helps me keep bringing you fun projects and tutorials like this one. I appreciate every one of you more than you know.
Supply List
- Hero Arts HEROween Kit
- Hero Arts Intensified Black Ink
- Ombre Orange Cardstock
- Raven Cardstock
- Peridot Cardstock
- Saffron Cardstock
- Carrot Cardstock
- Matte Gold Foil Cardstock
- Fog Cardstock
- Anchor Cardstock
- Classic White Cardstock
- Oceanside Cardstock
- Market Weave Embossing Folder
- Liquid Adhesive
- Platinum 6 Die Cutting and Embossing Machine
- Scoring Board
- Stamp Platform
- Paper Trimmer
More HEROween Inspiration

If you are enjoying this series, be sure to check out the rest of my HEROween posts as we make our way through all 13 days.
- Day 1: A Trick-or-Treating Ghost Card Tutorial
- Day 2:Repeating Stamped Backgrounds with Hero Arts Passion Flower Ink
- Day 3 and 4: Haunted House and Ghost Lollipop Cards with Hero Arts
Love Crafty Advent Calendars
Do you love getting a crafty surprise each day to create with? You won’t want to miss the Spellbinders Crafty Advent Calendar on sale now! This advent calendar is NOT holiday themed but is sure to bring you joy and inspiration. Grab yours before it is gone!


More Halloween Crafting Inspiration
If you are loving this HEROween series, you can find even more Halloween inspiration in my Craftoween series from 2025.


- Day 1: Dracula with red gilding flakes and dimensional arch background
- Day 2: Raven and skulls against a sunset beach scene
- Day 3: Poison bottle transformed into a glowing cocktail
- Day 4: Playful layered ghosts with wavy sentiment strip
- Day 5: Spider with a flocked velvet hat
- Day 6: Swinging skeleton interactive card
- Day 7: Stacked books and candles with glossy wax accents
- Day 8: Skeleton mug with ghostly steam
- Day 9: Cute monster with embossed sentiment
- Day 10: Bold floral centerpiece with smaller blooms
- Day 11: Haunted house scene with glowing windows and splattered starry sky
- Day 12: Bubbling cauldron with vellum-colored bubbles
- Day 13: Coffin layered over a pile of bones with glittered lining


Leave a Reply