
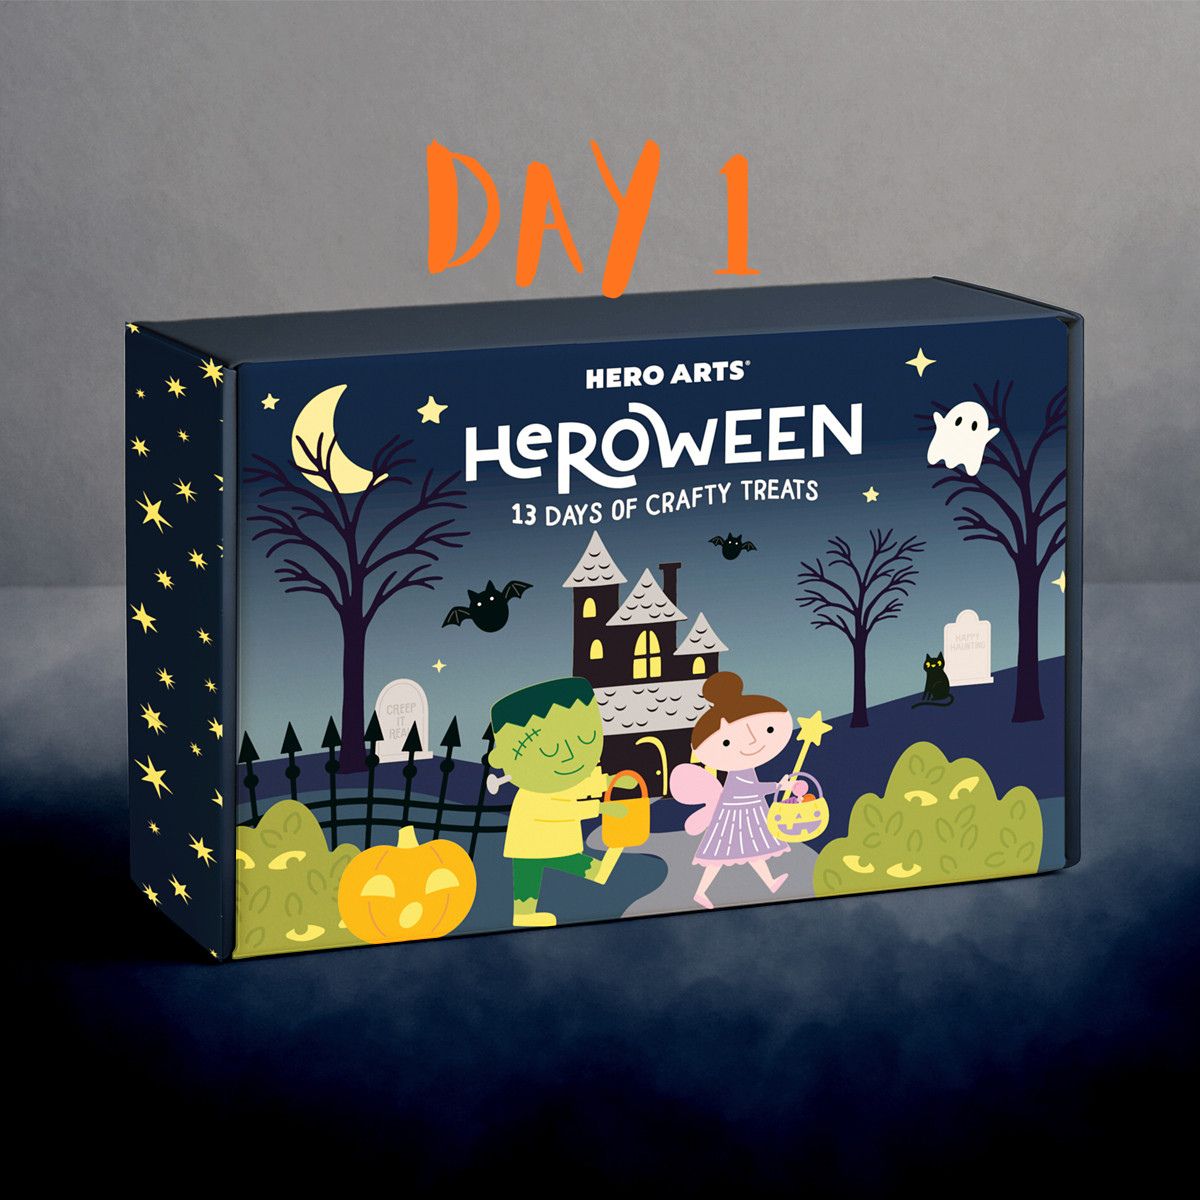
Two more days down in the 13 Day Hero Arts HEROween Countdown Box, featuring the fence and post die, spooky pumpkins, and the large Trick or Treat die
Days seven and eight of the Hero Arts HEROween countdown box brought us a whole new batch of Halloween crafting staples, and I could not be more pleased! Day seven gave us a fence complete with fence posts and optional skeleton toppers, along with some fun spooky pumpkins. Day eight leveled things up with a large Trick or Treat die and its decorative pieces. Let’s get into both projects.
Day 7: A Spooky Fence Line Scene
For day seven I decided to go with a simple but fun scene. I started by cutting out all my elements. I also pulled in the tree from day five along with one of the cats from that same set.

Here is how I broke down my cardstock colors for this scene:
- Anchor – Fence and post
- Raven – Tree, cat, and pumpkin backers
- Fog – Skull, behind the cat eyes, and one pumpkin
- Carrot – One pumpkin
Tip: Before assembling my fence post, I used Granite ink to darken the backer and lightly blend some sections of the post. This little step gives the piece some extra dimension instead of leaving it flat. Once that was done, I set the assembled pieces aside.
Building the Glowing Halloween Background
For my background, I wanted that classic Halloween glow effect. I started with a piece of Classic White cardstock cut to 4.25 by 5.5 inches. Using Hero Arts inks, I began with Butter Bar in the center to create the glow, then worked my way out to the edges with Pumpkin and Grape Juice.
Tip: To remove the harsh ink blending edge lines, trim the completed panel down. I trimmed mine to 3.75 by 5 inches and matted it on Raven cardstock measuring 4.25 by 5.5 inches. That extra trim step makes a big difference in how clean the finished background looks.
Assembling the Day 7 Scene
With all my pieces and the background ready, it was time to set the scene. Once I decided on my layout, I adhered the tree first and added a small amount of Granite ink at the base for shadow and grounding. From there, I adhered the rest of the assembled pieces to build out the full scene.
For the final touch, I used the main stamp set to stamp Happy Halloween directly onto the card panel, which pulled the whole design together.
Day 8: Trick or Treat Shaker Card
For day eight I decided to use the large Trick or Treat die to make a shaker card, saving the lettering pieces for another project down the road. I wanted this card to stay fairly clean and simple so the shaker element could really shine.

Prepping the Background and Shaker Window
I began with the background first since it would need a couple of minutes to dry. Using a piece of Blush cardstock trimmed to 3.25 by 5 inches, I splattered it with black ink and set it aside to dry.
While that panel was drying, I cut out a couple of the spiders using the die set. I ended up only using one, so I have extras saved for a future project. The spider body was cut from Raven cardstock, and Classic White was used behind the eyes. I also cut a piece of acetate just slightly smaller than my main panel to create the shaker window. If you do not have acetate on hand, leftover packaging works great for this too.
Once my panel was dry, I centered the Trick or Treat die cut and cut it out. I reserved the inside pieces of the letters for this project and saved the letters themselves for a later one.
Building the Shaker Well
Flipping the panel over to work on the back side, I added double sided tape and ran my bone folder over it to make sure it was pressed down completely. Then I removed the backer from the double sided tape and added my piece of acetate to create the window, running my bone folder over it again to ensure a solid seal.
Still working from the back, I added foam tape all around the open areas of the sentiment. I was careful not to let the tape cross over the sentiment itself, but made sure it touched on all edges so the shaker filling would not escape. Once the foam tape well was in place, I added additional tape around the outer edges for extra stability.
For my shaker mix, I used the black stars included in the kit. Since they are flat, they worked really well with the lower dimension foam tape, so I did not need to double up the tape for things to still shake nicely. I also added some very tiny diamond sparkle shaker pieces from my stash for a bit of extra shine.
Tip: Before removing the backing from the foam tape, use the lines on your glass mat to help line everything up. I added a small piece of tape to the back to hold the shaker panel in place temporarily, leaving enough hanging over the edge so I could gently remove it once the back panel was secured.
Adding the Finishing Touches
Using a piece of Raven cardstock cut to 4.25 by 5.5 inches and the grid lines on my mat, I lined up the backer so it would be centered on the panel, then pressed it all down. I removed the tape that was holding the shaker portion in place on the glass mat and flipped the card back over.
The last step was adding my spider and the insides of my letters. In the end I decided one spider was all this card needed, so I glued it to the front and added the entire panel to a card base to finish things off.
I hope you are enjoying following along with the HEROween series so far. What did you think of the day seven and eight projects? Would you try a scene card, a shaker card, or maybe a mix of both? Let me know in the comments below, and stay tuned because we still have days nine through thirteen to go.
Thank you so much for stopping by and reading today. If you click through and use any of the affiliate links in this post, it truly does help me keep bringing you fun projects like this one, and it never costs you a single extra penny. I appreciate every one of you more than you know.
Supply List
- Hero Arts HEROween 13 Day Countdown Box (2026)
- Classic White Cardstock
- Anchor Cardstock
- Fog Cardstock
- Carrot Cardstock
- Raven Cardstock
- Blush Cardstock
- Hero Arts Butter Bar Ink
- Hero Arts Pumpkin Ink
- Hero Arts Grape Juice Ink
- Hero Arts Granite Ink
- Black paint (for splatter background)
- Black Star Shaker Filling (included in kit)
- Diamond Sparkle Shaker Pieces (from stash, optional)
- Acetate Sheet or Clean Packaging Scrap
- Double Sided Tape
- Foam Tape
- Platinum 6 Die Cutting and Embossing Machine
- Scoring Board
- Paper Trimmer
- Stamp Positioning Tool
More HEROween Inspiration
If you are enjoying this series, be sure to check out the rest of my HEROween posts as we make our way through all 13 days.

- Day 1: A Trick-or-Treating Ghost Card Tutorial
- Day 2:Repeating Stamped Backgrounds with Hero Arts Passion Flower Ink
- Day 3 and 4: Haunted House and Ghost Lollipop Cards with Hero Arts
- Day 5 and 6: A Spooky Tree Card and a Front Door Card with Hero Arts
Love Crafty Advent Calendars
Do you love getting a crafty surprise each day to create with? You won’t want to miss the Spellbinders Crafty Advent Calendar on sale now! This advent calendar is NOT holiday themed but is sure to bring you joy and inspiration. Grab yours before it is gone!


More Halloween Crafting Inspiration
If you are loving this HEROween series, you can find even more Halloween inspiration in my Craftoween series from 2025.
- Day 1: Dracula with red gilding flakes and dimensional arch background
- Day 2: Raven and skulls against a sunset beach scene
- Day 3: Poison bottle transformed into a glowing cocktail
- Day 4: Playful layered ghosts with wavy sentiment strip
- Day 5: Spider with a flocked velvet hat
- Day 6: Swinging skeleton interactive card
- Day 7: Stacked books and candles with glossy wax accents
- Day 8: Skeleton mug with ghostly steam
- Day 9: Cute monster with embossed sentiment
- Day 10: Bold floral centerpiece with smaller blooms
- Day 11: Haunted house scene with glowing windows and splattered starry sky
- Day 12: Bubbling cauldron with vellum-colored bubbles
- Day 13: Coffin layered over a pile of bones with glittered lining


Leave a Reply