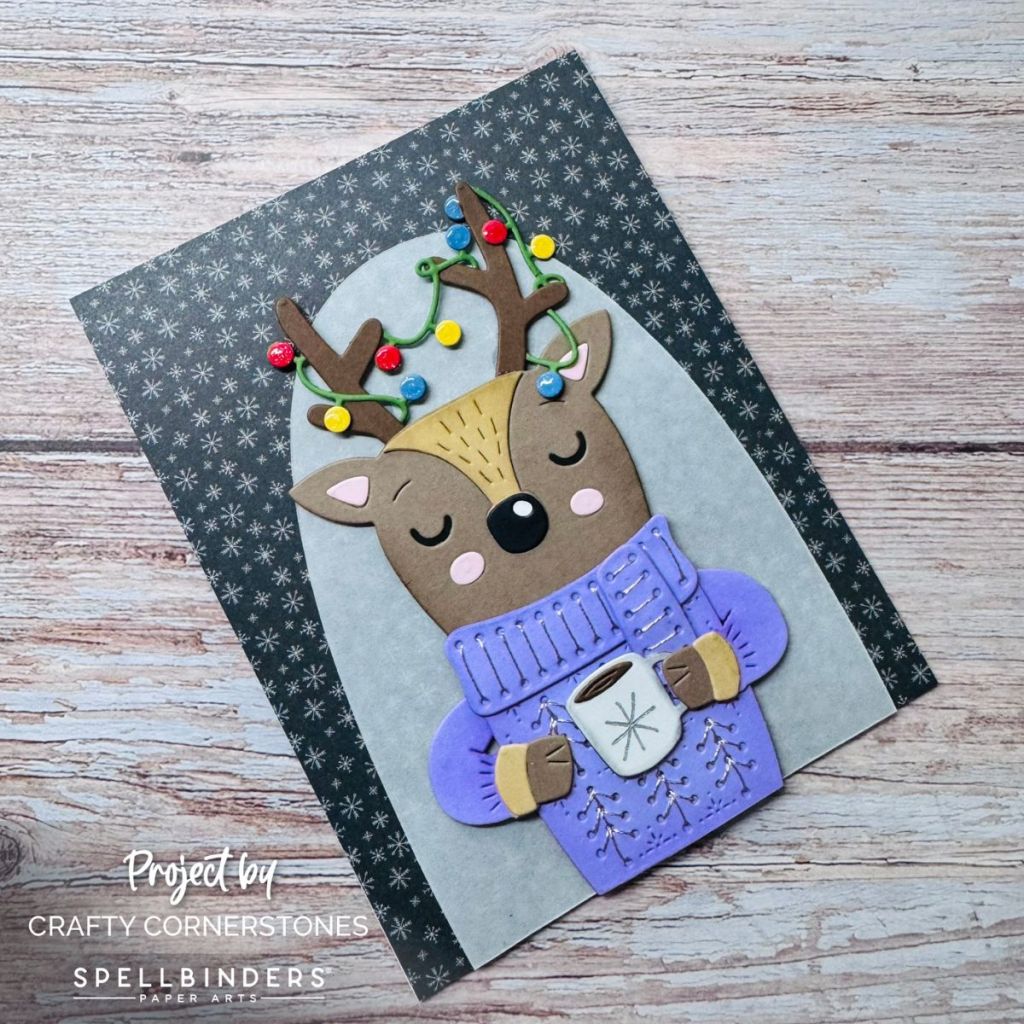
Featuring the Spellbinders Stitching Die of the Month for July 2026 “Sweater Weather Friend”
Welcome to Christmas in July!
This month, so many companies are launching festive collections, and I’m here for it! I always seem to be behind on Christmas cards, so this early start helps me get ahead.
For today’s project, I’m using the Spellbinders Stitching Die of the Month – Sweater Weather Friend. I had such a good time with this guy and can’t wait to make more. The design reminds me of that parent on Christmas morning who hasn’t quite finished that first cup of coffee — cozy, cheerful, and just a little sleepy!
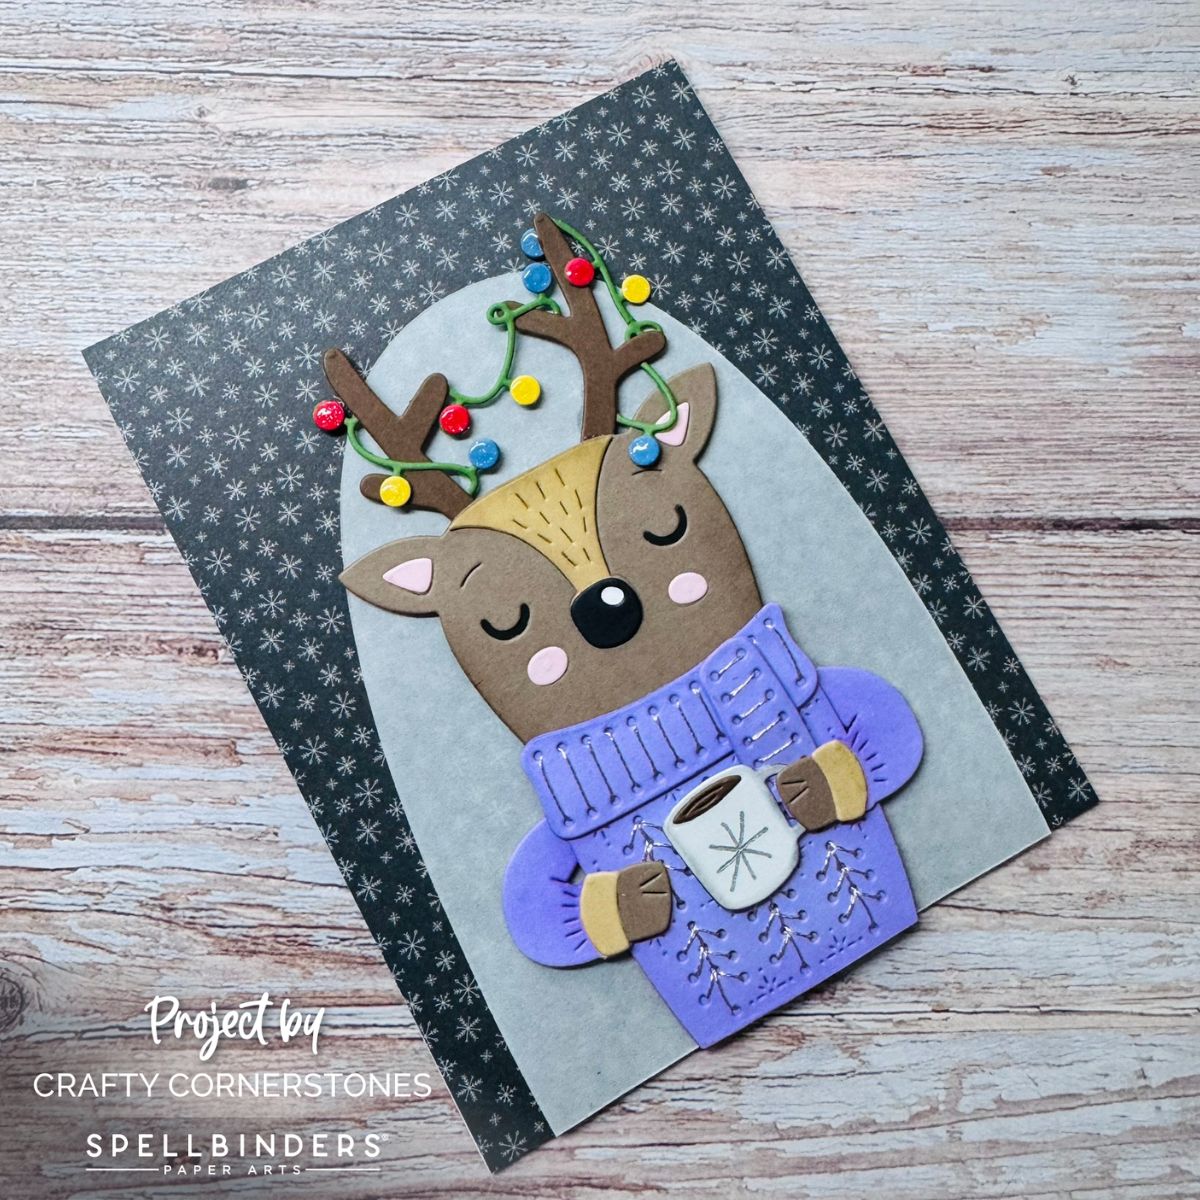
Cutting and Preparing the Pieces
I began by cutting all the pieces for the reindeer using Colorwheel Cardstock in these colors: Lavender, Beeswax, Poppy, Fog, Fern, Raven, Blush, Fawn, Acorn, Truffle, and Celestial.
To add dimension, I lightly inked the edges of each die cut using whatever was left on my brown and purple brushes. This subtle shading gives the pieces a soft, natural look without overpowering the stitching.
Stitching the Sweater and Scarf
Next came the stitching — my favorite part! I used Silver DMC thread number D415 for the sweater and scarf. Once stitched, I adhered the solid back piece to secure the thread and keep everything tidy.
Not a fan of stitching? Try using just the solid backer piece cut from patterned paper, stencil a pattern on it or emboss it for texture. You’ll still get a beautiful result with less time spent.
Creating the Lights
The colorful lights are such a fun detail! I adhered the bulbs in an assorted pattern, added sparkle with a glitter pen, and topped them with Spellbinders Glaze ’n Glue. Since the glaze dries clear, the glitter shines through — making the lights look like they’re twinkling.
Assembly and Layout
While the lights dried, I assembled the rest of my reindeer using the assembly guide for placement.
For the background, I used patterned paper from my stash (the kind you’ve had forever and finally get to use!). I also cut an arch from vellum using the Spellbinders Arch Labels and Tag Die (S5‑624).
To give the reindeer a little lift, I added 1 mm foam tape behind him, centered him on the vellum, and adhered it. On the back of the vellum, I used tape runner behind the reindeer and attached it to the patterned paper cut to 4.25″ × 5.5″.
The entire panel was adhered to an A2 card base — and just like that, the card was finished!
Let’s Chat
What do you think of Christmas in July? When do you start making your holiday cards?
Thank You
Thank you so much for stopping by Crafty Cornerstones. Your visits and use of my affiliate links (at no cost to you) help me continue sharing tutorials, inspiration, and creative ideas every month. I truly appreciate your support!
Supply List
- Spellbinders Stitching Die of the Month
- Spellbinders Arch Labels and Tag Die (S5‑624)
- Spellbinders Glaze ’n Glue
- Silver DMC thread number D415
- Spellbinders Colorwheel Cardstock (Lavender, Beeswax, Poppy, Fog, Fern, Raven, Blush, Fawn, Acorn, Truffle, Celestial)
- Vellum
- Foam tape
- Tape Runner
- Bearly Arts Glue
- Glitter pen
- Mini Blending Brushes
- Patterned paper
- Scoring Board
- Paper Trimmer
- Platinum 6 Die Cutting and Embossing Machine
Subscribe to the Stitching Die of the Month
If you love stitched designs, the Spellbinders Stitching Die Club is a wonderful way to keep your creativity flowing. Each month brings a new design with endless possibilities — from festive friends to elegant florals.
You can subscribe directly through the graphic below to join the club and start receiving monthly inspiration.

Missed a past club? You can purchase previous Stitching Die Club sets here, while supplies last.
**Spellbinders Clubs are open for members to make changes from the 1st of the month until the 4th of the month with billing for that month on the 5th. The window for new subscribers is open the 6th of the month until the 27th of the month**

 Crafty Cornerstones
Leave a comment