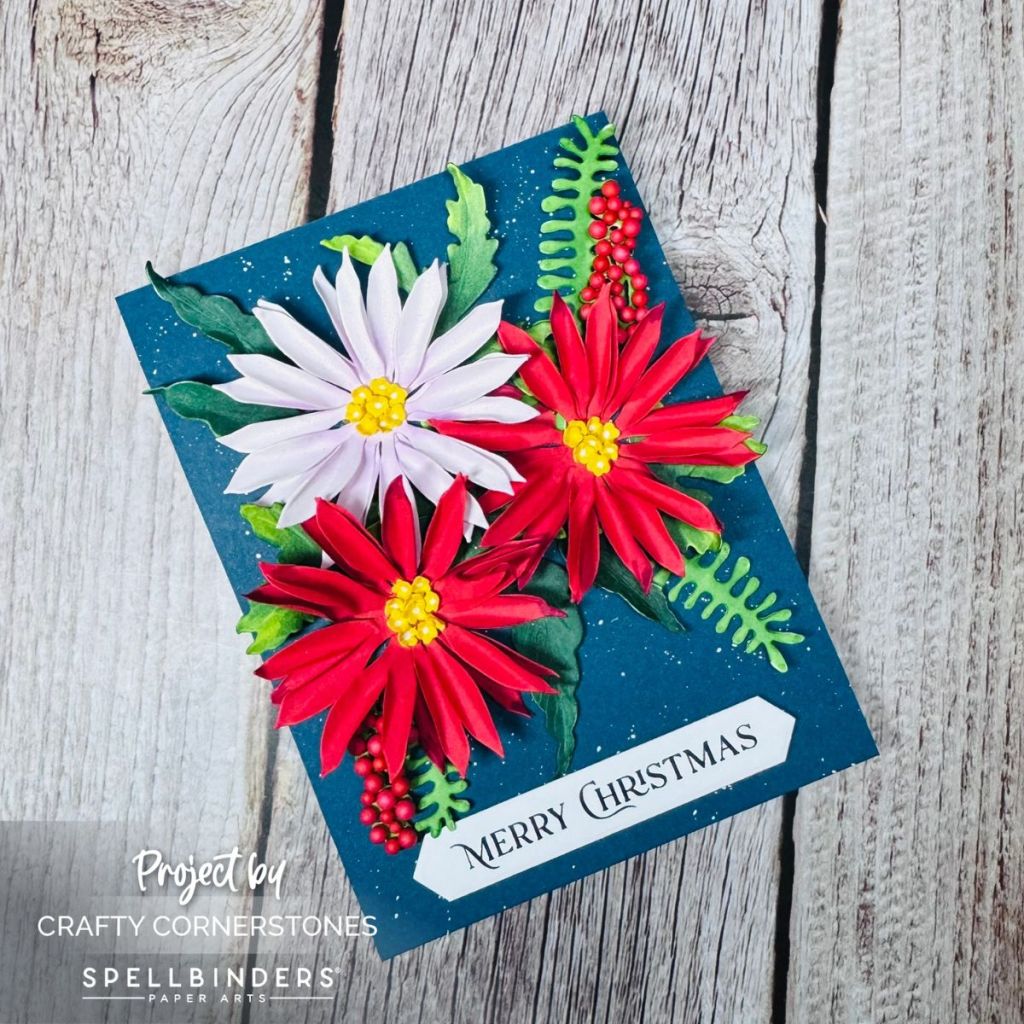
Exploring the Poetic Foliage Set — a must‑have for lush, dimensional holiday florals!
Day Two of the Serenity Garden Mini Series
Today’s project features the Poetic Foliage set from the Spellbinders Serenity Garden Collection — and oh, what a gem it is! This set is packed with delicate extras that make any floral arrangement feel complete. Think of it as the secret ingredient that turns “pretty” into “wow.”
Building the Foliage
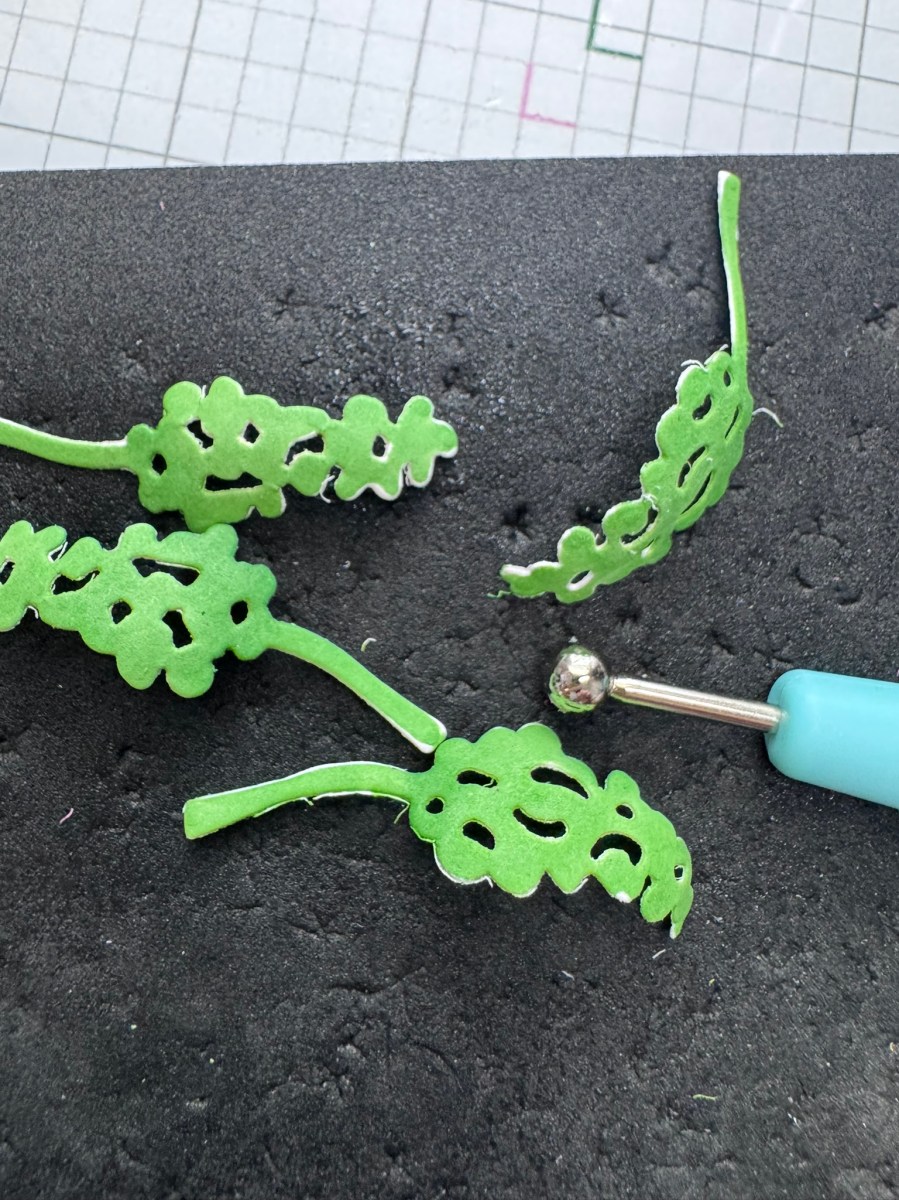
I began by die‑cutting the foliage pieces from Classic White Cardstock and coloring them with OLO Markers (YG 1.7, G 1.8, YG 2.5, Y 8.7). Once colored, I shaped each leaf using my paper‑sculpting tools. For the berry sprigs, I worked from the back with a large ball stylus to create rounded fronts — perfect for adding berries later.
Creating the Flowers
For the blooms, I reached for the Astrantia Set.
- Cut three petals from Classic White Cardstock and colored them with V 1.1 for a soft blush tone.
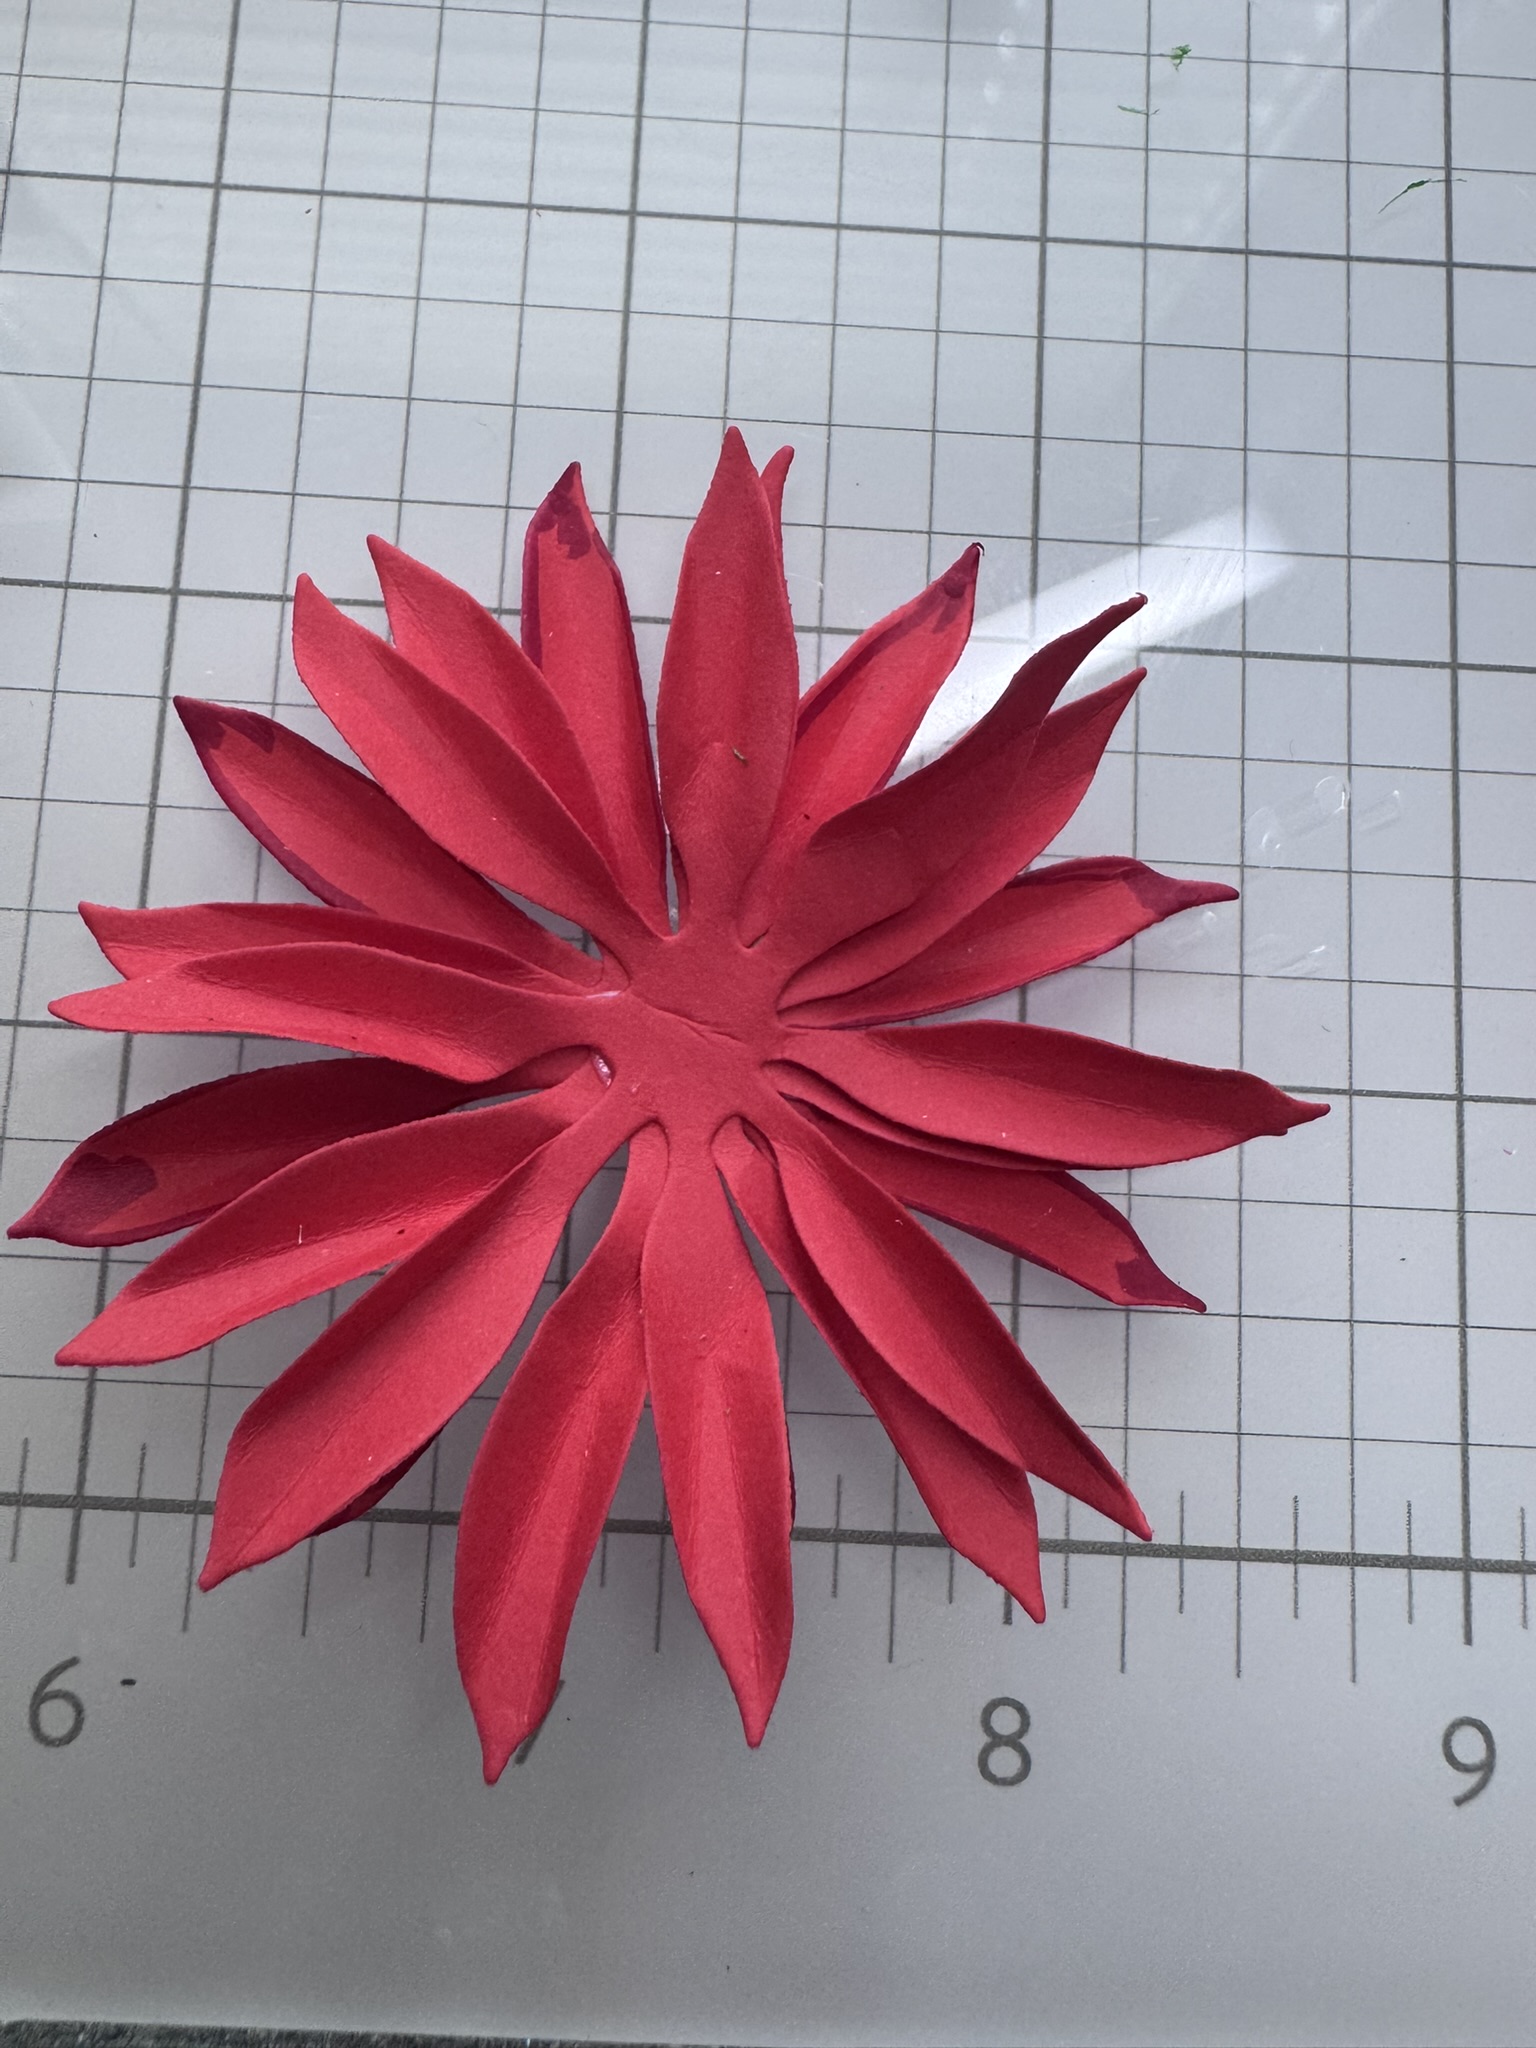
- Cut six petals from Poppy Cardstock for rich red contrast.
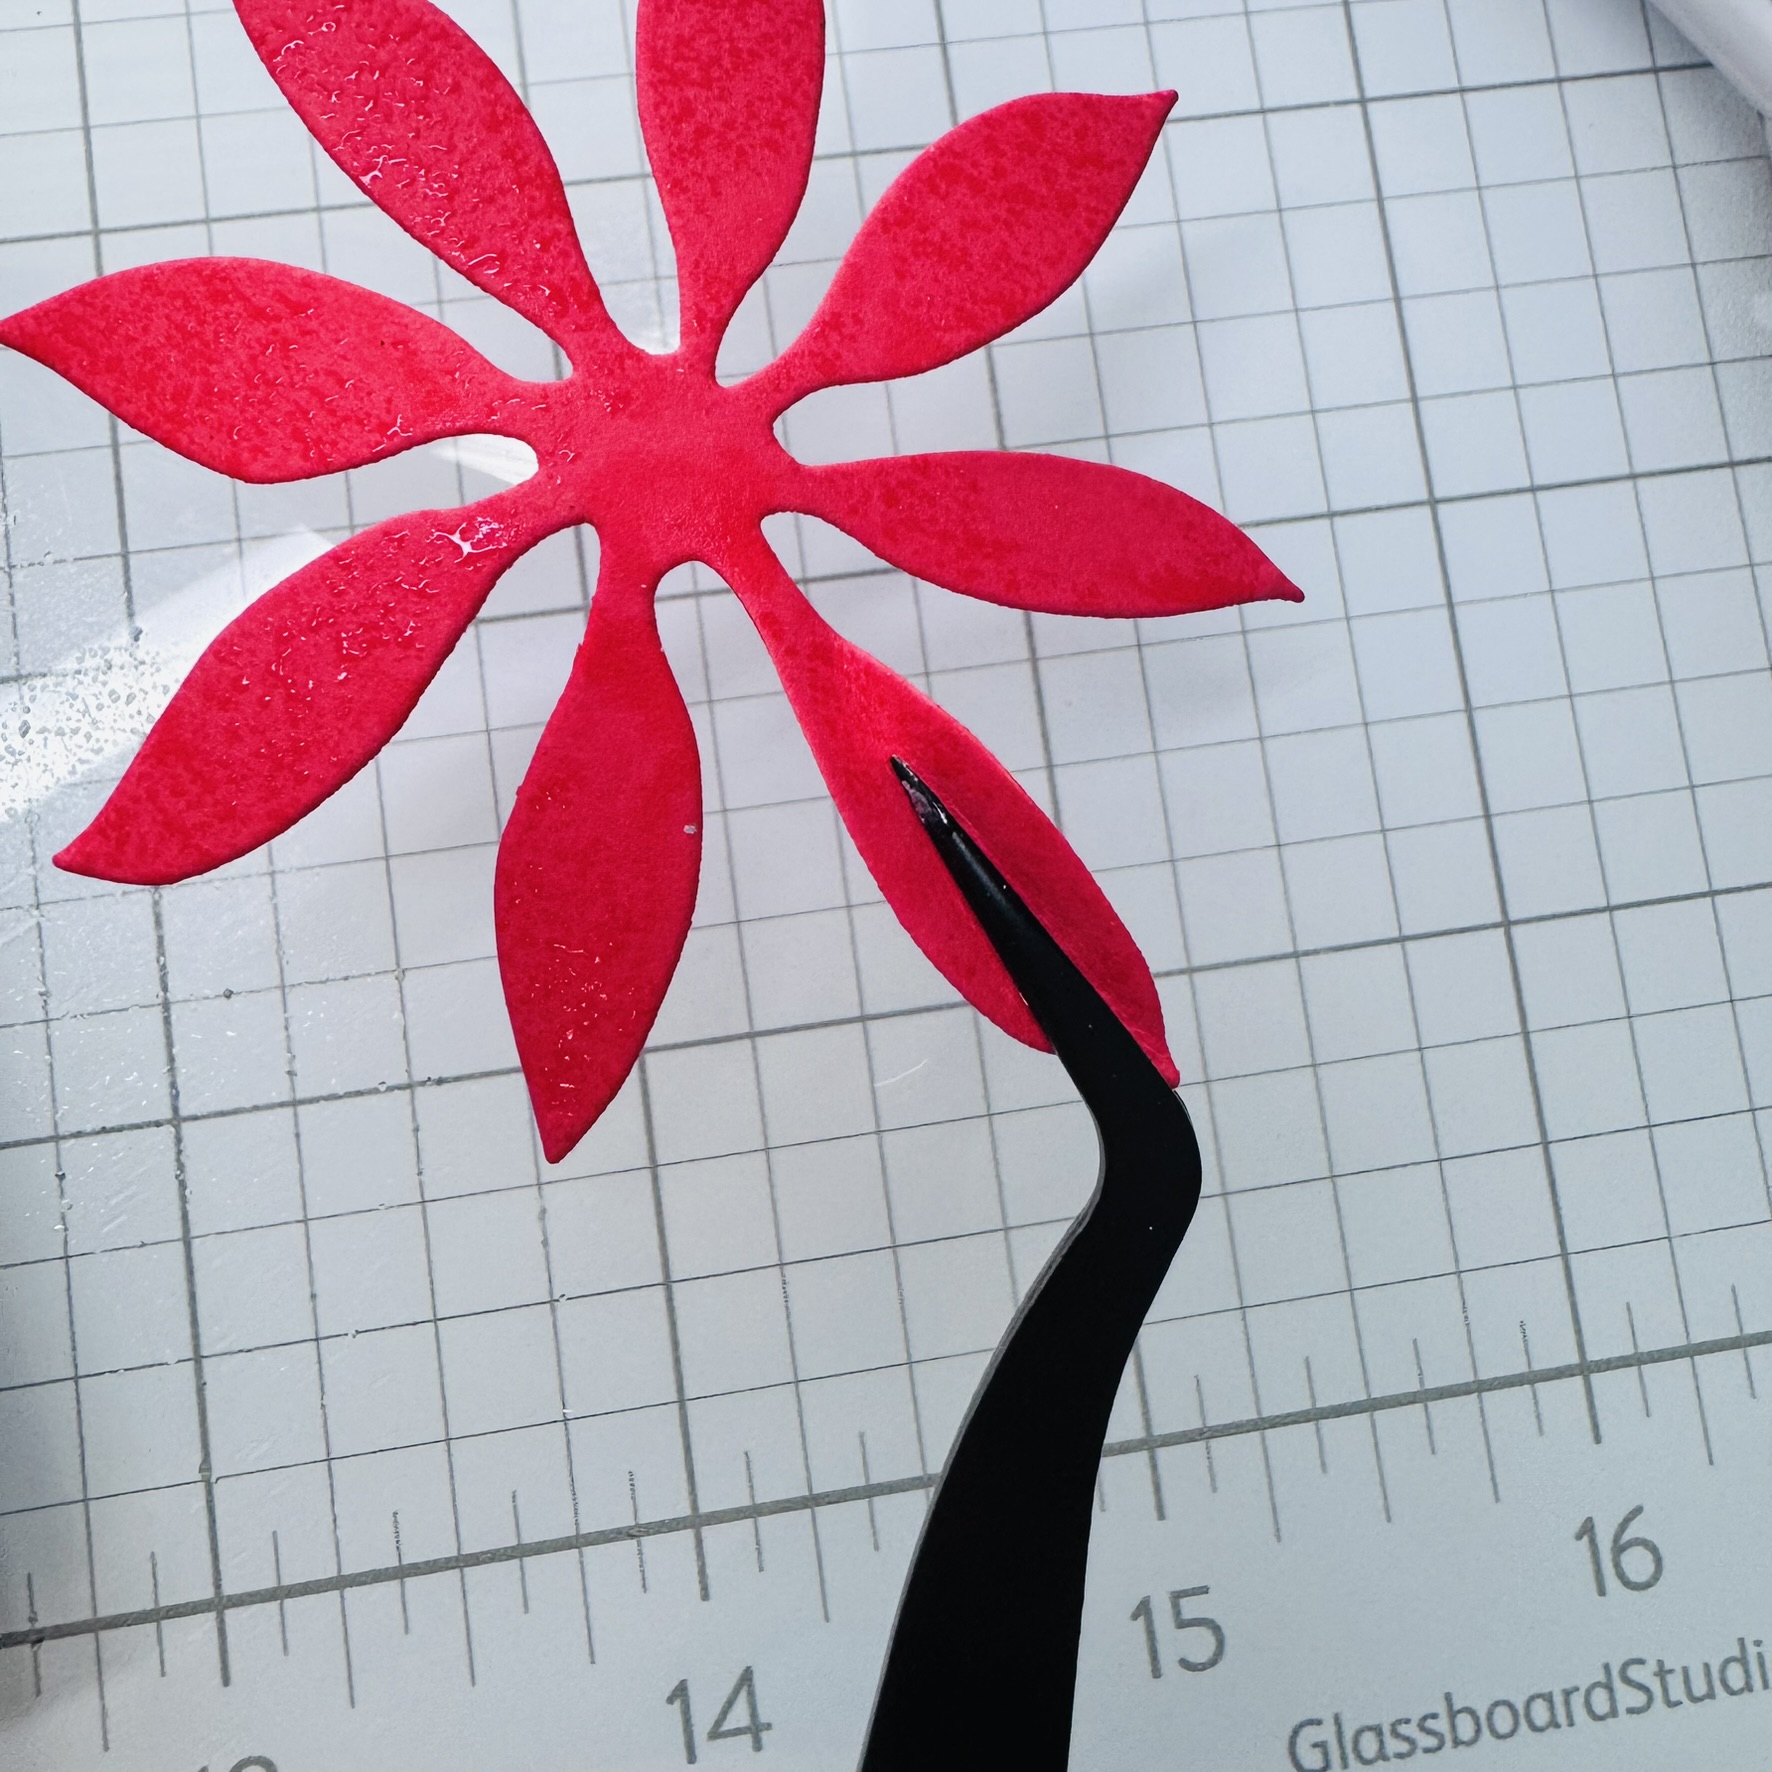
Each petal was lightly misted and shaped with tweezers — a gentle pinch down the center gives that natural curve. I stacked three petals per flower, offsetting them slightly and securing with liquid adhesive between layers.
Finishing Touches
The flower centers were also from the Astrantia Set, cut from Beeswax Cardstock. A quick touch of white gel pen added crisp detail before shaping them into tiny cups with my smallest stylus. These cheerful yellow centers brought life to both the pink and red flowers (and yes, save those extras for another project!).
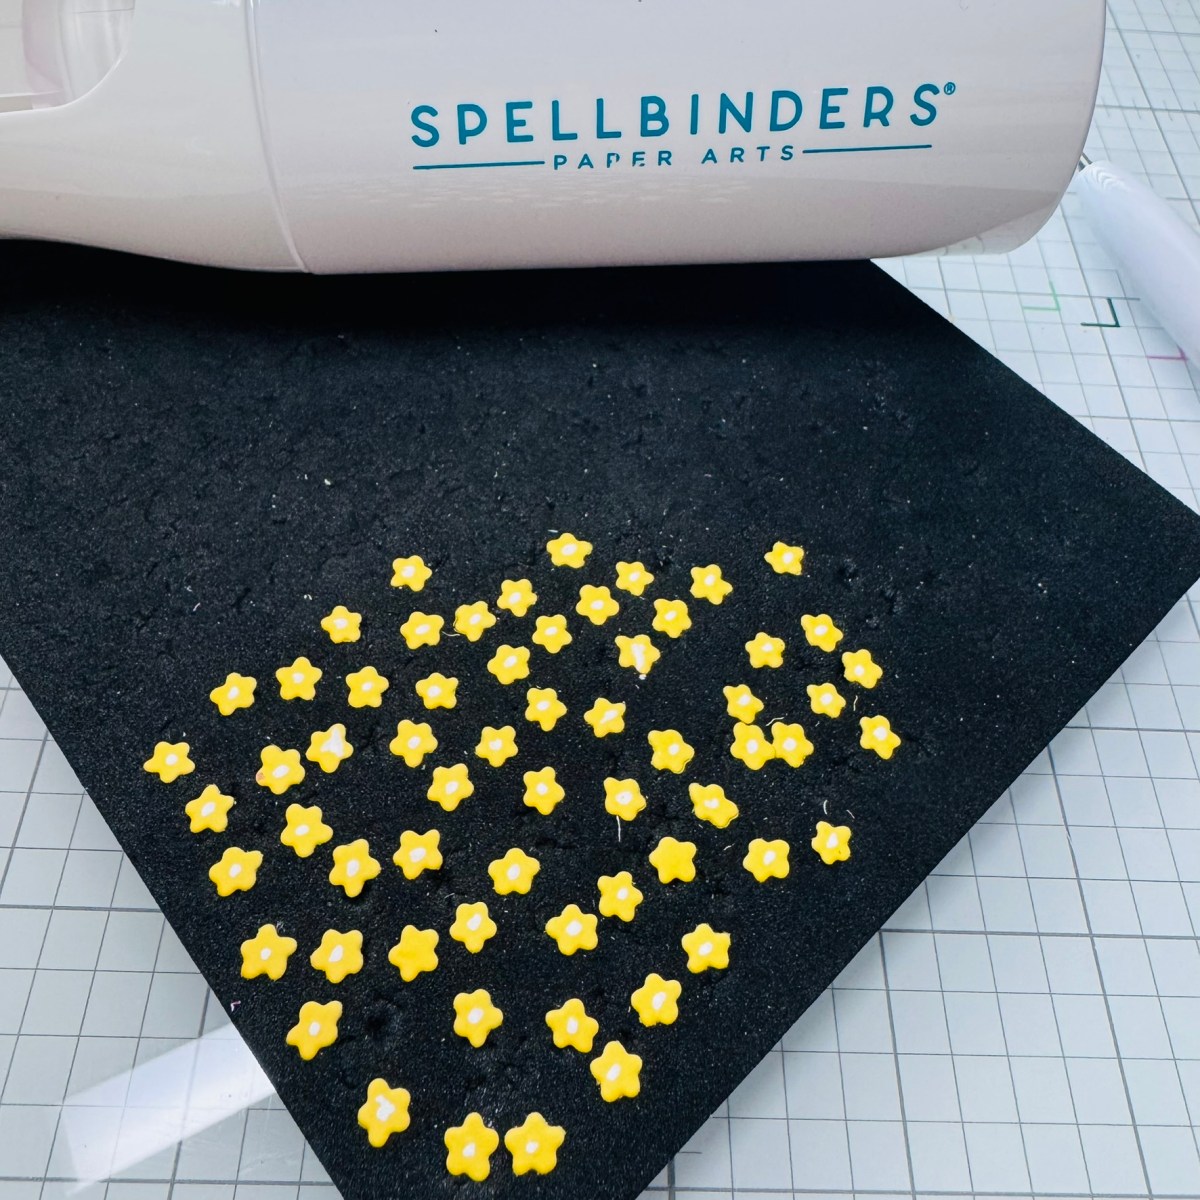
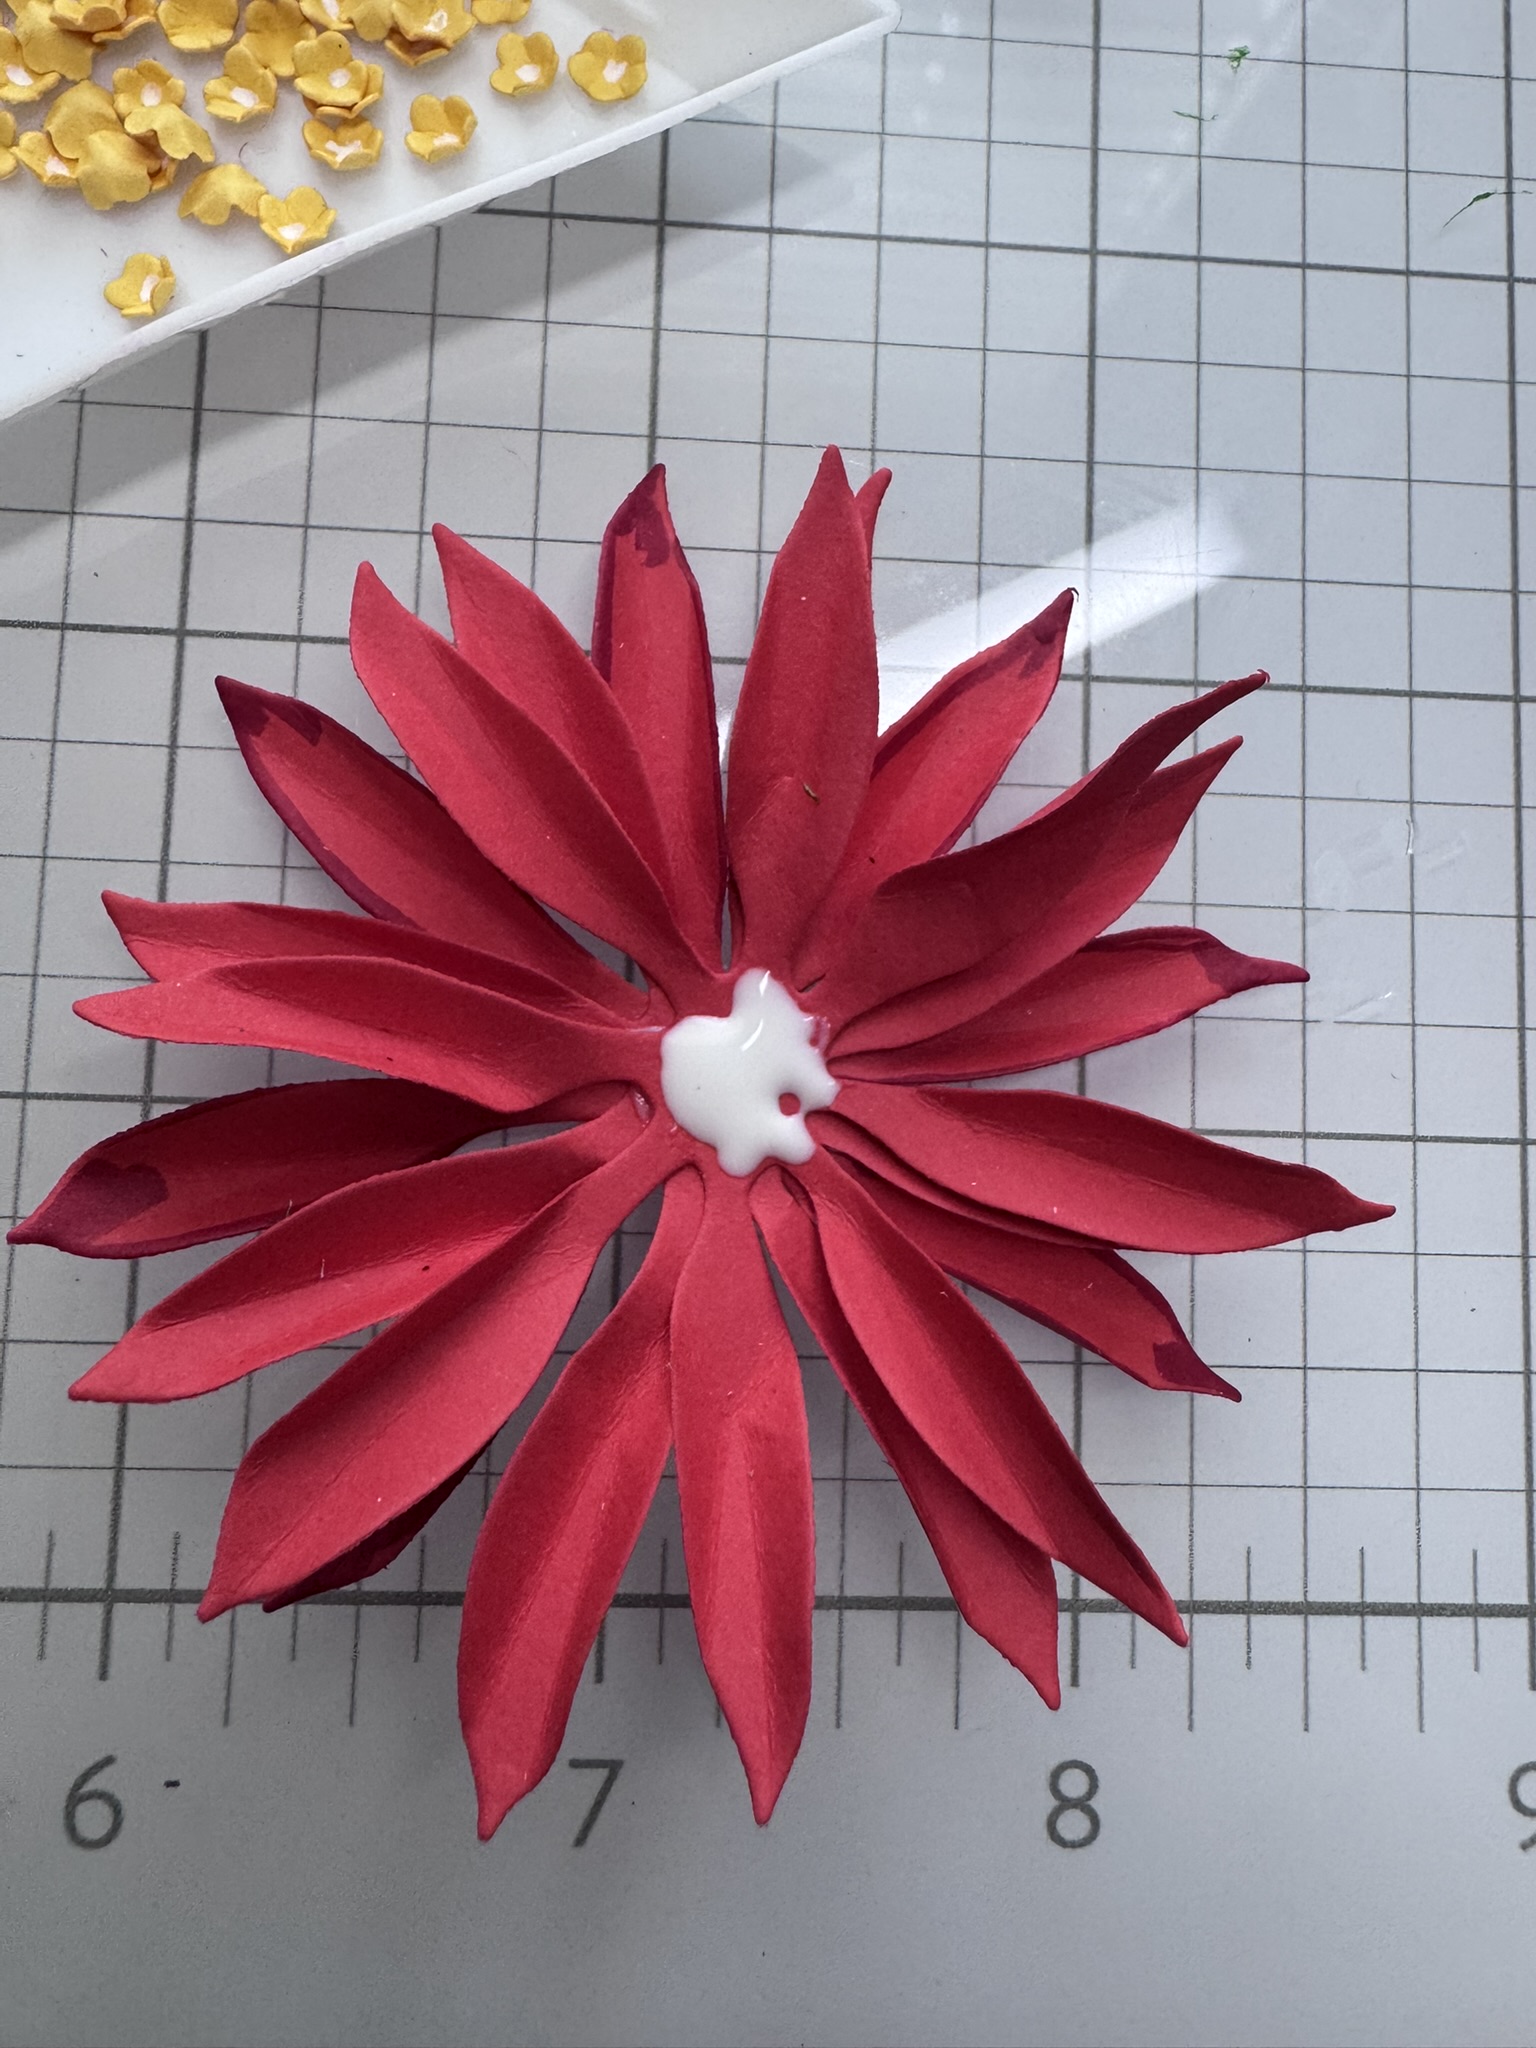
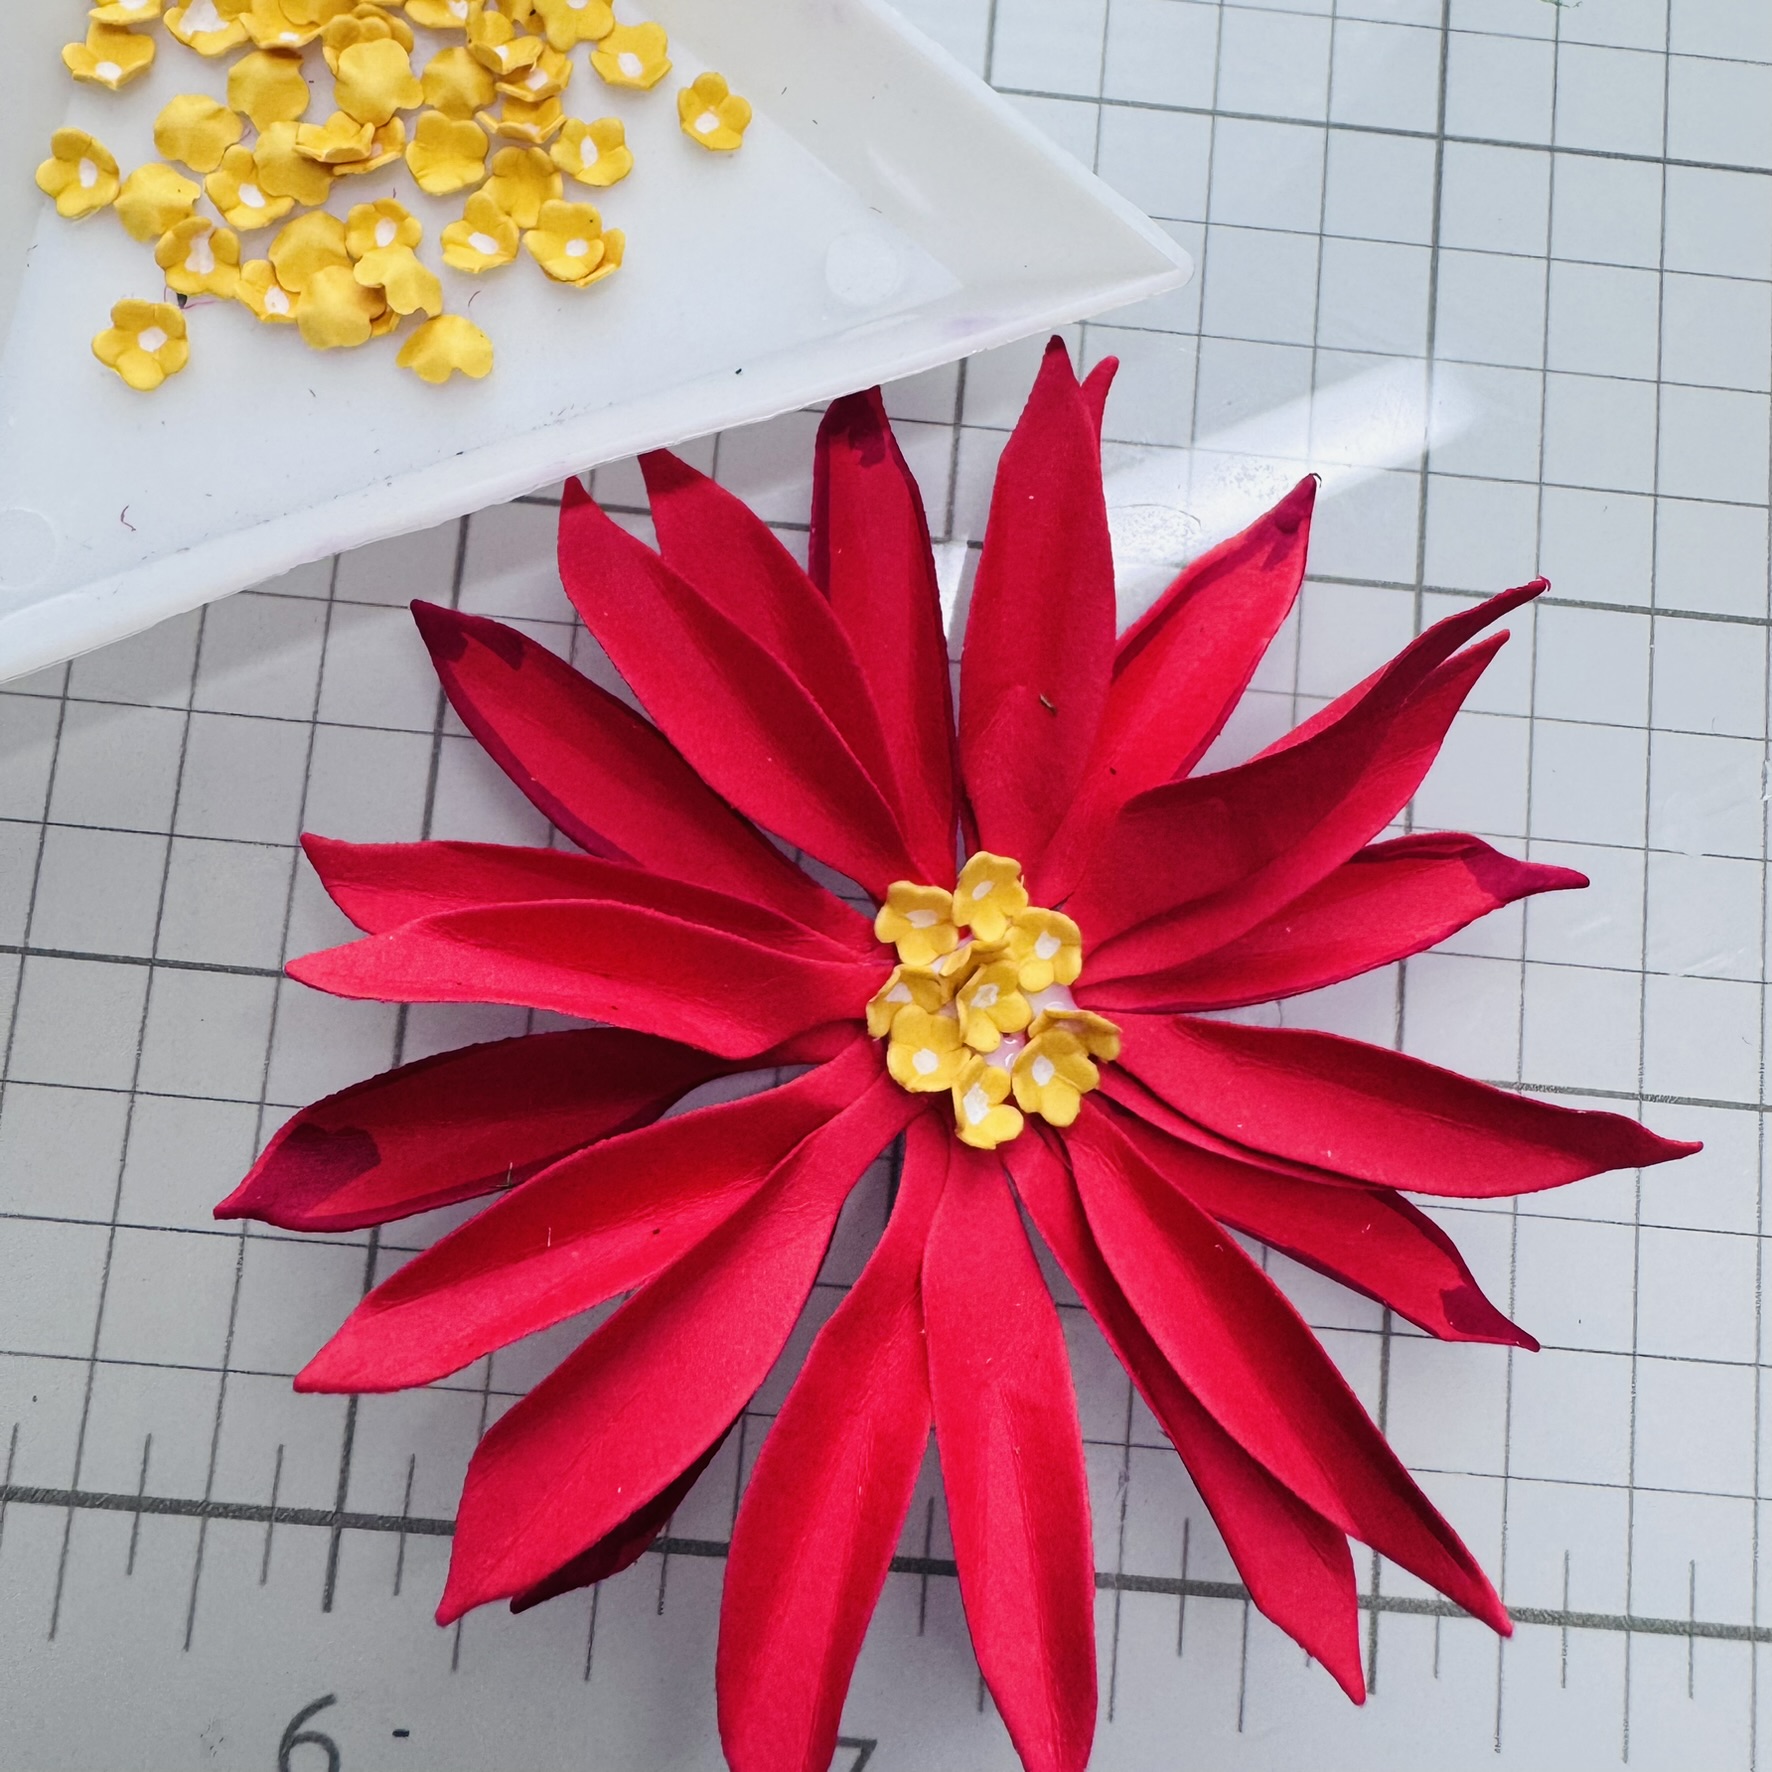
For the berry foliage, I adhered red Polystyrene Beads and let them dry completely — they add such a festive pop.
Sentiment and Background
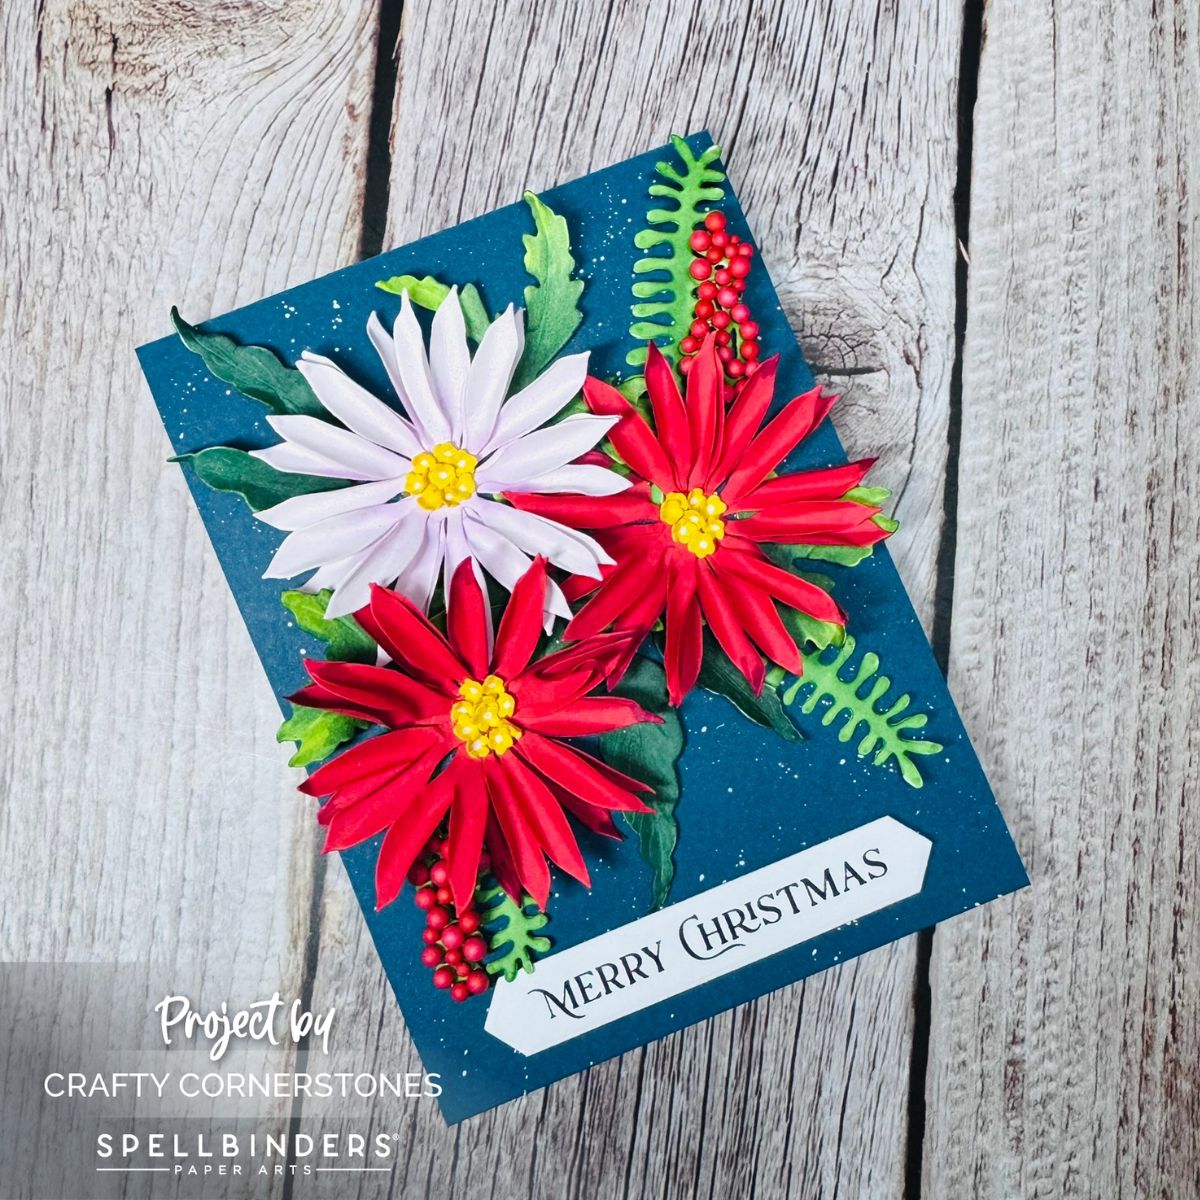
The sentiment came from Better Press Fancy Sentiment Strips, foiled in Black Glimmer Foil. For the background, I used Oceanside Cardstock (4.25″ × 5.5″) and splattered it with Dr. Ph. Martin’s Bleed Proof White for a snowy effect. Once dry, I arranged all my elements — flowers first, then greenery, and finally the sentiment raised with foam tape for dimension.
The result? A layered, elegant Christmas card that feels fresh and full of movement. It’s a reminder to think outside the box and use your supplies in new ways!
Your Turn!
How would you mix and match sets from the Serenity Garden Collection to create your own festive design? I’d love to hear your ideas in the comments!
Thank You
Thank you so much for stopping by Crafty Cornerstones! Your support — especially through my affiliate links — helps me continue sharing tutorials and inspiration. I truly appreciate every visit and every click.
Continue the Serenity Garden Journey
If you’ve enjoyed today’s project, be sure to check out the other posts in this mini series featuring the Spellbinders Serenity Garden Collection! Each design highlights a different technique and product from the collection — from delicate florals to elegant embossed textures — all crafted to spark your creativity. You’ll find links to the previous projects below so you can follow along and gather even more inspiration for your next handmade card.
Other Posts in the Series
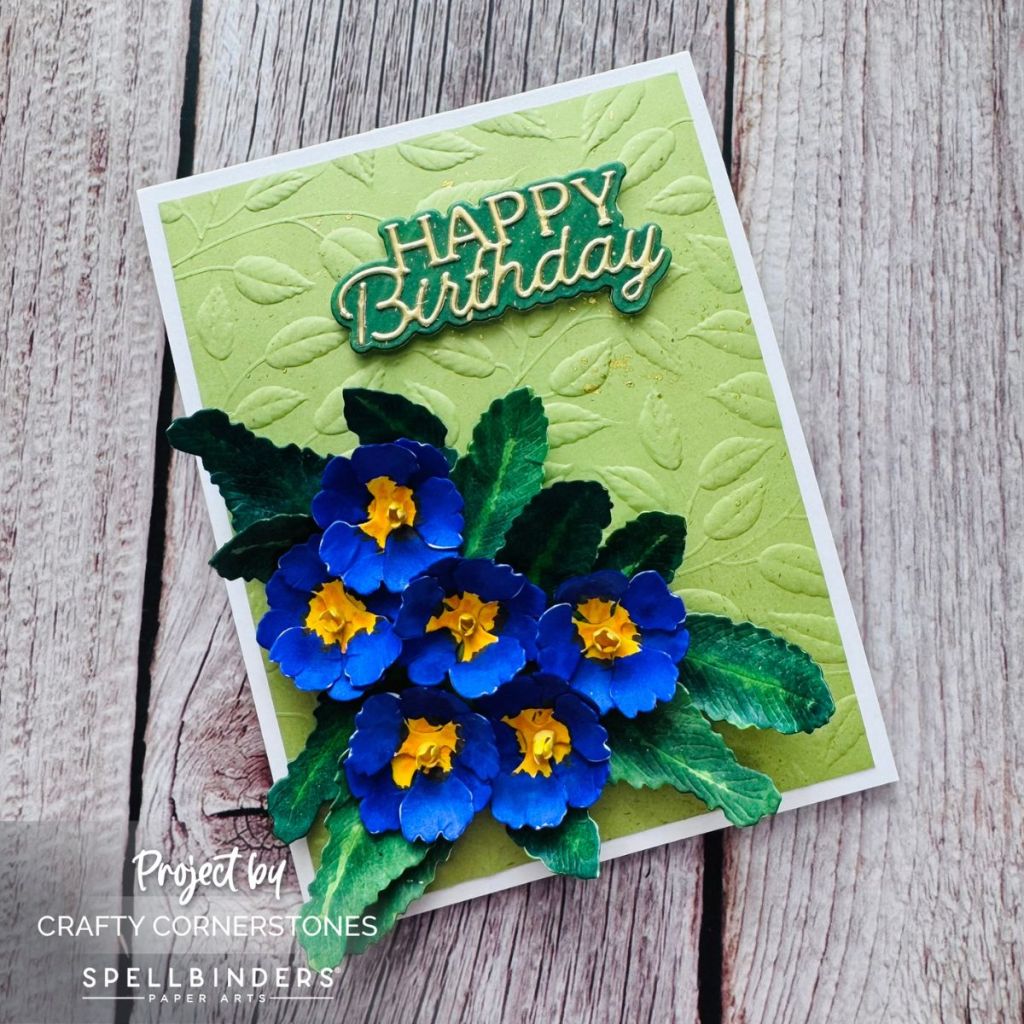
- Day 1: Primrose
- Day 3: Tassel Flower
- Day 4: Ode to a Poet
Supply List
- Spellbinders Serenity Garden Collection – Poetic Foliage Set
- Spellbinders Astrantia Set
- Better Press Fancy Sentiment Strips Press Plate and Die Set
- Classic White, Poppy, Beeswax, Oceanside Cardstock
- OLO Markers (YG 1.7, G 1.8, YG 2.5, Y 8.7, V 1.1)
- Dr. Ph. Martin’s Bleed Proof White
- Round Paint Brush #5
- Mister Bottle
- Black Glimmer Foil
- White Gel Pen
- Red Polystyrene Beads
- Paper Sculpting Tools and Tweezers
- Liquid Adhesive
- Foam Tape
- Platinum 6 Die Cutting and Embossing
- Paper Trimmer
- Glimmer Hot Foiling System
- Scoring board


 Crafty Cornerstones
Leave a comment