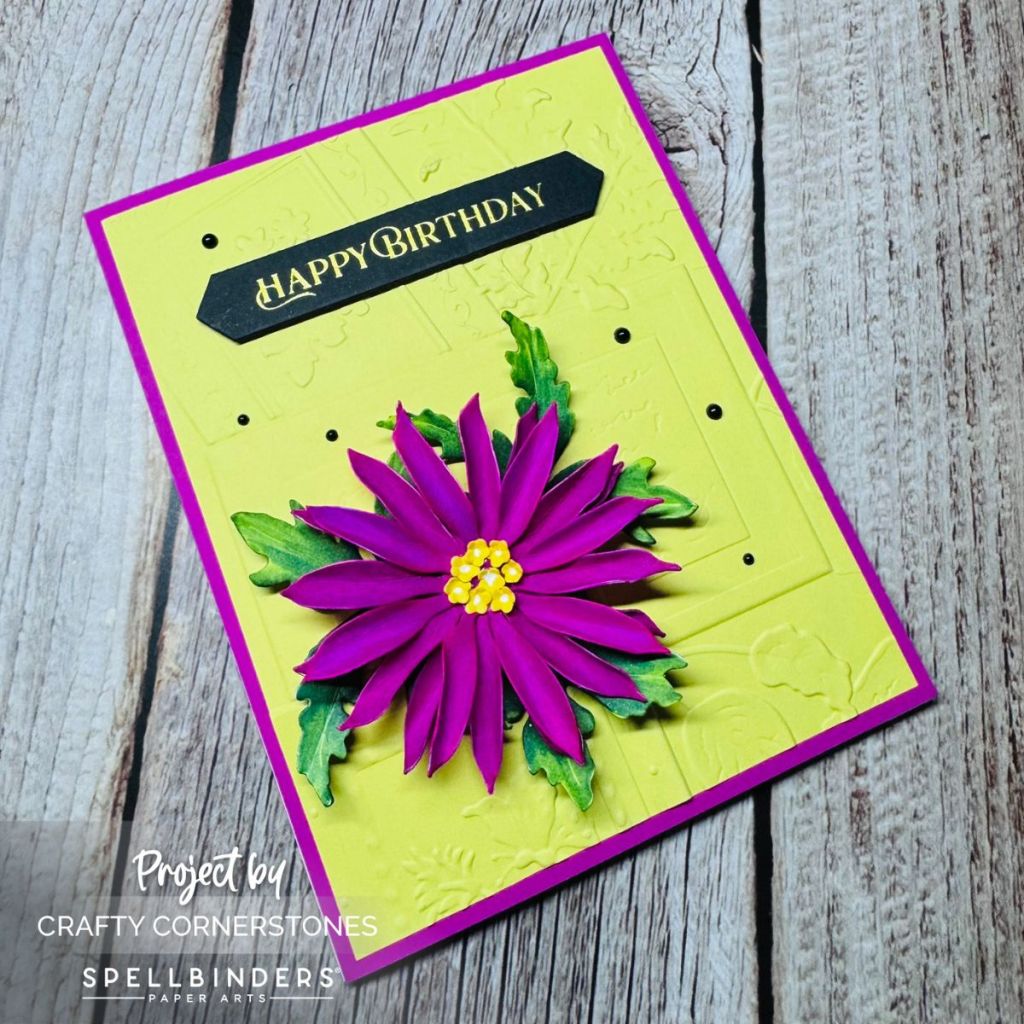
Featuring the Ode to a Poet 3D Embossing Folder from Spellbinders Serenity Garden Collection
Day 4: Ode to Poet Embossing Folder Inspiration
Today is Day 4 in my mini-series featuring the Spellbinders Serenity Garden Collection that launched in June. I am loving this collection so much! The items are incredibly versatile, and it’s been such fun exploring different ways to use them.
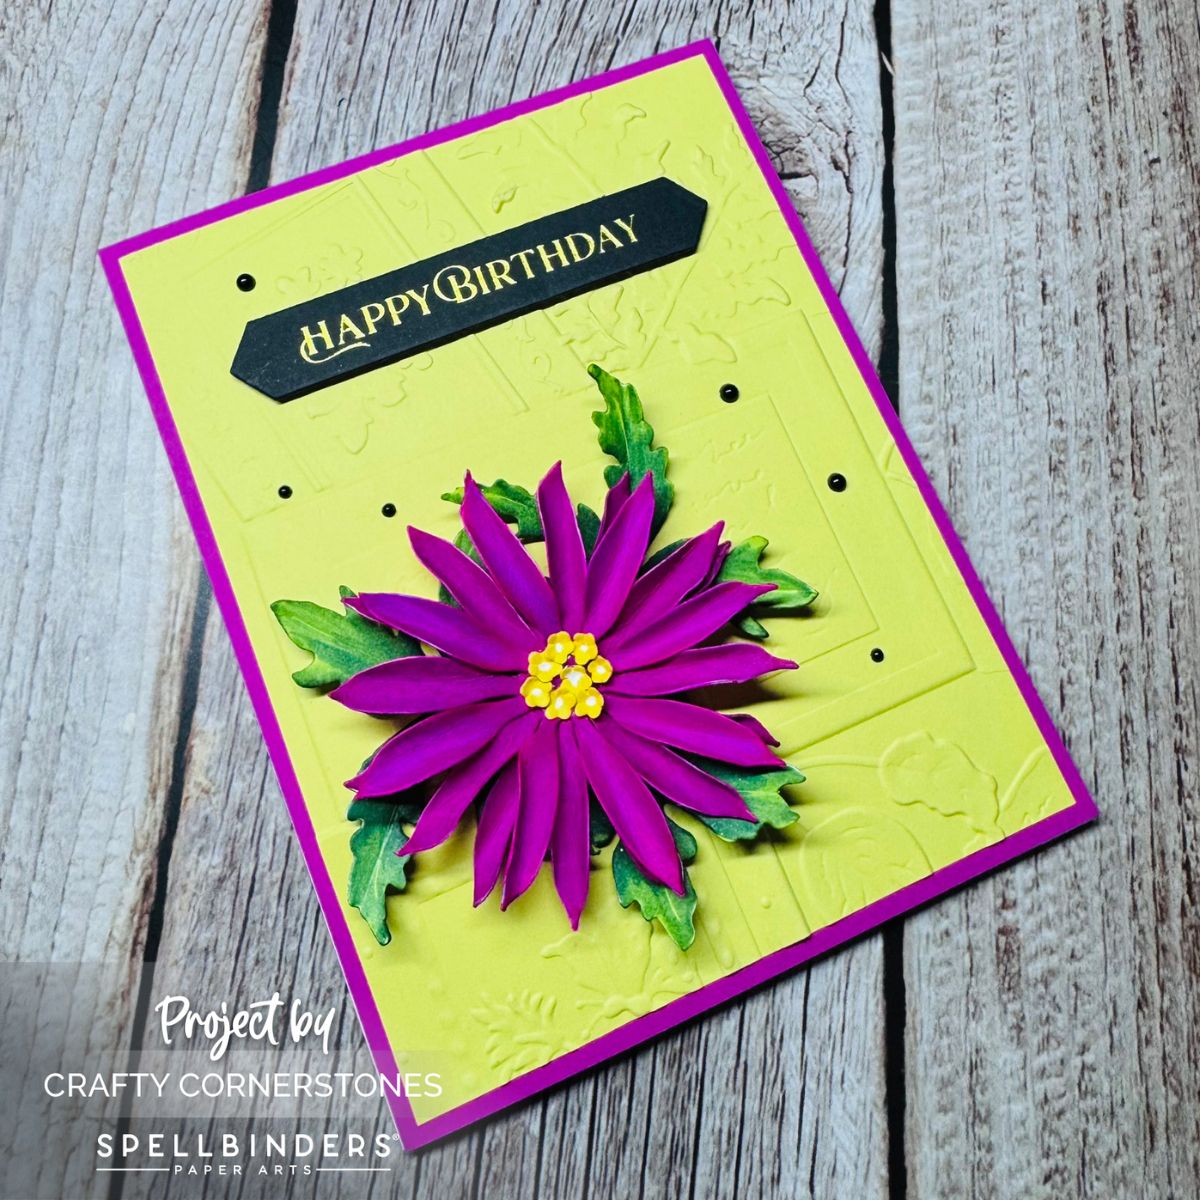
Embossing the Background
For this project, I started with a light yellow cardstock base. Before embossing, I lightly misted the cardstock with water to help prevent cracking as the fibers stretch through the embossing process. Once embossed, I trimmed it down to 4” x 5.25”. I prefer cutting after embossing for precision since paper can slightly shift or shrink during the embossing process.
The Ode to a Poet 3D Embossing Folder is stunning — full of framed flowers and greenery. You can use the entire design or highlight smaller sections for different looks.
Creating the Floral Focal Point
For the flower, I used the Astrantia Die Set from the same collection. I cut three petal rounds and two sets of leaves from Classic White cardstock. Using my Olo Markers, I colored the petals with RV 1.5 and RV 1.7, and the leaves with YG 1.7, G 1.8, and YG 2.5.
You could absolutely use colored cardstock instead, but I find the coloring process therapeutic — it gives me more control over the final look.
Adding Details and Assembly
For the flower centers, I used leftover pieces from a previous project (you can find those instructions in earlier posts). Once colored, I shaped and assembled the flowers and leaves, then set them aside to dry.
For the sentiment, I used the Fancy Sentiment Strips Press + Foil Plate & and Die Set, hot foiled with Gold Glimmer Foil using the Spellbinders Glimmer Hot Foil System.
Finishing Touches
I didn’t have a purple cardstock that matched my flowers, so I created my own border by coloring the edges of white cardstock with the same Olo Markers used on the petals. The embossed panel was adhered to this border, then the flowers and leaves were arranged and secured.
To finish, I added black enamel dots and popped up the sentiment with foam squares for subtle dimension.
Creative Challenge
We have just one day left in the mini-series for the Serenity Garden Collection by Spellbinders — but don’t let your creativity stop there! What will you make next? A bright summer bouquet? Warm yellows and oranges for a fall piece? The possibilities are endless, and I can’t wait to see what you create.
Thank you so much for stopping by Crafty Cornerstones! Your support through affiliate links, at no extra cost to you, helps me continue bringing you new tutorials and inspiration — I truly appreciate it.
Continue the Serenity Garden Journey
If you’ve enjoyed today’s project, be sure to check out the other posts in this mini-series featuring the Spellbinders Serenity Garden Collection! Each design highlights a different technique and product from the collection — from delicate florals to elegant, embossed textures — all crafted to spark your creativity. You’ll find links to the previous projects below so you can follow along and gather even more inspiration for your next handmade card.
Previous Posts in the Series:
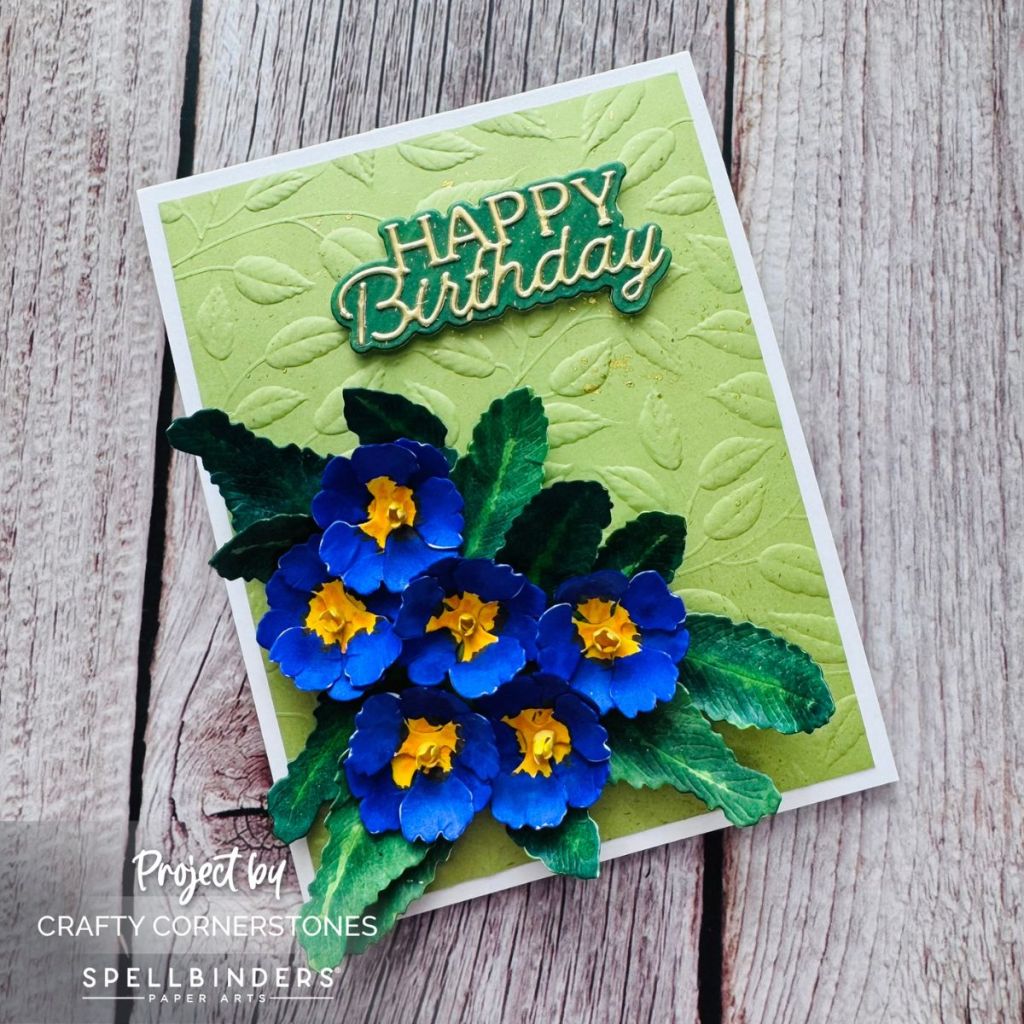
- Day 1: Primrose
- Day 2: Poetic Foliage
- Day 3: Tassel Flower
Supply List
- Spellbinders Serenity Garden Collection – Ode to a Poet 3D Embossing Folder
- Spellbinders Astrantia Die Set
- Spellbinders Fancy Sentiment Strips Press + Foil Plate & and Die Set
- Olo Markers: RV 1.5, RV 1.7, YG 1.7, G 1.8, YG 2.5
- Classic White Cardstock
- Gold Glimmer Foil
- Paper Sculpting Tools
- Mighty Mister Bottle
- White Gel Pen
- Beeswax ColorWheel Cardstock
- Black Enamel Dots
- Foam Squares
- Spellbinders Platinum 6 Die Cutting and Embossing Machine
- Spellbinders Glimmer Hot Foil System
- Paper Timmer
- Score Board


 Crafty Cornerstones
Leave a comment