
A nostalgic holiday card featuring an Old‑Fashioned Christmas Stocking
Holiday Memories and Handmade Traditions
Fall and winter crafting is in full swing, and I could not resist creating with the Old‑Fashioned Christmas Stocking from Spellbinders. Growing up, every member of my family had a handmade stocking with their name stitched across the top. My Great Aunt and Grandmother lovingly created each one, and as our family grew, new stockings were added so no one was ever left out. My mom still has all of them, and we continue to use them whenever we’re home for Christmas.
While today’s project doesn’t include a name on the stocking, it still brings back that same childhood joy — the excitement of waking up to a stocking filled to the brim with surprises.
Stuffed Christmas Stocking Card

Die Cutting the Stocking Pieces
I began by cutting all the elements for the stocking using the Old‑Fashioned Christmas Stocking Die from Spellbinders. This set has so many charming details, and it’s easy to customize depending on your color palette or holiday theme.
Creating the Embossed Background
For the background, I used the Diamond Blocks 3D Embossing Folder from Spellbinders. It adds a beautiful woven texture that pairs perfectly with the cozy stocking theme.
Cardstock Colors Used
To build the stocking and embellishments, I used the following Spellbinders cardstock colors:
- Blush – Bow and Holiday Joy sentiment
- Tutu – Stocking top, toe, and heel
- Dahlia – Main stocking and sentiment backer
- Rainforest – Leaves
- Pomegranate – Flower
- Cranberry – Flower and holly berries
- Fern – Holly leaves
- Cinnamon – Branches
- Matte Silver – Ornament
- Mirror Silver – Ornament hanger
- Matte Gold – Berries
Tip: If you prefer coloring instead of die cutting multiple colors, you can cut everything from white cardstock and use markers or watercolors to add shading. Another great option is the Full 48 Colorwheel Cardstock Pack — it gives you a sample of every color and is perfect for discovering your favorites.
Adding Shading and Assembly
Before assembling, I added soft shading to the ribbon and stocking using Cherry Ink from Hero Arts. This tiny step adds depth and dimension without overpowering the design.
Once the ink blending was complete, I assembled the stocking, sentiment, and embossed panel.
Final Card Layout
With all the pieces ready, it was time to decide on the final layout. I adhered the embossed panel to an A2 card base using double‑sided adhesive. I find this works best with embossed backgrounds because it grips more securely.
I originally planned to pop up the stocking with foam tape, but the embossed texture already provided just enough height. Using liquid adhesive, I placed the stocking at a slight angle and left room at the bottom for the sentiment. After adding the Holiday Joy banner, this classic Christmas stocking card was complete.
What do you think?
Do you enjoy creating nostalgic holiday cards, or do you lean more toward modern Christmas designs? I’d love to hear your favorite holiday crafting traditions.
Thank you so much for stopping by Crafty Cornerstones today. Your support means the world to me, and when you use my affiliate links, it helps me continue bringing you free content — at absolutely no cost to you.
Supply List
Spellbinders Supplies
- Old‑Fashioned Christmas Stocking Die
- Diamond Blocks 3D Embossing Folder
- Spellbinders Cardstocks
- Platinum 6 Die Cutting and Embossing Machine
- Scoring Board
- Paper Trimmer
- Stamp Positioning Tool
- Cherry Ink – Hero Arts
- Liquid adhesive
- Double‑sided adhesive
Love Crafty Advent Calendars
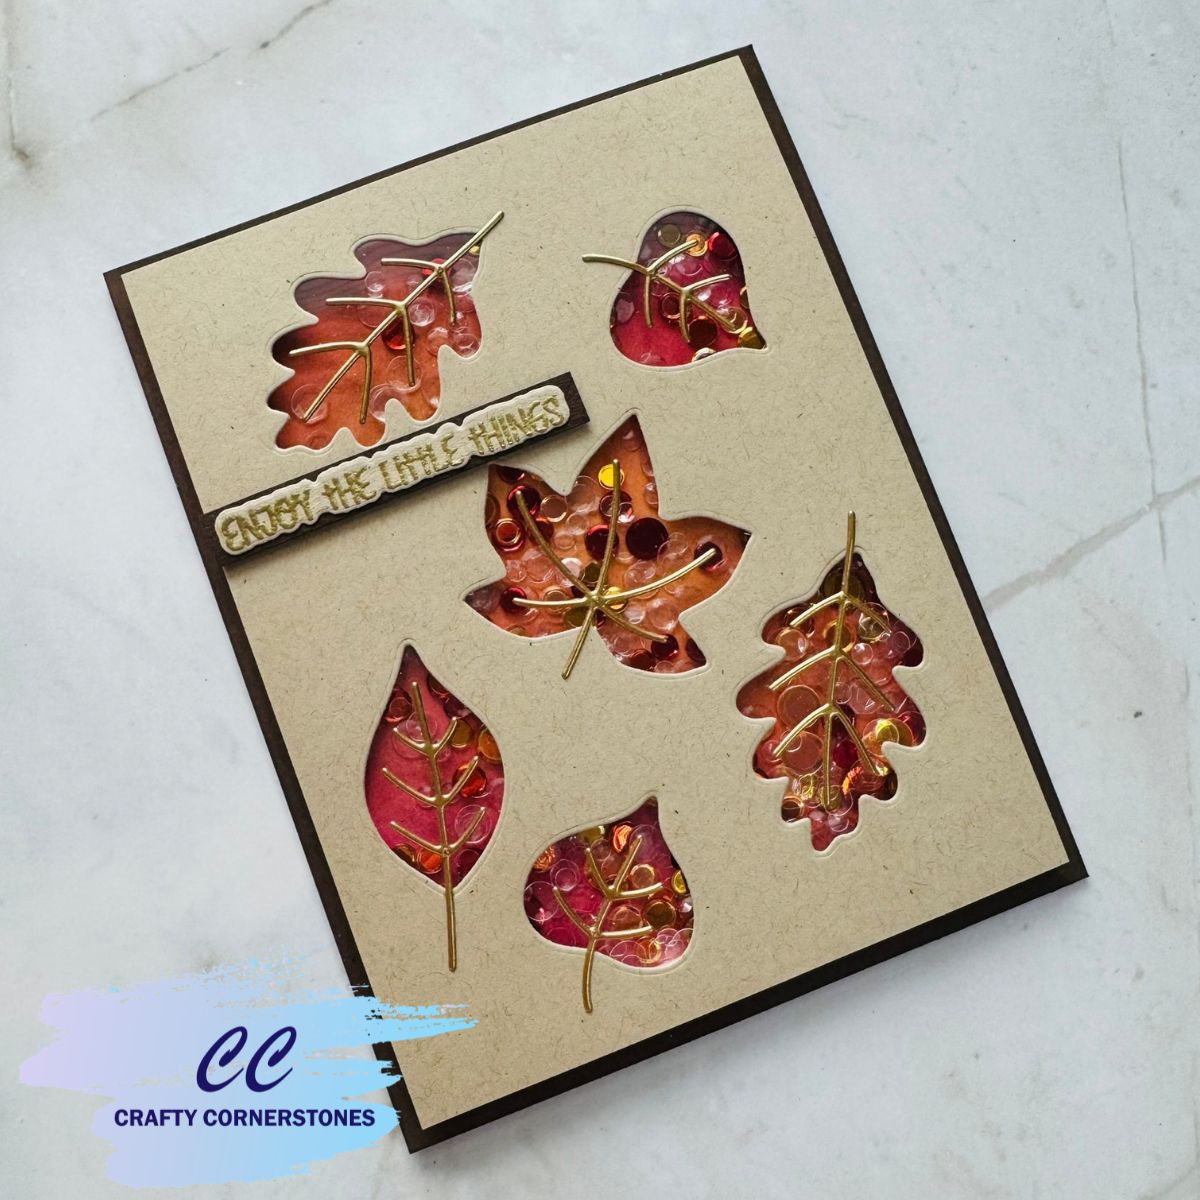
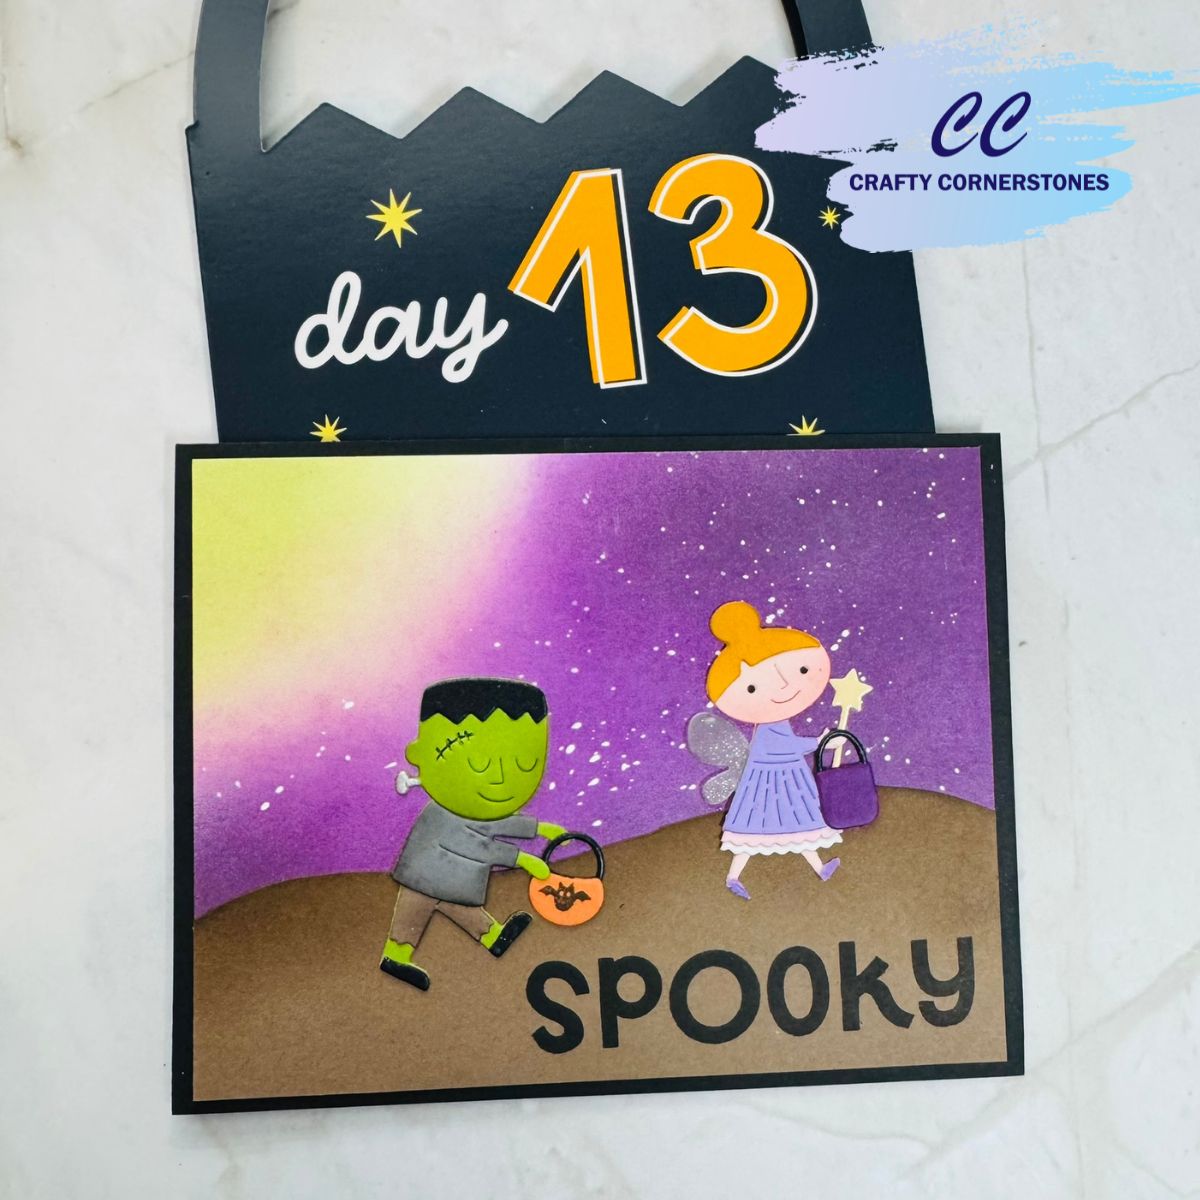
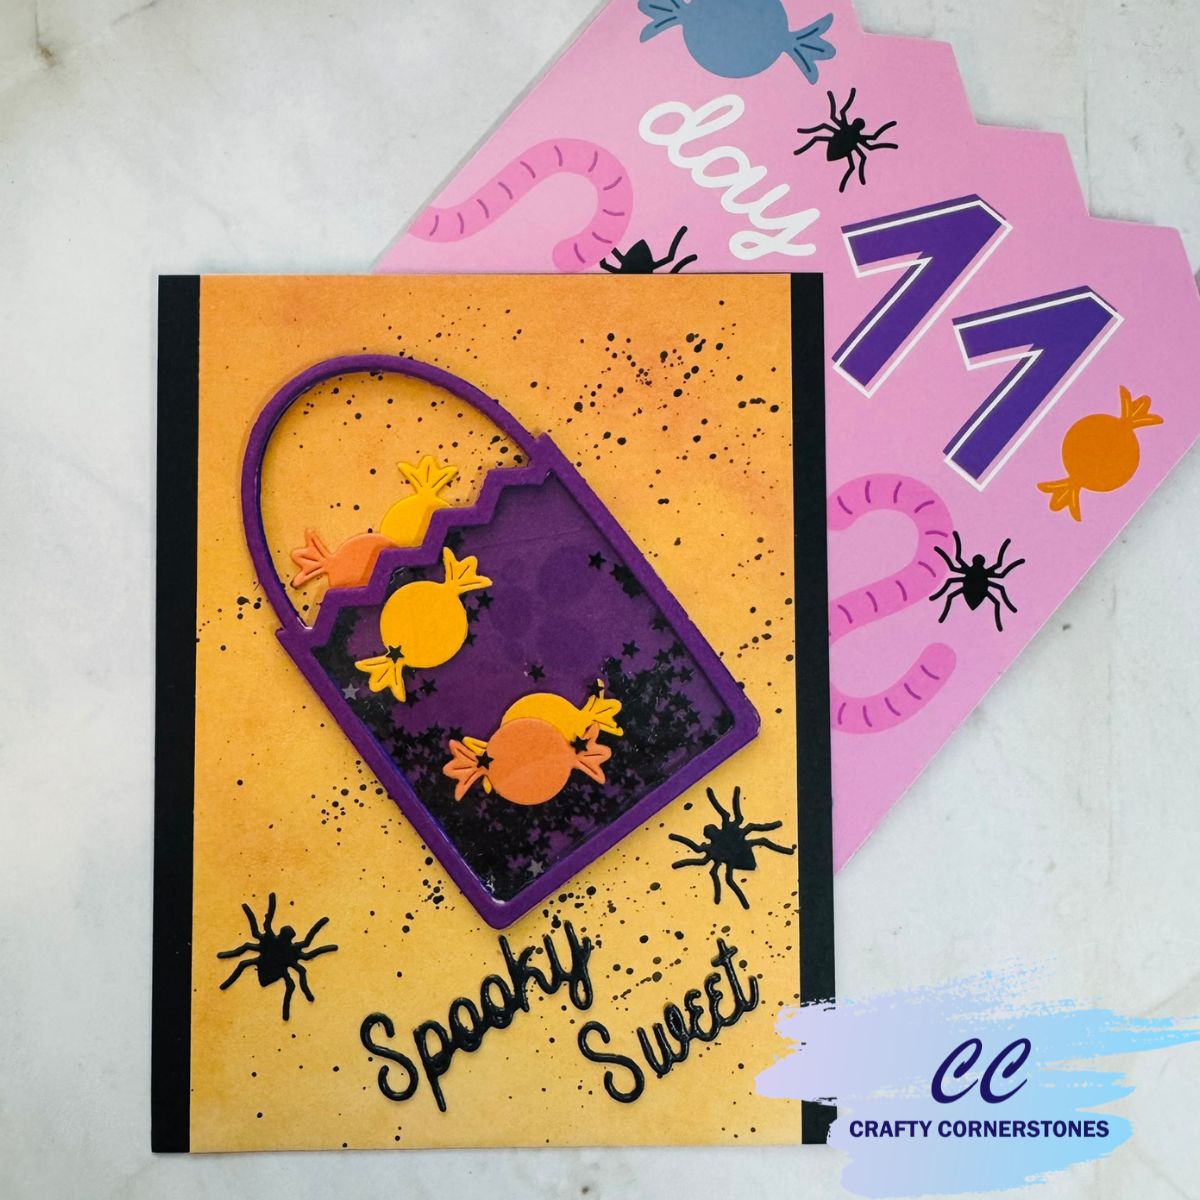
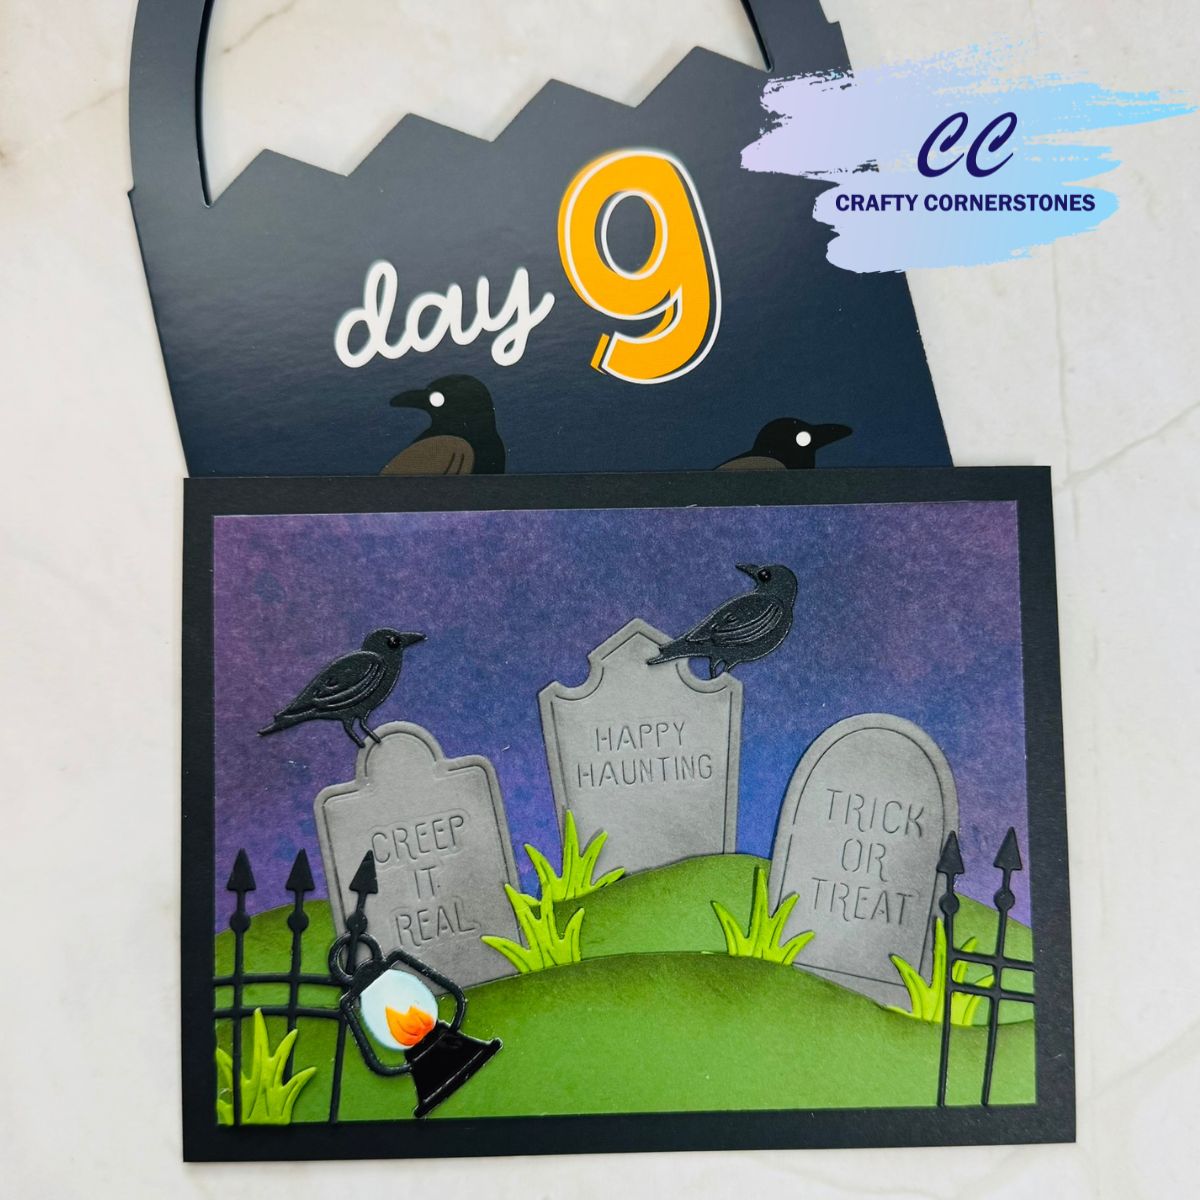
Do you love getting a crafty surprise each day to create with? You won’t want to miss the Spellbinders Crafty Advent Calendar on sale now! This advent calendar is NOT holiday themed but is sure to bring you joy and inspiration. Grab yours before it is gone!



Leave a Reply