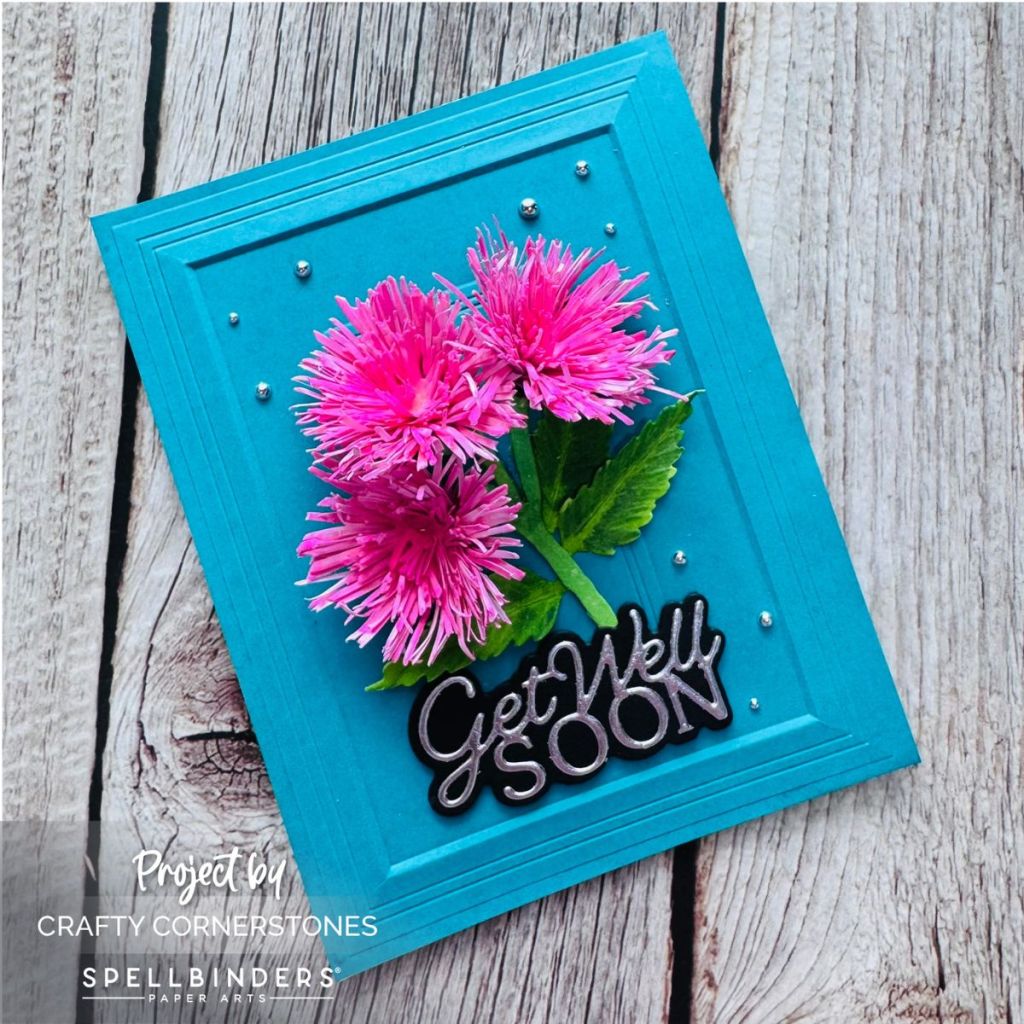
Exploring the Tassel Flower — a stunning 3D bloom from Spellbinders’ Serenity Garden Collection
Halfway Through the Serenity Garden Mini Series
We’re officially halfway through the mini series featuring the gorgeous Serenity Garden Collection from Spellbinders, and today’s project spotlights one of my favorites — the Tassel Flower.
Like the rest of the flowers in this collection, this one turned out to be so much easier than I expected — and the results are absolutely worth the effort!
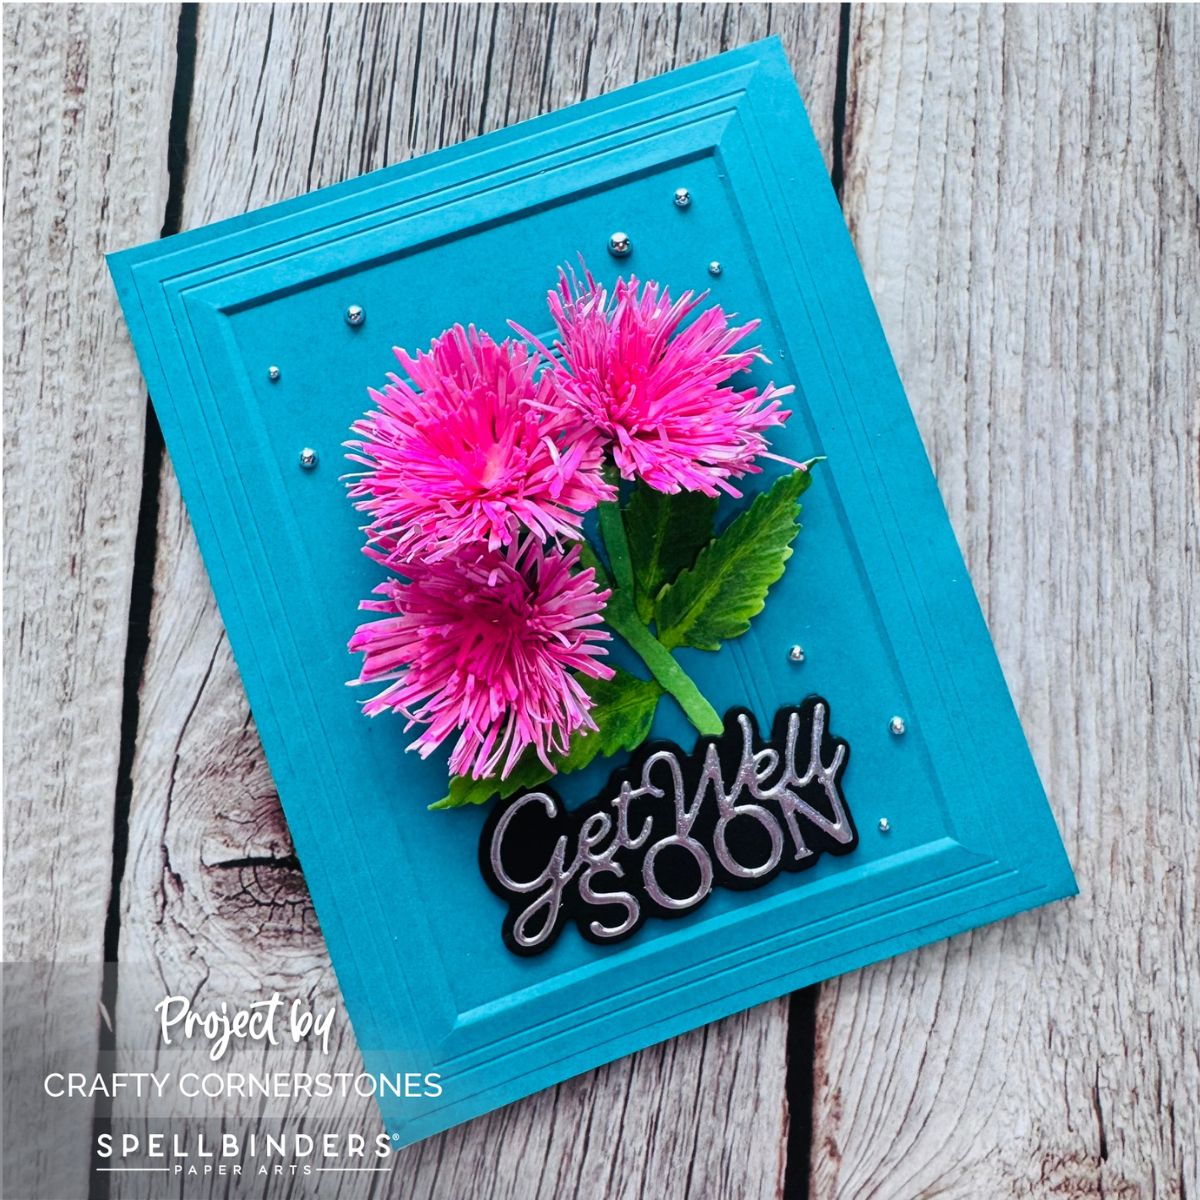
Creating the Tassel Flower
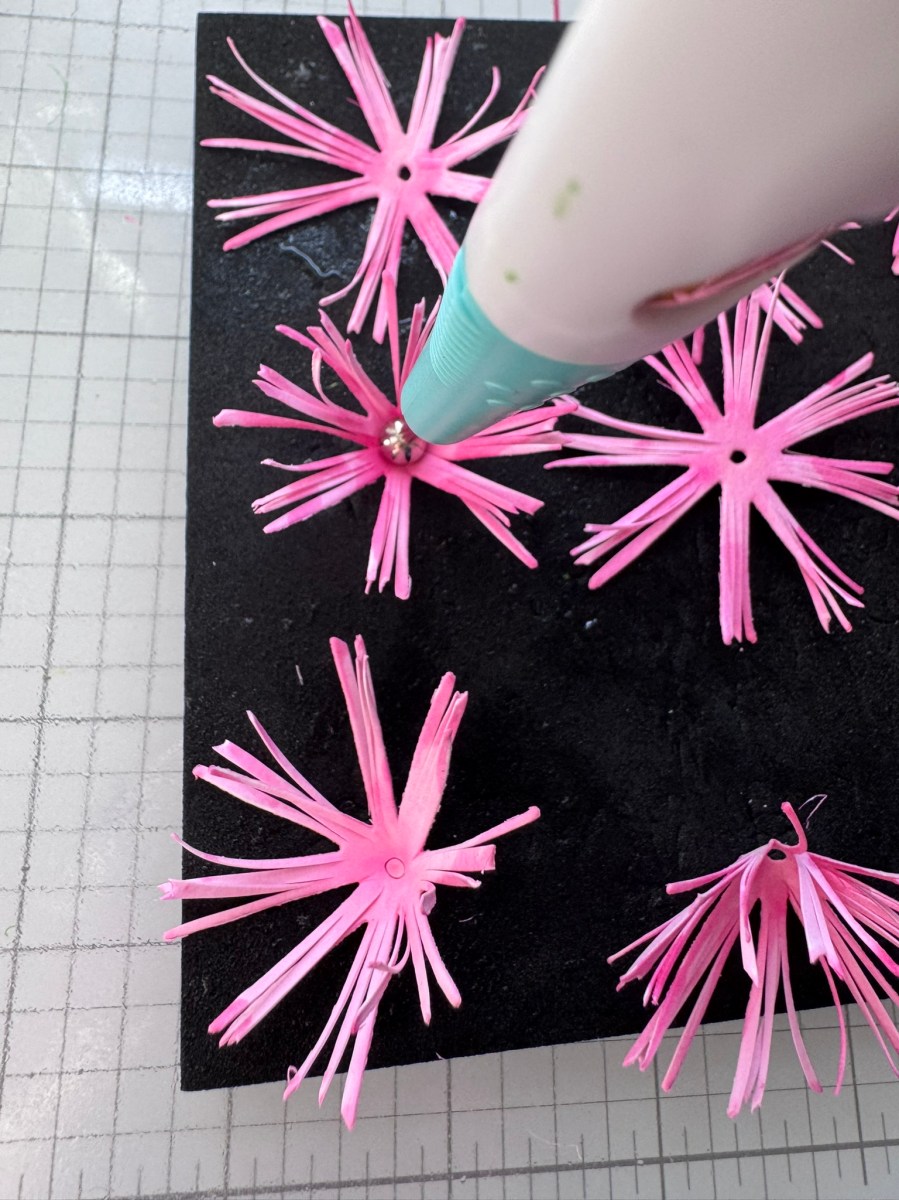
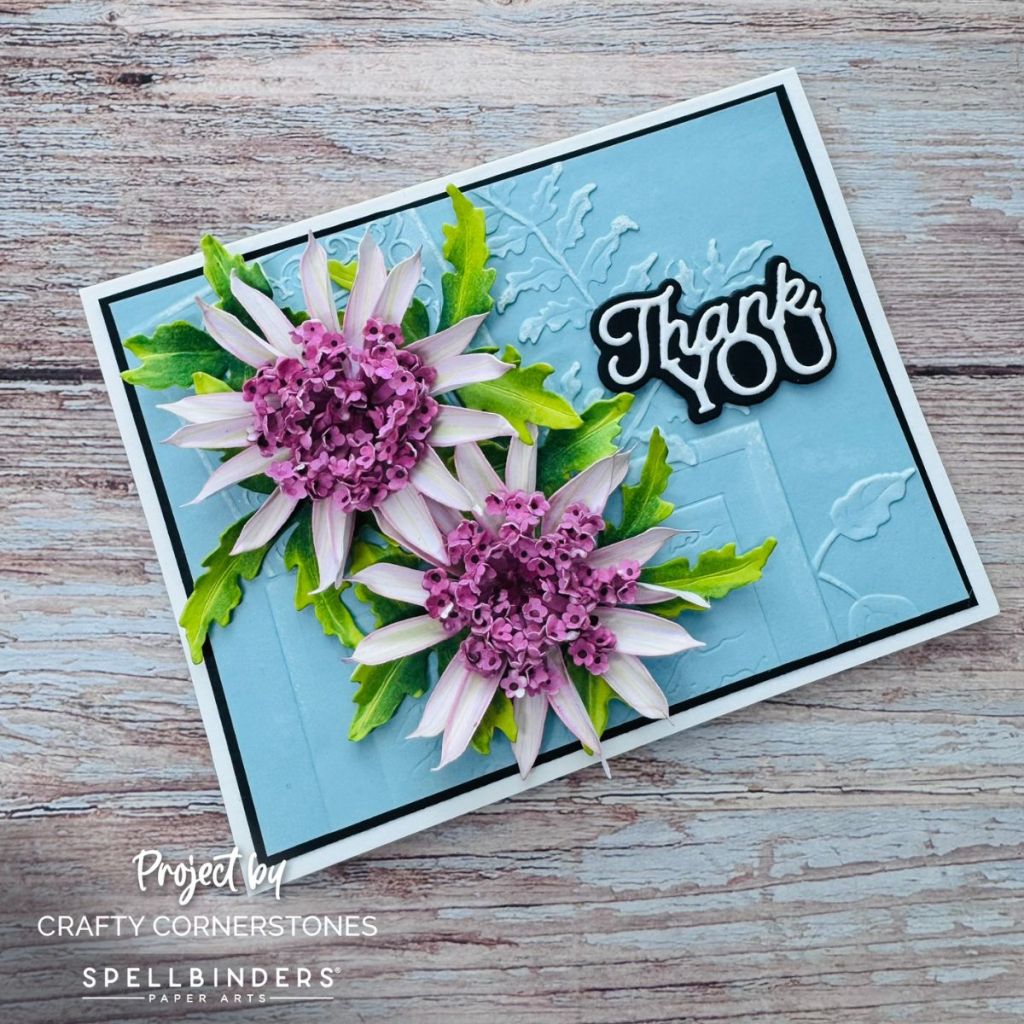
I started with the flowers, choosing shades of pink for a soft, cheerful look. Each flower was cut from white cardstock and colored with Olo Markers RV 0.2 and RV 0.4, keeping the coloring loose and random. Since the petals are cut into tassels, precision isn’t necessary — a little variation adds charm!
You could also start with colored cardstock and deepen the hue using markers for a similar effect. Each flower uses 4 large, 3 medium, and 2 small petal rounds.
Cutting and Shaping the Petals
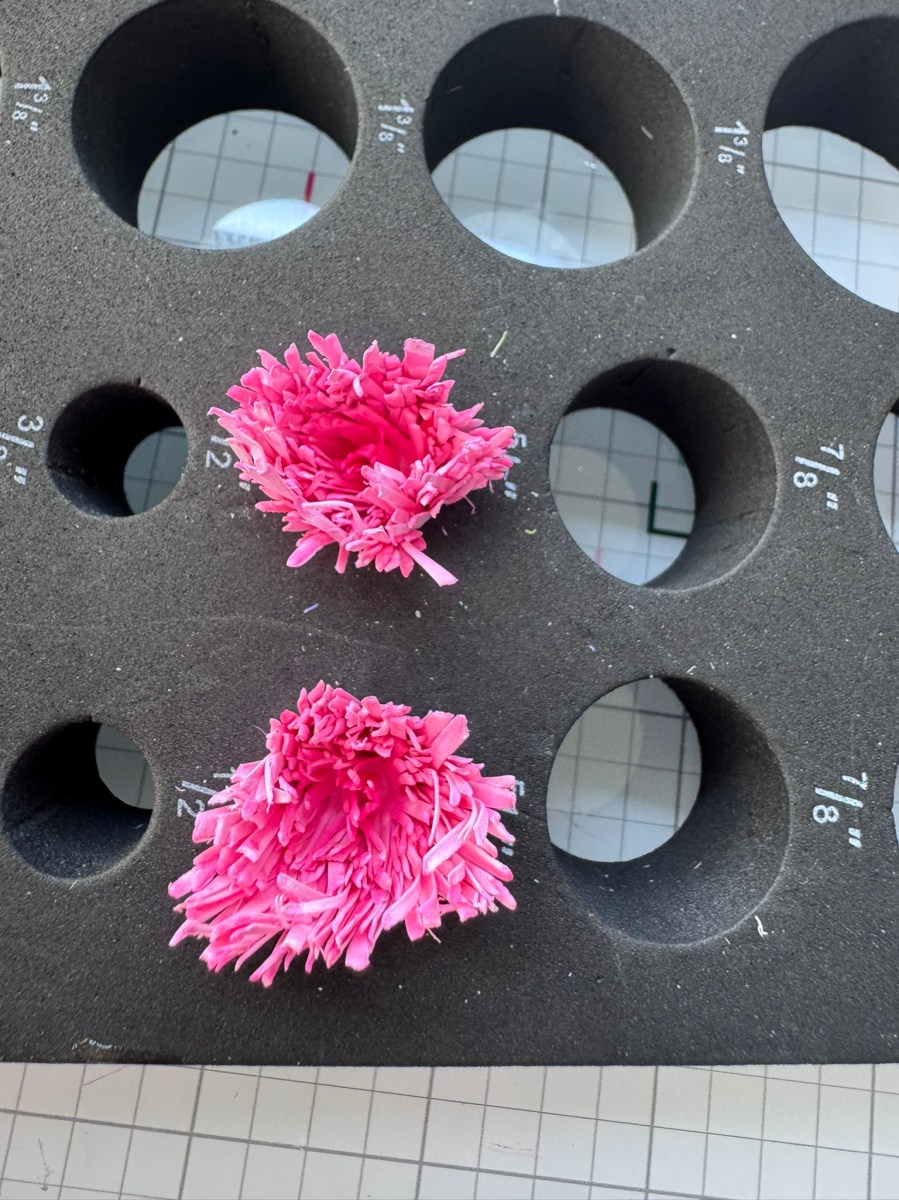
The most time-consuming part is cutting the petals — each one is snipped two to three times to create that tassel texture. Once cut, I lightly misted the petals and used a round stylist to press the centers into a cup shape. Then I set them aside to dry before assembling.
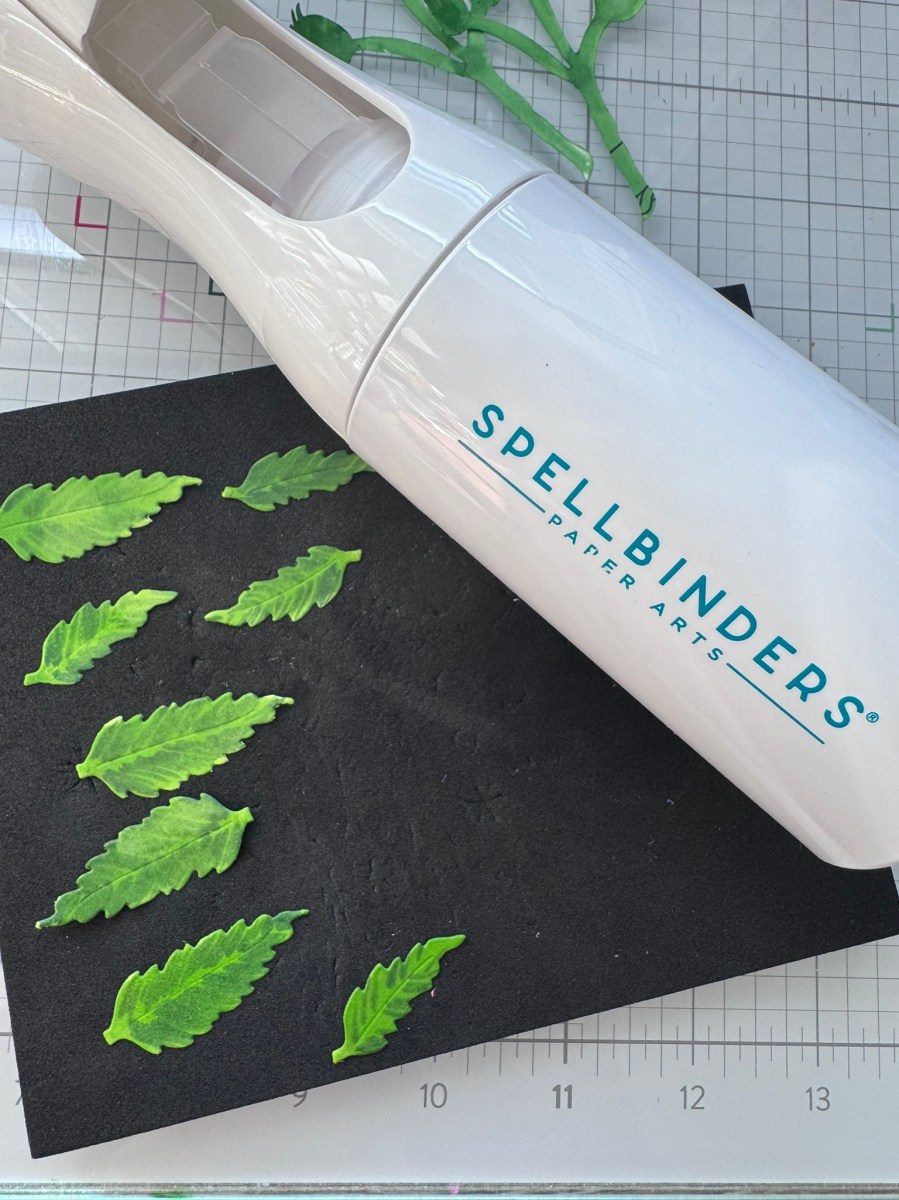
Coloring and Shaping the Leaves
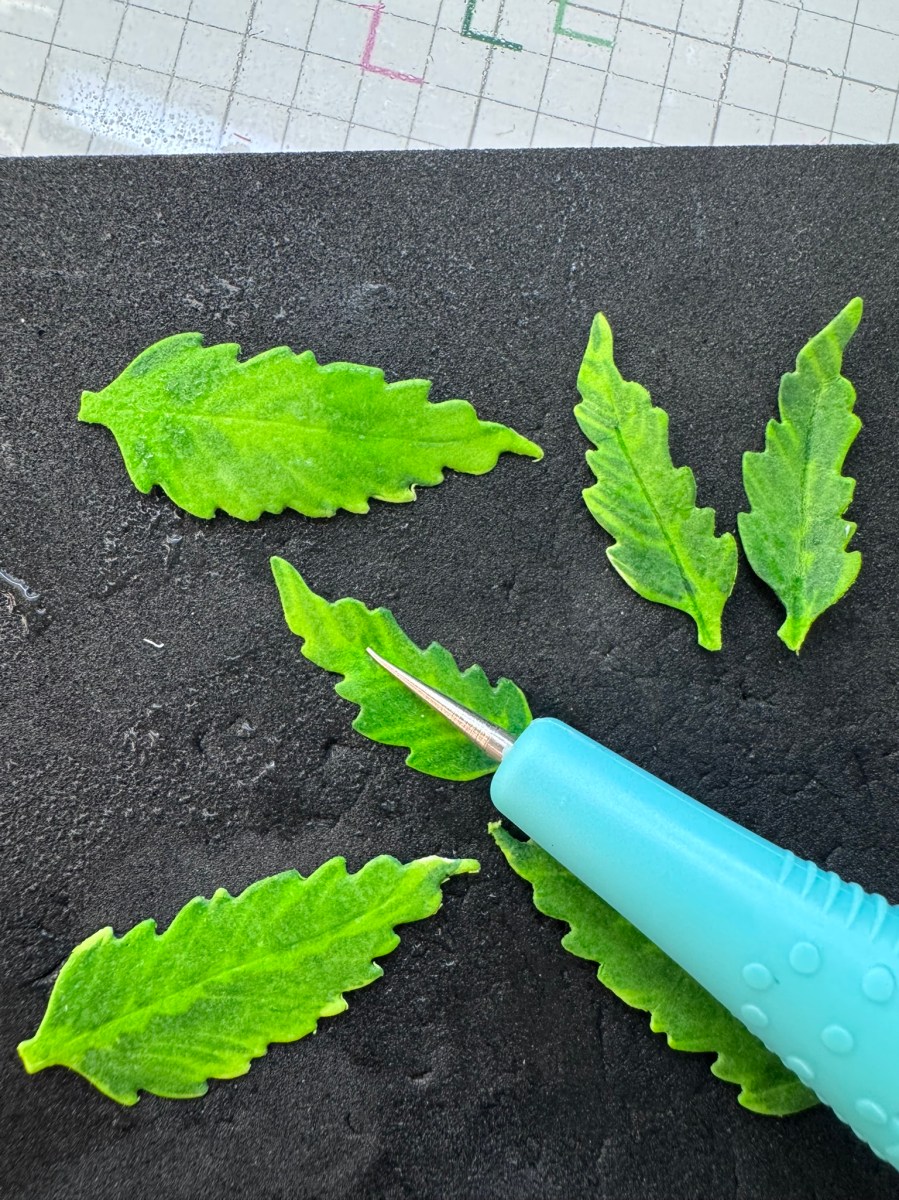
For the leaves and stems, I again started with white cardstock, coloring with YG 1.4 and YG 1.6. I used YG 1.4 for full coverage, then added YG 1.6 randomly and blended the two.
After misting lightly, I shaped the leaves using tweezers — pinching up the center and twisting the tips slightly for a natural curve. To accent the veins, I ran my leaf tool along the lines.
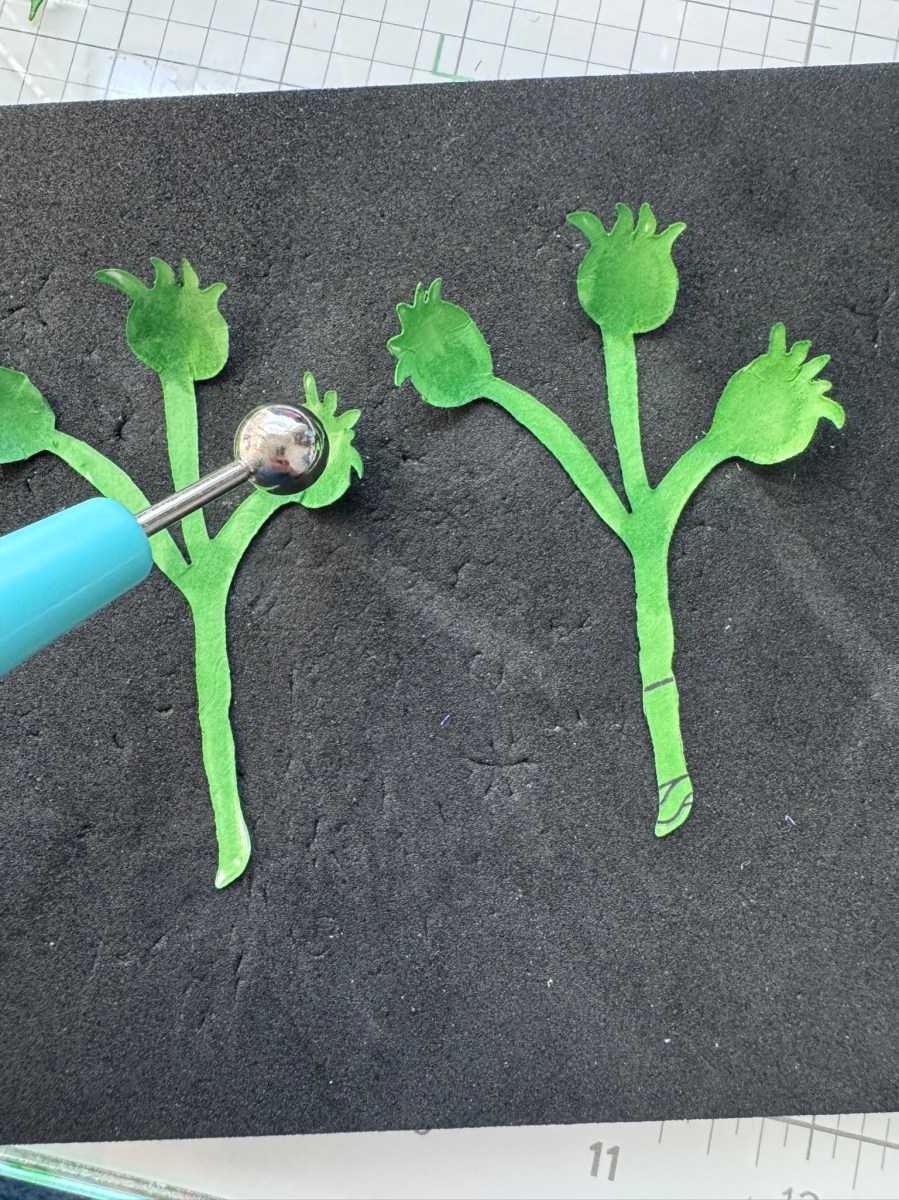
For the flower cups, I used a large ball stylist to create a rounded cup. Two stems were adhered together, so the cups faced opposite directions, forming a perfect cradle for the flower base.
Assembling the Flowers
Once dry, I layered the petals — four large, three medium, and two small — securing each with liquid adhesive. I let them dry in a flower mold tray, but you can easily adjust the shape later by hand.
Building the Card
While the flowers dried, I cut my sentiment using the Spellbinders Layered Get Well Soon Die Set, pairing a black shadow layer with silver foil lettering.
For the background, I embossed teal cardstock using the Spellbinders Molded Frame Embossing Folder, misting lightly to prevent cracking.
After everything dried, I adhered the flowers into their cups, then attached them to the embossed panel. The sentiment was placed over the base of the stem, and I finished with silver half-back embellishments for a polished touch.
Final Thoughts
I love how this card came together — the dimensional flowers add such elegance and texture. It’s a reminder that with a few simple techniques, you can create truly stunning 3D cards.
Prompting Question
Have you tried making dimensional flowers yet? If not, which one from the Serenity Garden Collection would you start with?
Thank You Note
Thank you so much for stopping by Crafty Cornerstones! Your support through affiliate links helps me continue sharing tutorials and inspiration — and I’m so grateful for each visit.
Continue the Serenity Garden Journey
If you’ve enjoyed today’s project, be sure to check out the other posts in this mini series featuring the Spellbinders Serenity Garden Collection! Each design highlights a different technique and product from the collection — from delicate florals to elegant embossed textures — all crafted to spark your creativity. You’ll find links to the previous projects below so you can follow along and gather even more inspiration for your next handmade card.
Other Posts in the Series
- Day 1: Primrose
- Day 2: Poetic Foliage
- Day 4: Ode to a Poet
Now, let’s take a look at the supplies used for today’s Tassel Flower project.
Supply List
- Spellbinders Serenity Garden Collection – Tassel Flower Die Set
- Spellbinders Layered Get Well Soon Die Set
- Spellbinders Molded Frame Embossing Folder
- Olo Markers: RV 0.2, RV 0.4, YG 1.4, YG 1.6
- Classic White Cardstock
- Teal Cardstock
- Silver Foil Cardstock
- Liquid Adhesive
- Paper Sculpting Tools
- Silver Half-Back Embellishments
- Platinum 6 Die Cutting and Embossing Machine
- Scoring Board
- Paper Trimmer


 Crafty Cornerstones
Leave a comment