
Exploring the versatility of the Hero Arts Fresh Flowers Collection — from soft vellum shakers to bold waxed blooms.
To say I’m loving the Fresh Flowers Collection from Hero Arts would be an understatement. If you missed this bundle, go grab it now — you won’t regret it!
I created three cards using the same stencil and, just for fun, a bonus birthday tag using other elements from the set. This collection is packed with possibilities, and today I’m showing how one stencil can inspire completely different looks.
Card One: Shaker Thank You Card
For my first card, I wanted a shaker with a twist — instead of a clear window, I used vellum for a soft, subtle finish.
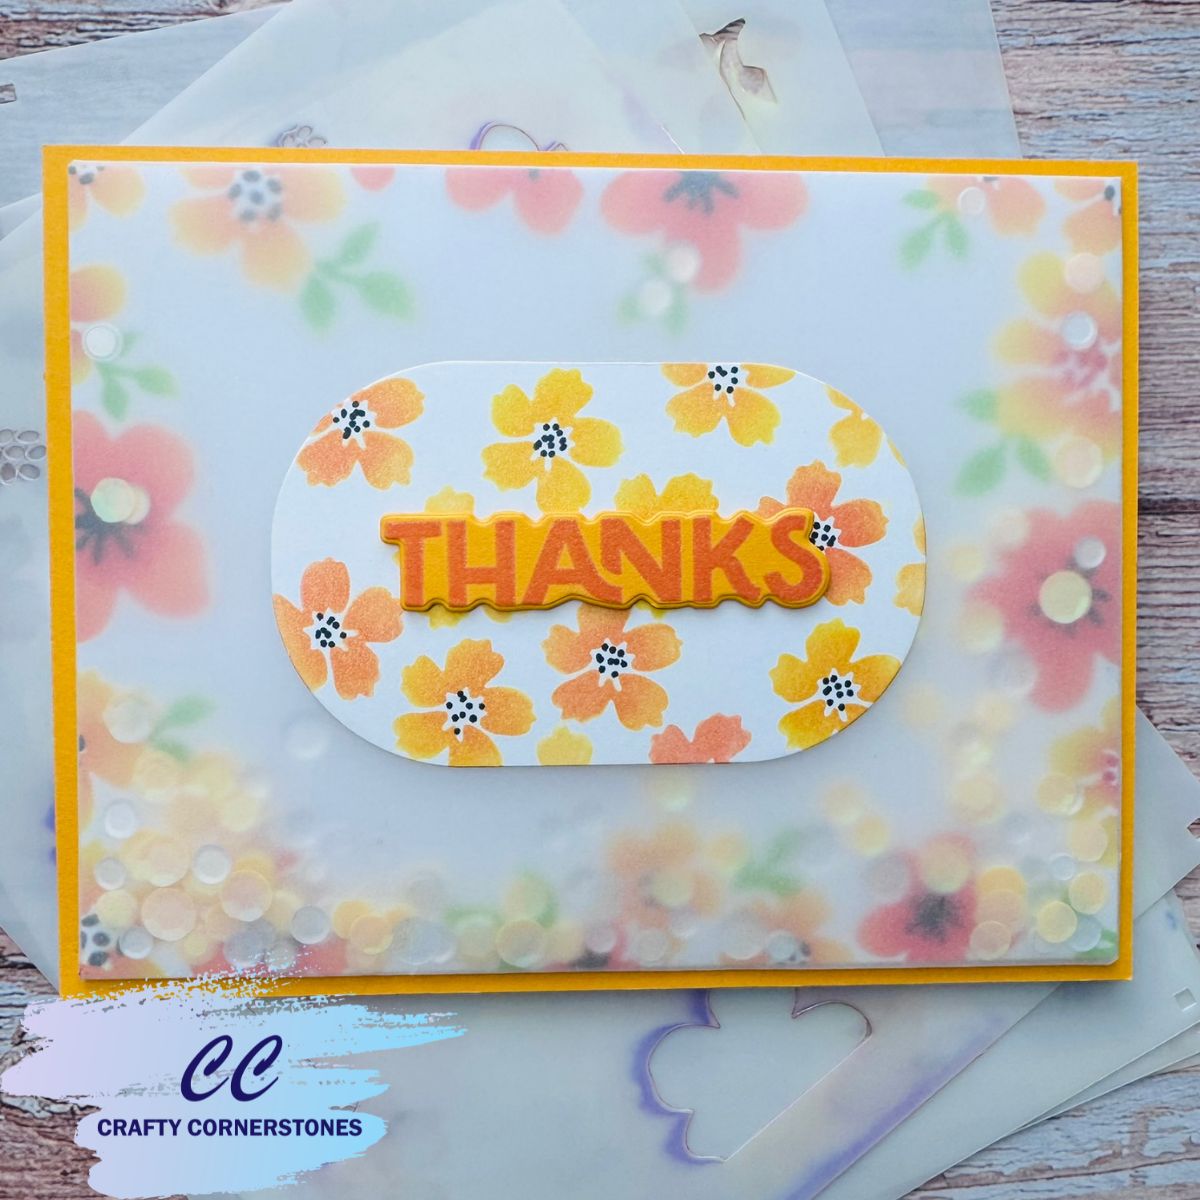
I stenciled the flowers and leaves with Pink and Main Twinkle Inks, blending bold yellows, oranges, and reds. The shimmer from these inks adds just the right sparkle.
After trimming the stenciled panel to 4 × 5.25″, I built a vellum shaker pocket using double‑sided tape and mitered corners for a clean fold. Inside, I added bright shaker bits that pop beautifully through the translucent layer.
For the sentiment, I selectively stenciled small flowers onto white cardstock, added black centers using pigment liner pens, and die‑cut an oval using Spellbinders Essential Ovals. “THANKS” from the Hero Arts Perfect Pairs set was stamped in Orange Crush Twinkle Ink on saffron cardstock for a tone‑on‑tone look. Then die-cut using the coordinating dies.
Layered together, the vellum shaker gives a dreamy softness that makes this card feel extra special.
Card Two: Thinking of You
This design uses the same stencil but shifts the palette to reds and greens — Pale Tomato, Cherry, Pink Grapefruit, and Field Greens from Hero Arts — on Seaside Colorwheel Cardstock.
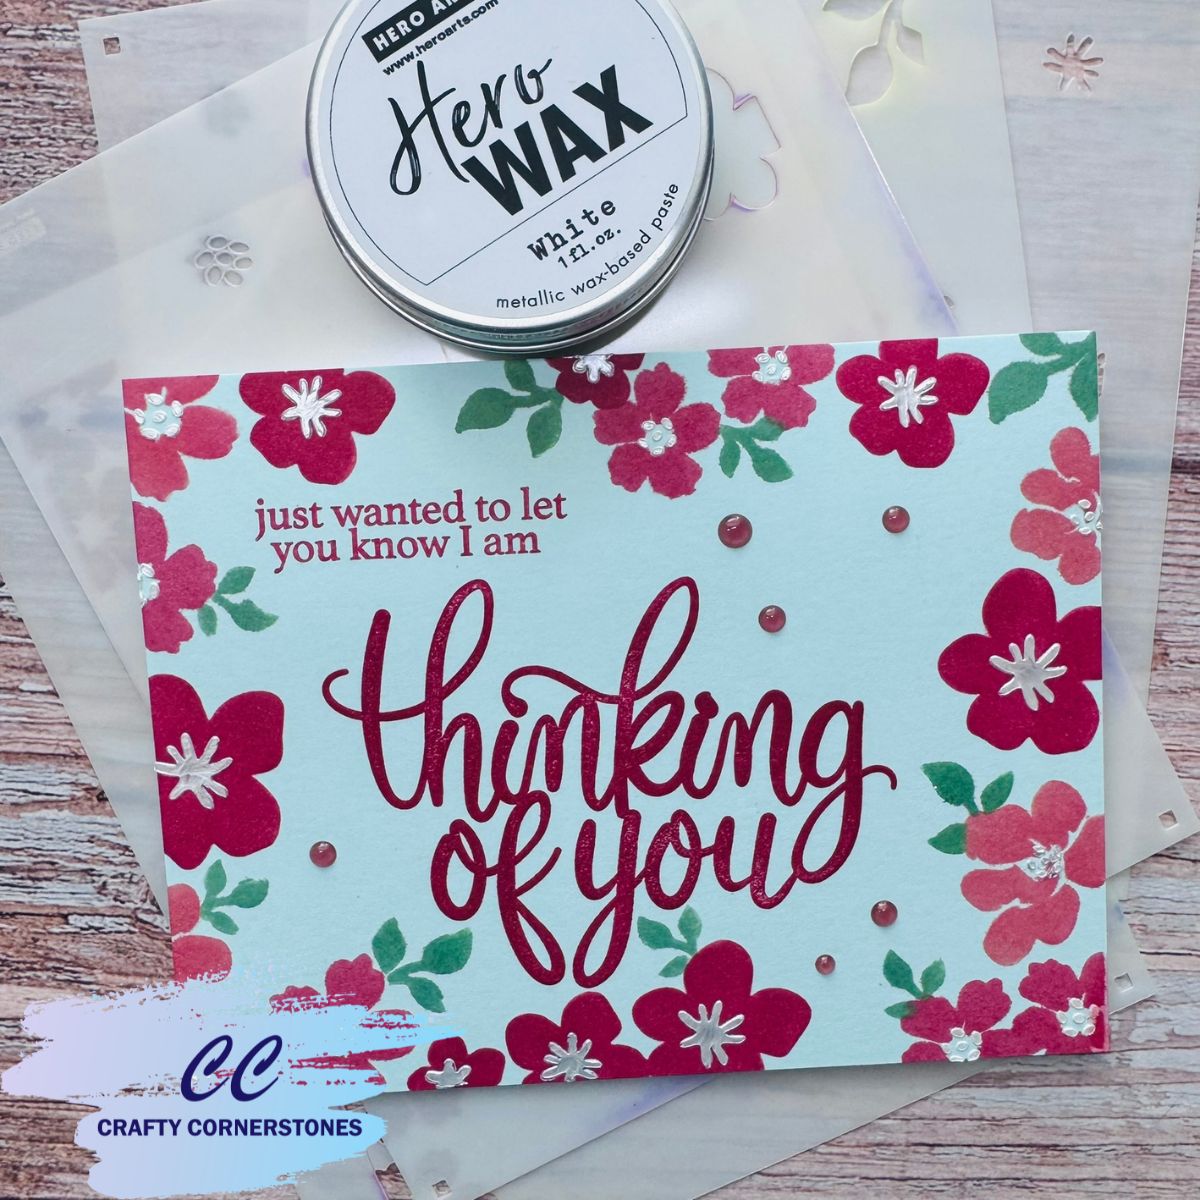
For the floral centers, I applied Hero Wax in White, adding shimmer and dimension. Once dry, I stamped “Thinking of You” from the Hero Arts Stamp and Cut Set (HA 273) in coordinating red ink.
A few Translucent Pink Enamel Dots finished the look. Quick, simple, and stunning — proof that a stencil can shine even in a clean design.
Card Three: Happy BDay
For the third card, I mixed techniques from the first two. Using Gina K Wild Wisteria, Medium Lilac, Light Lilac, and Lime Zest Twinkle Ink, I stenciled the flowers and leaves, then added extra blooms with selective stenciling.
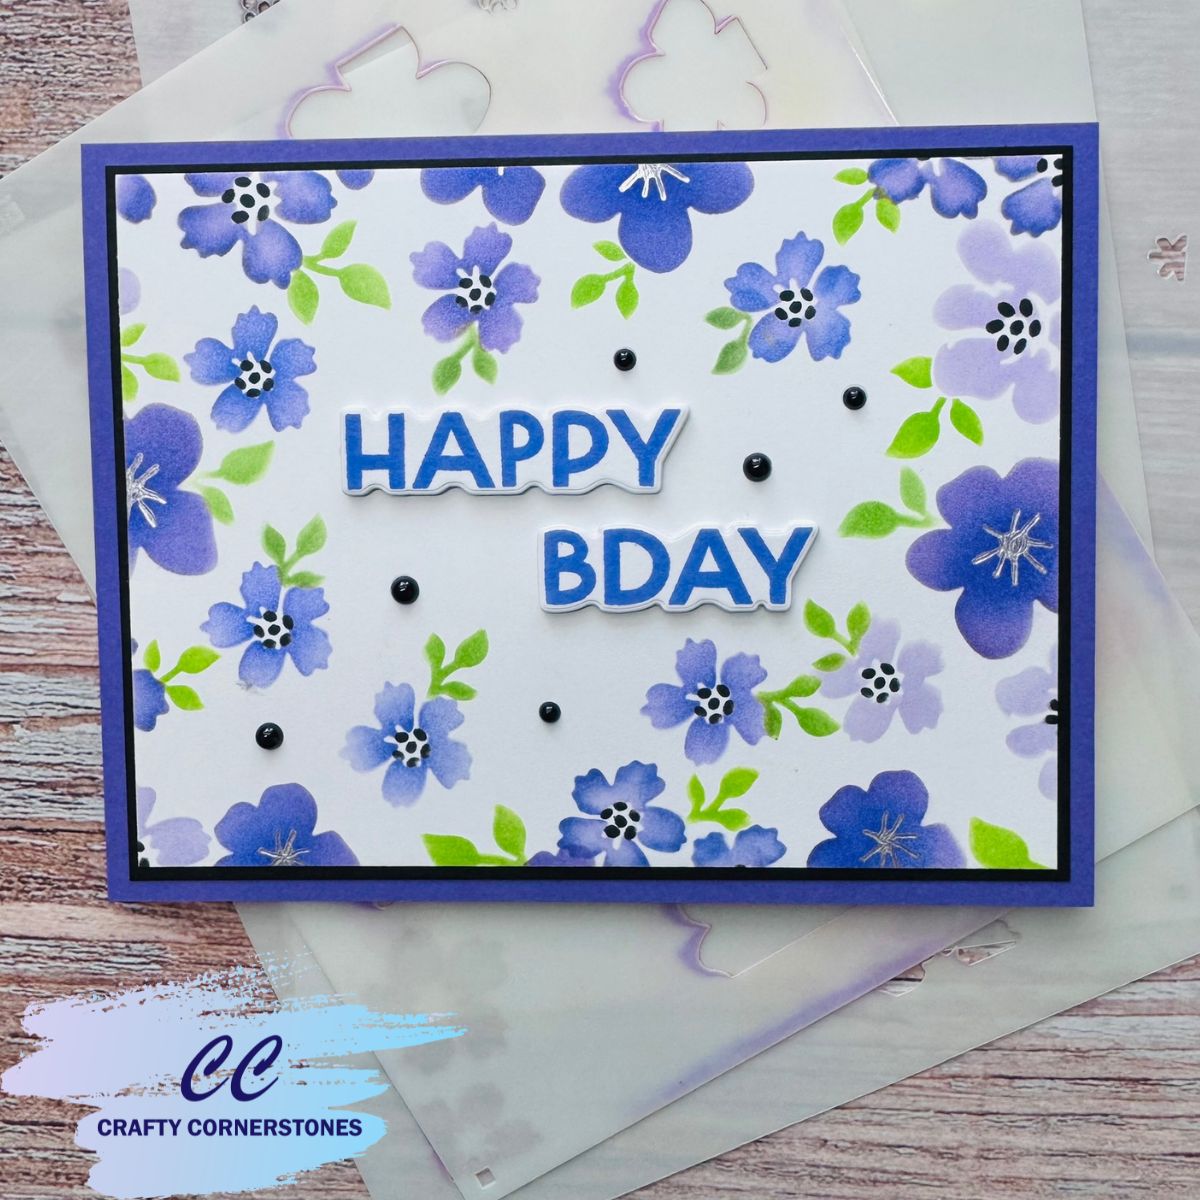
Centers were detailed with black ink for small flowers and a silver gel pen for larger ones. “HAPPY BDAY” from Perfect Pairs was stamped, die‑cut, and stacked with three white layers for dimension.
Layering Lilac, Raven, and Stenciled Panels created depth, and Spellbinders Onyx Essentials Gems added a polished finish.
This card feels cheerful and modern — a perfect birthday greeting.
Bonus Tag: Quick Birthday Gift Tag
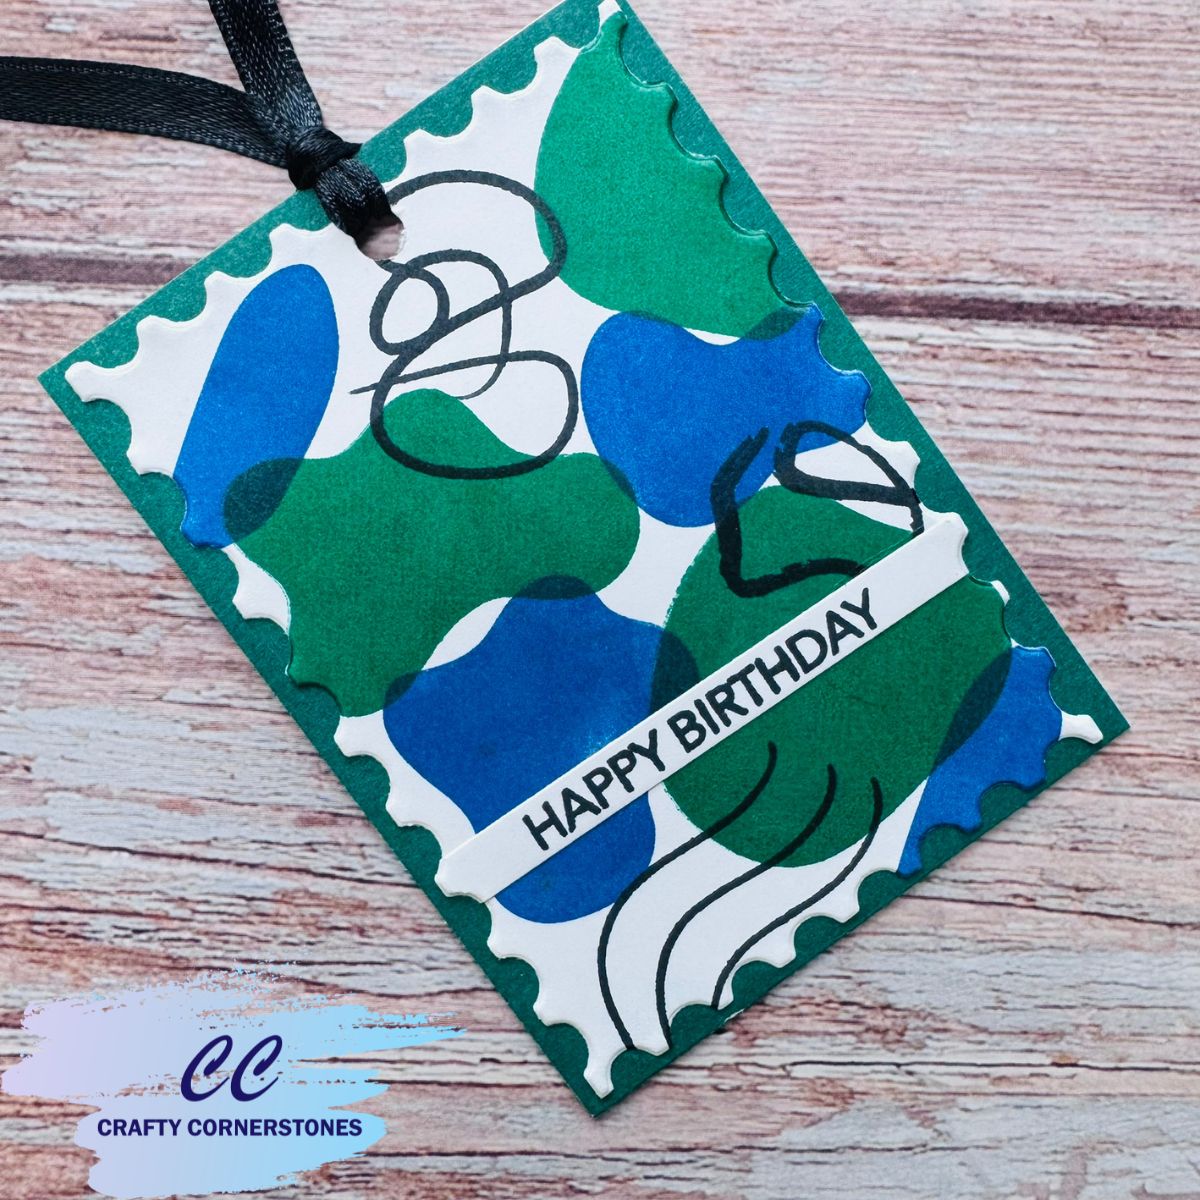
Using the Organic Shapes Clear Stamp Set from the bundle, I stamped abstract shapes in Concord & 9th Blueberry and Clover Inks, then completed it with the line art stamps in black.
“Happy Birthday” was stamped and die‑cut using Perfect Pairs Stamp and Die set, then layered onto the stamped panel. I die‑cut both layers with the Hero Arts Nesting Postage Stamps Set, added a green backer, and finished with a ribbon.
Fast, fun, and perfect for last‑minute gift wrapping!
Let’s Chat!
Which of these stencil techniques would you try first — vellum shaker, waxed centers, or layered blooms? I’d love to hear your favorite in the comments below.
Thank You
Thank you so much for stopping by Crafty Cornerstones! Your support — especially when you use my affiliate links — helps me continue sharing free tutorials and creative inspiration. I truly appreciate every visit and every click. Affiliate links are at not additional cost to you but help me immensely!
Supply List
- Hero Arts Fresh Flowers - Want It All Bundle (WB1203)
- Hero Arts Floral Frame Layering Stencil Set (SA326)
- Hero Arts Perfect Pairs Stamp and Cut Set (DC355)
- Hero Arts Organic Shapes Clear Stamp Set (CM855)
- Hero Arts Thinking of You Stamp and Cut Set (HA 273)
- Hero Arts Nesting Postage Stamps Set (DI345)
- Hero Wax White (NK450)
- Hero Arts Inks – Pale Tomato, Cherry, Pink Grapefruit and Field greens
- Pink and Main Twinkle Inks (Orange Crush, My Sunshine, Rosy Cheeks, Poppy Field, Lime Zest)
- Gina K Designs Inks (Wild Wisteria, Medium Lilac, Light Lilac)
- Spellbinders Essential Ovals Dies (S5-562)
- Spellbinders Onyx Essentials Gems (SCS-196)
- Hero Arts Translucent Pinks Enamel Dots (CH340)
- Concord & 9th Blueberry and Clover Inks
- Colorwheel Cardstock – Seaside, Saffron, Lilac, Raven
- Green Cardstock
- Vellum
- Ribbon
- Pigment Liner Pens
- Double‑Sided Tape
- Bearly Arts Glue
- Shaker Bits – Spellbinders Aura and Yellow
- Stamping Platform
- Scoring board
- Platinum 6 Machine


Leave a comment