Exploring Pink and Main Foilables for Day 18 of the Advent Calendar
Pink and Main Day 18 brought one of my favorite surprises from their Advent Calendar: a set of Foilables Cut Ups. If you have followed my crafting for any length of time, you already know how much I love Pink and Main Foilables and Foilables Cut Ups. They are easy to use, incredibly versatile, and create stunning results with very little effort.
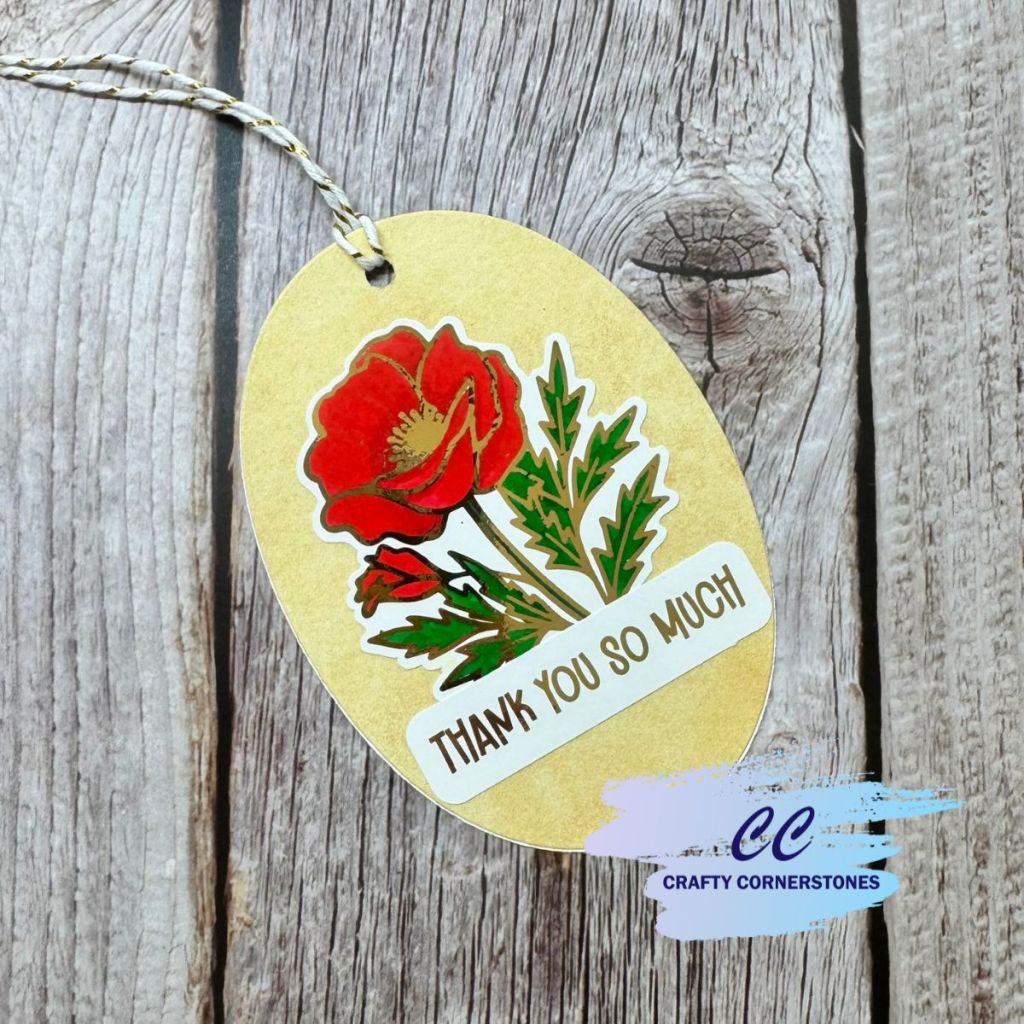
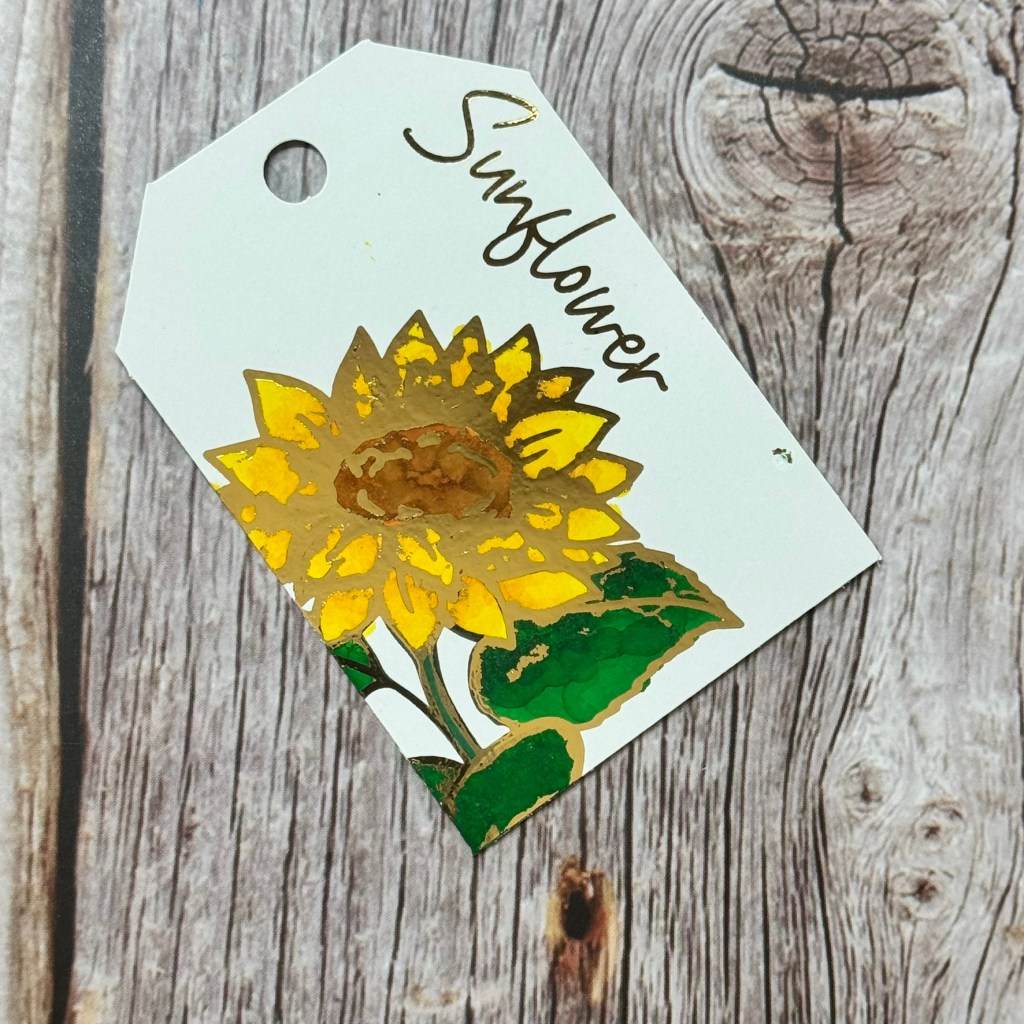
For today’s project, I decided to create a quick and elegant gift tag using one of the floral Foilables Cut Ups along with a sentiment from the same set. While I originally planned to use the sunflower, a small coloring mishap sent me in a slightly different direction—and that turned into a great learning moment that I am excited to share with you.
Coloring Foilables Before Foiling
I began by coloring one of the poppy images before foiling. Foilables have a very glossy surface, which makes blending alcohol markers a little different than working on regular cardstock. The ink tends to sit on the surface longer, so drying time is especially important.
For my coloring, I used:
- Olo R 1.5 and R 0.6 for the poppy petals
- Olo G 1.8 and G 1.7 for the stem and leaves
Once the image was colored, I set it aside to dry completely. While it dried, I turned on my Minc Machine and allowed it to fully heat up. For my machine, I find setting 3 works best when foiling Pink and Main foilables.
Preparing the Foil and Minc Machine
While the Minc was heating, I selected Gold Cheer Foil for this project. To cut the foil to size, I used a handheld rotary trimmer. It looks a bit like a mini pizza cutter, but it gives me much cleaner edges than scissors and is easier to control when cutting delicate foil.
Before assembling everything, I wiped both the foil (dull side) and the foilable image with an anti-static cloth. This step is important because it removes invisible dust particles that can prevent the foil from adhering properly and cause tiny black dots in the finished design.
Foiling the Image and Sentiment
Once the image was completely dry and the Minc was ready, I placed the foil on top of the image with both “pretty sides” facing up. I made sure the foil fully covered all areas printed with toner ink, then placed everything into the carrier sheet.
I ran the project through the Minc fold-side first. After it came out the back, I let it cool briefly before pulling the foil away in one smooth, swift motion. The results were clean, crisp, and beautifully foiled.
Assembling the Gift Tag
To finish the tag, I die-cut two nested ovals—one from white cardstock and one from patterned paper from my stash. I adhered them back to back so the patterned paper became the front of the tag and the white cardstock formed the back.
I attached the foiled image and sentiment to the front, punched a hole at the top, added string, and the gift tag was complete. Simple, quick, and perfect for gifting.
A Coloring Mishap Turned Learning Opportunity
Now let’s go back to the sunflower I mentioned earlier. The issue came from not allowing the alcohol markers to dry fully before foiling. The image was still slightly tacky when I added the foil and ran it through the Minc.
That tackiness acted like adhesive, and because transfer foil sticks to anything sticky, I ended up with some unintentional over-foiling. While the result was still pretty, it was not what I originally intended. However, it led to a deeper understanding of how transfer foils behave.
Understanding Transfer Foils: Heat vs. Adhesive
Toner Ink – Heat Needed
When toner ink is heated, it essentially melts, allowing the foil to adhere.
Things to try:
- Pink and Main Foilables
- Poly Glaze from Gina K
- Color Toner Sheets
- Printing at home using a toner printer and very smooth cardstock
- Glaze gel pens for hand-written sentiments that can be heat foiled
Adhesive – No Heat Needed
Transfer foil also sticks to adhesive without heat. All that is needed is pressure, which can be applied using a Minc on no-heat or a die cutting machine.
If using a die cutting machine, be sure to use clean, unmarked plates. Scratched plates will leave impressions in your foil—although those marks can be used intentionally for a cracked or antique look.
Things to try:
- Adhesive transfers from Pink and Main
- Double sided tape
- Pixie Spray (use sparingly)
- Transfer gels such as Deco Foil Duo, or Fuse Foiling Gel
- Tacky glue applied with a fine-tip bottle or through a stencil (clean stencils immediately)
Final Thoughts
The possibilities with transfer foil are truly endless. Each experiment teaches you something new, and sometimes a mistake opens the door to a technique you may not have discovered otherwise. I encourage you to try different methods, surfaces, and adhesives to see what works best for you.
What foiling technique or product are you most excited to try next, or have you discovered a foiling “happy accident” that turned into a favorite technique? I would love to hear about it in the comments.
Supply List
- Pink and Main Day 18 Foilables Cut Ups (Advent Foilables are Sold Out)
- Alternate Foilables Cut Ups – Precut images
- Alternate Foilables
- Mini Minc Machine
- Gold CheerFoil – Transfer Foil
- Anti-static cloth
- Olo Alcohol markers
- Layered oval dies
- Patterned paper
- White cardstock
- Handheld rotary trimmer
- Die cutting machine
- Carrier sheet
- String or twine
Thank you so much for stopping by Crafty Cornerstones. Be sure to subscribe so you don’t miss future projects. Using my affiliate links is never an extra cost to you and helps me continue sharing crafty inspiration. I’d also love to hear from you—leave a comment below and let me know what you’re creating.
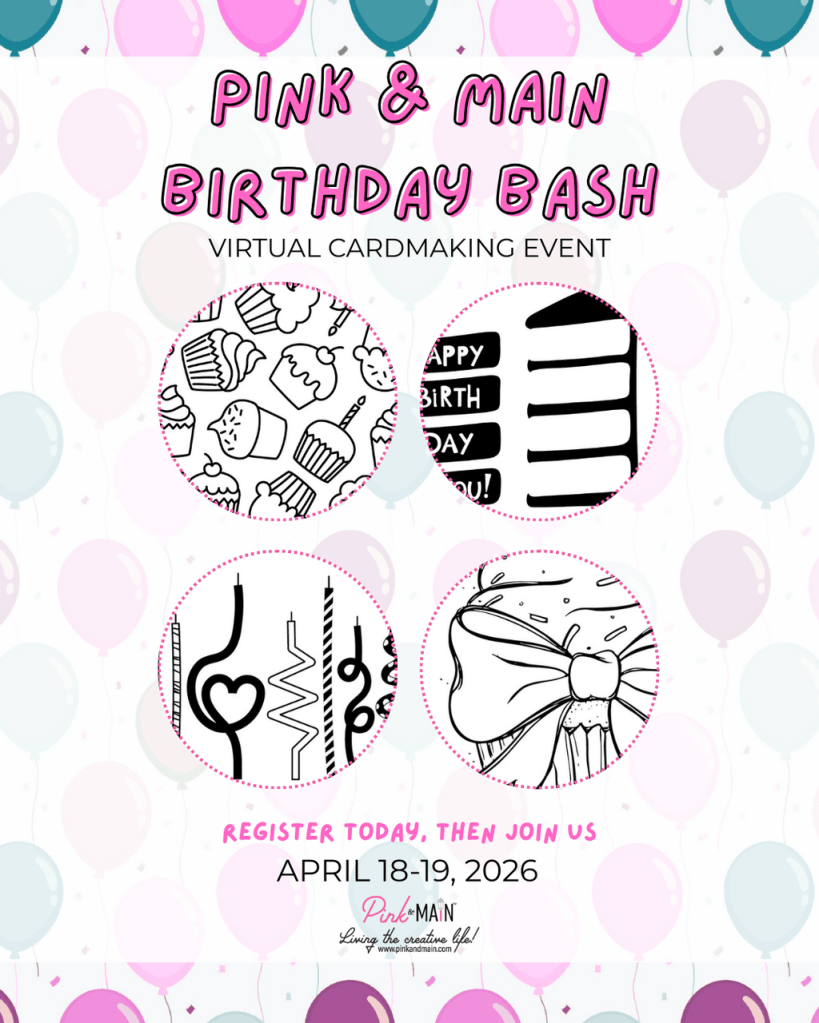
Pink and Main Birthday Bash!
Are you Loving the Pink and Main Projects? Do not miss the upcoming Birthday Bash! It is going to be EPIC! I mean just look at that instructor Line up in the graphic below!
DO NOT WAIT SIGN UP TODAY

EVENT KITS WILL NOT SHIP UNTIL CLOSER TO THE EVENT – PLEASE DO NOT ADD OTHER ITEMS TO YOUR PURCHASE!
REMINDER! If you’re signing up for the Birthday Bash Virtual Event, the kit will not ship for a few months! If you add anything else to your order, it will be delayed until the kits ship!
Missed a 2025 Advent Project? Links Below
Spellbinders 2025 Advent
- Spellbinders Advent Day 1
- Spellbinders Advent Day 2
- Spellbinders Advent Day 3
- Spellbinders Advent Day 4
- Spellbinders Advent Day 5
- Spellbinders Advent Day 6
- Spellbinders Advent Day 7
- Spellbinders Advent Day 8
- Spellbinders Advent Day 9
- Spellbinders Advent Day 10
- Spellbinders Advent Day 11
- Spellbinders Advent Day 12
- Spellbinders Advent Day 13
- Spellbinders Advent Day 14
- Spellbinders Advent Day 15
- Spellbinders Advent Day 16
- Spellbinders Advent Day 17
- Spellbinders Advent Day 18
Pink and Main 2025 Advent
- Pink and Main Day 1
- Pink and Main Day 2
- Pink and Main Day 4
- Pink and Main Day 5
- Pink and Main Day 6
- Pink and Main Day 7
- Pink and Main Day 8
- Pink and Main Day 9
- Pink and Main Day 10
- Pink and Main Day 11
- Pink and Main Day 12
- Pink and Main Day 13
- Pink and Main Day 14
- Pink and Main Day 15
- Pink and Main Day 16
- Pink and Main Day 17


Leave a reply to Just Because – Smiles: A Playful Card Using Spellbinders Day 19 – Crafty Cornerstones Cancel reply