A versatile floral design using the Pink and Main Advent Calendar – Day 17
Today’s Pink and Main Advent Calendar surprise for Day 17 was another beautiful floral stamp, and I could not be happier. I have absolutely loved all of the floral images and sentiments included in this calendar so far. They mix and match effortlessly, making them perfect for nearly any occasion. These are definitely stamps I will be reaching for all year long.
Stamping and Heat Embossing the Floral Image
As with many of my projects, I began by stamping the floral image in black ink. I then stamped over it again using embossing ink and heat embossed the image with clear embossing powder. This extra step adds a subtle shine and helps define the lines beautifully before coloring.
Coloring with OLO Markers
Once the image was heat embossed, it was time to color.
For the flowers, I used five shades of OLO Markers:
- R 0.4
- OR 1.4
- YO 2.3
- YO 2.2
- Y 2.2
For the stem and leaves, I used:
- G 1.7
- G 1.5
- YG 1.4
These colors blended together perfectly and gave the florals a warm, cheerful look.
Die Cutting and Layering the Focal Image
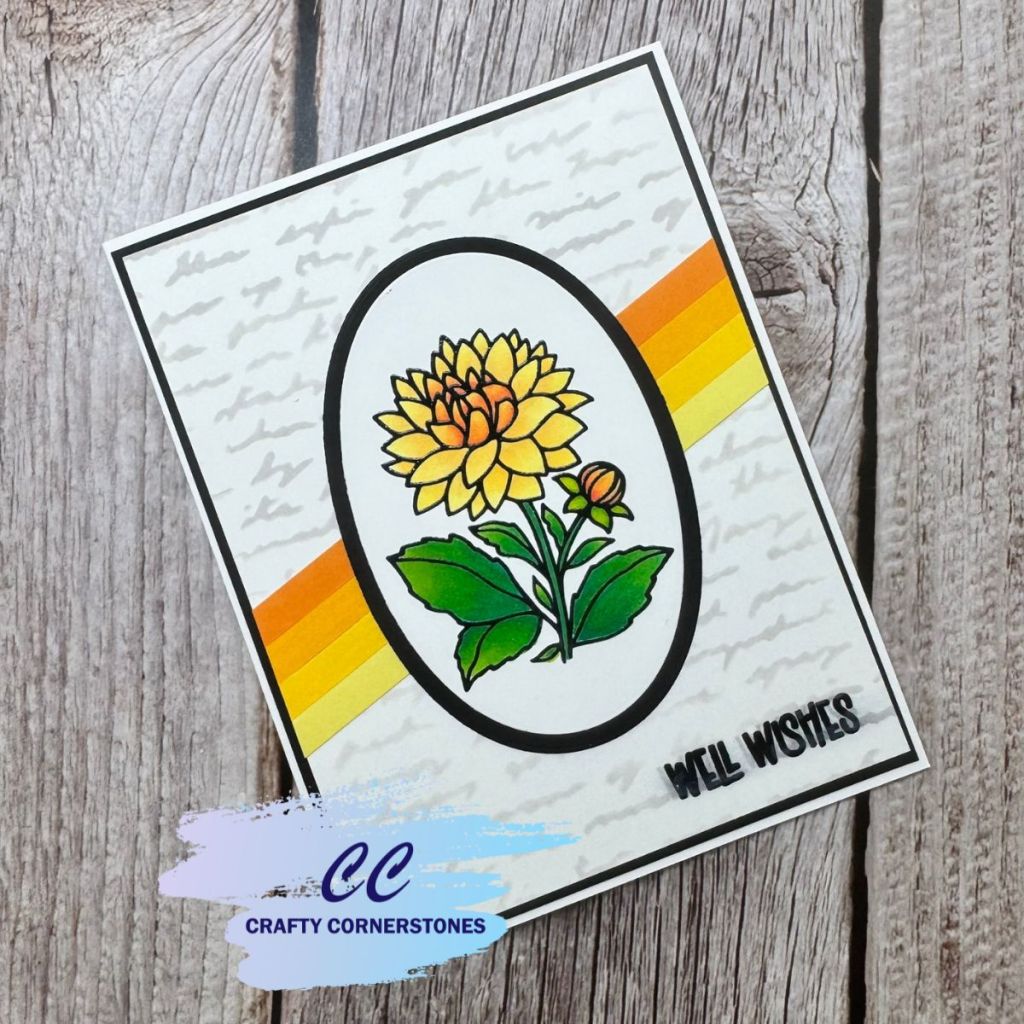
After coloring, I used nested oval dies to cut out the floral image. I then cut a second oval from black cardstock, one size larger, and layered the two together. This simple black mat helps the floral image stand out on the finished card.
Creating the Colorful Background
With the focal image complete, I moved on to the background. I cut four strips of yellow and orange cardstock in varying shades, each 1/4 inch wide and approximately 5.25 inches long. I selected colors that closely matched the tones used in the floral image to keep the design cohesive.
Adding Script Texture
After laying out the strips and floral image, I felt the background needed a little more interest. I used Lost Shadow Distress Oxide ink with the Script A5 stencil from Pronty Crafts to add the illusion of soft script writing across the background. This adds texture without overwhelming the design.
Final Assembly
Once I was happy with the background, I trimmed the panel down to 4 inches by 5.25 inches and cut a black panel 1/8 inch larger on all sides for a layered look.
The colored cardstock strips were adhered at an angle across the script panel, with the excess trimmed away for clean edges.
For the sentiment, I stamped directly onto the script panel using the same embossing method as the floral image. To finish the card, I adhered the layered floral ovals over the angled cardstock strips, attached the black mat behind the panel, and secured everything to an A2 card base.
I absolutely love the “Well Wishes” sentiment—it is so versatile and works for many different occasions.
Let’s Chat
Do you enjoy using floral stamps year-round, or do you tend to save them for certain seasons or occasions?
Supply List
- Pink and Main Day 17 Floral Stamp (Sold Out)
- Pink and Main Sentiment Stamp (Well Wishes)
- Black Cardstock (Asphalt)
- Yellow and Orange Cardstock (various shades)
- White Cardstock (Ice Rink)
- OLO Markers: R 0.4, OR 1.4, YO 2.3, YO 2.2, Y 2.2, G 1.7, G 1.5, YG 1.4
- Black Ink
- Embossing Ink
- Clear Embossing Powder
- Heat Tool
- Nested Oval Dies
- Pronty Crafts Script A5 Stencil
- Lost Shadow Distress Oxide Ink
- Paper Trimmer
- EZ Squeeze Craft Glue
Thank you so much for stopping by Crafty Cornerstones. Be sure to subscribe so you don’t miss future projects. Using my affiliate links is never an extra cost to you and helps me continue sharing crafty inspiration. I’d also love to hear from you—leave a comment below and let me know what you’re creating.
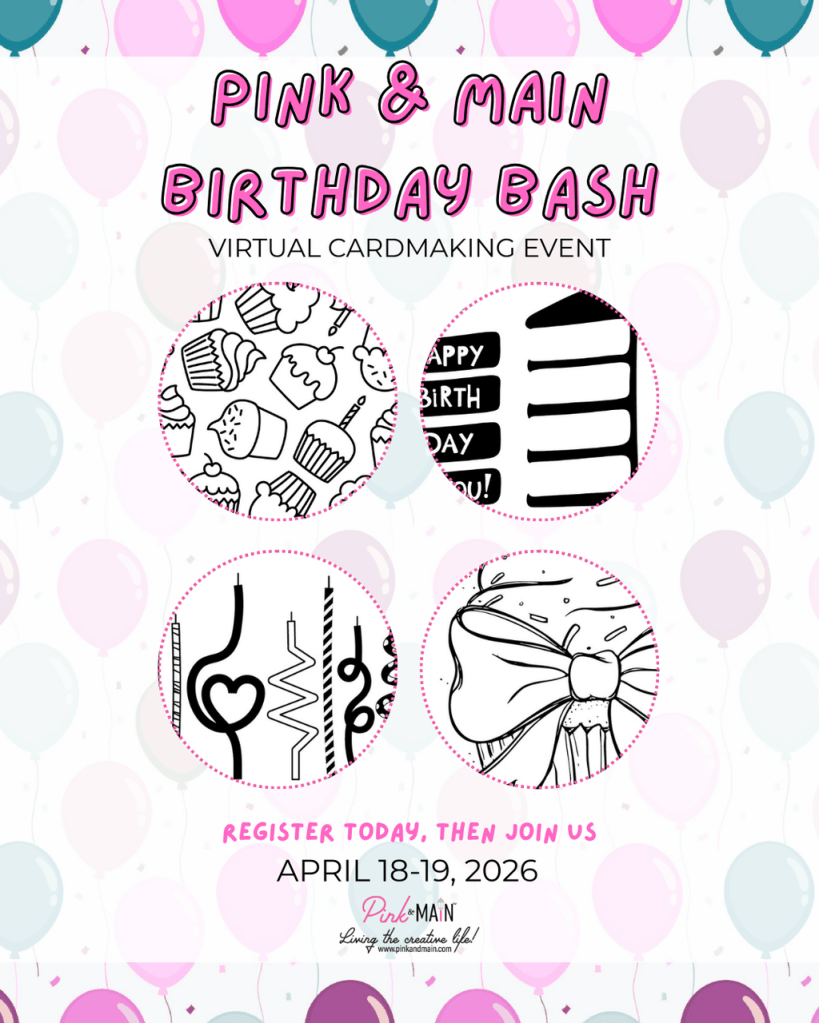
Pink and Main Birthday Bash!
Are you Loving the Pink and Main Projects? Do not miss the upcoming Birthday Bash! It is going to be EPIC! I mean just look at that instructor Line up in the graphic below!
DO NOT WAIT SIGN UP TODAY

EVENT KITS WILL NOT SHIP UNTIL CLOSER TO THE EVENT – PLEASE DO NOT ADD OTHER ITEMS TO YOUR PURCHASE!
REMINDER! If you’re signing up for the Birthday Bash Virtual Event, the kit will not ship for a few months! If you add anything else to your order, it will be delayed until the kits ship!
Missed a 2025 Advent Project? Links Below
Spellbinders 2025 Advent
- Spellbinders Advent Day 1
- Spellbinders Advent Day 2
- Spellbinders Advent Day 3
- Spellbinders Advent Day 4
- Spellbinders Advent Day 5
- Spellbinders Advent Day 6
- Spellbinders Advent Day 7
- Spellbinders Advent Day 8
- Spellbinders Advent Day 9
- Spellbinders Advent Day 10
- Spellbinders Advent Day 11
- Spellbinders Advent Day 12
- Spellbinders Advent Day 13
- Spellbinders Advent Day 14
- Spellbinders Advent Day 15
- Spellbinders Advent Day 16
- Spellbinders Advent Day 17
Pink and Main 2025 Advent
- Pink and Main Day 1
- Pink and Main Day 2
- Pink and Main Day 4
- Pink and Main Day 5
- Pink and Main Day 6
- Pink and Main Day 7
- Pink and Main Day 8
- Pink and Main Day 9
- Pink and Main Day 10
- Pink and Main Day 11
- Pink and Main Day 12
- Pink and Main Day 13
- Pink and Main Day 14
- Pink and Main Day 15
- Pink and Main Day 16


Leave a reply to Quick and Colorful Birthday Card Using the Spellbinders Wavy Corners Die – Crafty Cornerstones Cancel reply