Create a fun and playful interactive birthday card featuring the Suspender Set from the Hero Arts Friends with Flair Collection
A Playful Twist on a Classic Card
For today’s card, I’m featuring another set in the Friends with Flair series—the Suspender Set from Hero Arts. When I first saw this set, it instantly reminded me of the classic TV show Mork and Mindy. I chose not to lean into that theme. Instead, I took this design in a different direction. I created a fun interactive birthday card for a friend.

Building the Base Design
I selected my colors and chose the shirt collar I wanted to use. Then, I die-cut all the pieces and assembled them according to the directions. I left out the bow tie. For a little added fun I made a second set of suspenders for the inside of the card.
I then assembled the shirt, suspenders, collar, and neck and adhered everything to a piece of cardstock trimmed to 4.25” x 5.5”, creating a full A2-sized panel.
Creating the Interactive Bow Tie
For the bow tie, I die-cut it twice and used a shaping tool to give dimension to the top layer.
To make it interactive, I used a Micro Spinner. These look like a tiny top hat. I have a simple trick to remember placement. Always put your spinning element on the “top of the top hat.”
I adhered the base of the spinner to the card panel. Then, I attached the bow tie to the top using liquid adhesive. The liquid glue gives you time to adjust the placement. This ensures the bow tie spins properly and stays centered.
Once I had everything aligned, I placed a small block on top and let it dry completely before moving on. I waited about 30 minutes, although it needed less time.
Adding a Subtle Sentiment
While the bow tie was drying, I worked on the sentiment. I chose “You’re One of a Kind” from the Totally Awesome Stamp Set by Hero Arts.
I didn’t want the sentiment to overpower the suspenders. To achieve this, I heat embossed it on vellum using Sterling embossing powder. Then, I cut it out with a circle die.
To adhere the vellum cleanly, I added small dots of liquid adhesive behind the embossed areas. This ensures they wouldn’t show through.
Finishing the Card
Once everything was ready, and the bow tie was securely in place, I adhered the finished panel to an A2 card base.
This spinning bow tie really brings the card to life. It adds such a fun and playful element. This element is perfect for a birthday celebration.
Let’s Chat
Have you tried adding interactive elements like spinners to your cards? What’s your favorite way to make a card extra special?
Thank You
Thank you so much for stopping by Crafty Cornerstones. Your support truly means so much to me. When you shop using my affiliate links, it helps me continue to create and share inspiration with you. I am so grateful for that support.
Supply List
- Hero Arts Friends with Flair Suspender Set
- Hero Arts Totally Awesome Stamp Set
- Cardstock (various colors)
- Vellum
- Brutus Monroe Sterling Embossing Powder
- Platinum 6 Die Cutting Machine
- Everlasting Circles Die set
- Micro Spinner
- Bearly Arts Liquid Adhesive
- Shaping Tool set
Oh What Fun! Holiday Card Making Event
Spellbinders’ Oh What Fun! Holiday Card Making Event is the perfect way to kick off your festive crafting season. You can join in person in Phoenix. Alternatively, craft from home with the virtual option. You’ll enjoy creative workshops and make‑and‑takes. Discover exclusive new products and a warm community of fellow makers. Top instructors like Kim Kesti, Channin Pelletier, and Nichol Spohr will lead the way. They will guide you through holiday projects. These projects are designed to spark inspiration and joy.
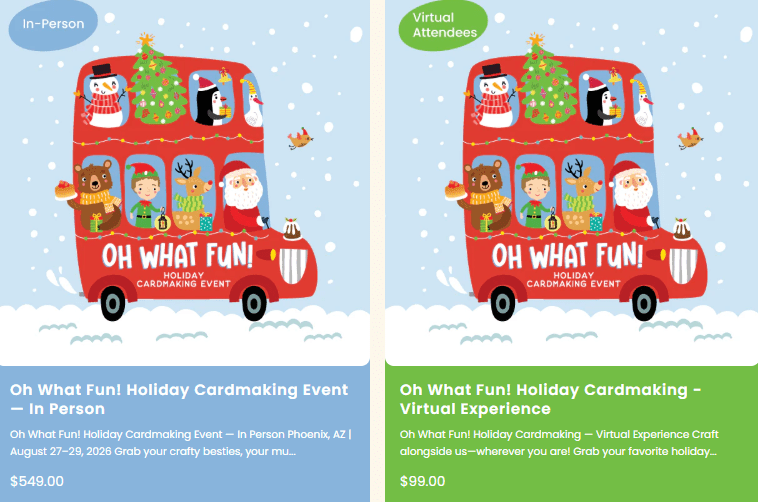
If you love learning new techniques and connecting with crafty friends, this event is truly a treat. You will dive into holiday creativity during the event. Spots are limited—so grab your seat and get ready for a weekend full of fun and festive crafting.


Leave a comment