Pink and Main Advent Day 15 – Pastel Sequins Shaker Card Inspiration
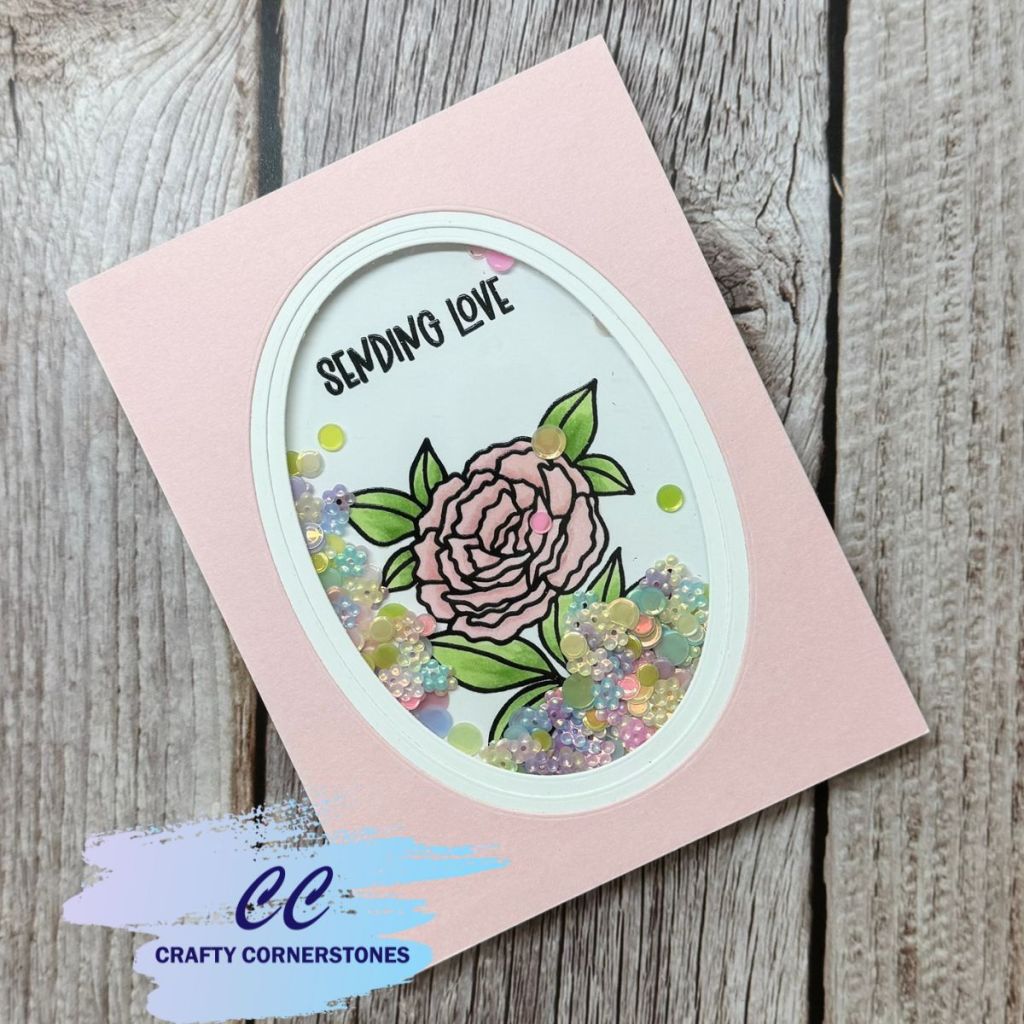
Day 15 of the Pink and Main Advent Calendar brought a fun and sparkly surprise with two beautiful sequin mixes. One mix featured soft pastel tones while the other leaned warmer in color. I chose the pastel sequins to create a light, cheerful shaker card that highlights both color and dimension.
Day 15 Advent Surprise: Sequins
Inside the Day 15 envelope were two coordinating sequin mixes. The pastel mix immediately caught my eye and felt like the perfect choice for a delicate shaker card design. The soft colors pair beautifully with floral imagery and add movement without overwhelming the card.
Stamping and Coloring the Focal Image
For the main focal point, I used the Pink and Main Day 12 rose stamp and sentiment. Both were stamped onto white cardstock using black ink, followed by clear embossing ink. I then heat embossed everything with clear embossing powder to add subtle shine and definition.
The image was colored using Olo markers.
- Petals: R 5.1 and R 5.3
- Leaves: G 5.1 and G 5.3
This color combination worked perfectly with the pastel shaker sequins and kept the overall look soft and cohesive.
Creating the Oval Shaker Frame
To frame the sentiment and create the shaker window, I used three nested oval dies, each slightly larger than the next.
- The top layer was light pink cardstock cut to 4.25 x 5.5 inches.
- The largest oval was die cut directly from the center.
- Two additional layers were cut from white cardstock, each with a centered oval opening.
I stacked the layers, so the largest oval opening was on top and the smallest on the bottom. After carefully aligning them, I adhered the layers together and trimmed any excess cardstock, so all edges lined up perfectly. This created a clean, dimensional frame around the shaker window.
TIP: Since this card includes multiple layers, I used a lighter-weight cardstock for the two white oval layers and the image panel. This helps keep the card from becoming too bulky while still maintaining dimension.
Lining Up the Image
Before assembling the shaker, I made sure the stamped image would align perfectly behind the oval window.
Using the acetate window as a guide, I positioned the image and secured it with removable tape on three sides. I trimmed the exposed edge, then rotated the tape placement and repeated the process. This step ensured precise alignment later when sealing the shaker.
Building the Shaker
Next, I adhered acetate to the back of the oval frame, making it a fourth layer. I used a combination of liquid adhesive and double-sided tape. The tape provides instant hold while the liquid adhesive adds long-term stability.
To create the shaker walls, I added foam tape to the back, making sure:
- The foam tape did not extend into the visible oval opening
- There were no gaps where sequins could escape
Adding the Sequins and Sealing the Shaker
With the foam tape in place, I positioned the oval frame foam-side up in the corner of my scoreboard. This made it easy to contain the sequins while filling the shaker.
Once the pastel sequins were added, I sealed the shaker by adhering the prepared image panel to the back. Because the image was already trimmed and aligned earlier, this step was quick and stress-free.
An alternate method is to center the image ahead of time, create a removable tape hinge, add the sequins, and then flip the image into place to seal everything.
Final Assembly and Finishing Touches
The last step was adhering the completed shaker panel to a card base. With that, the card was finished.
I hope you enjoyed today’s project. Do you love making shaker cards? Tell me below.
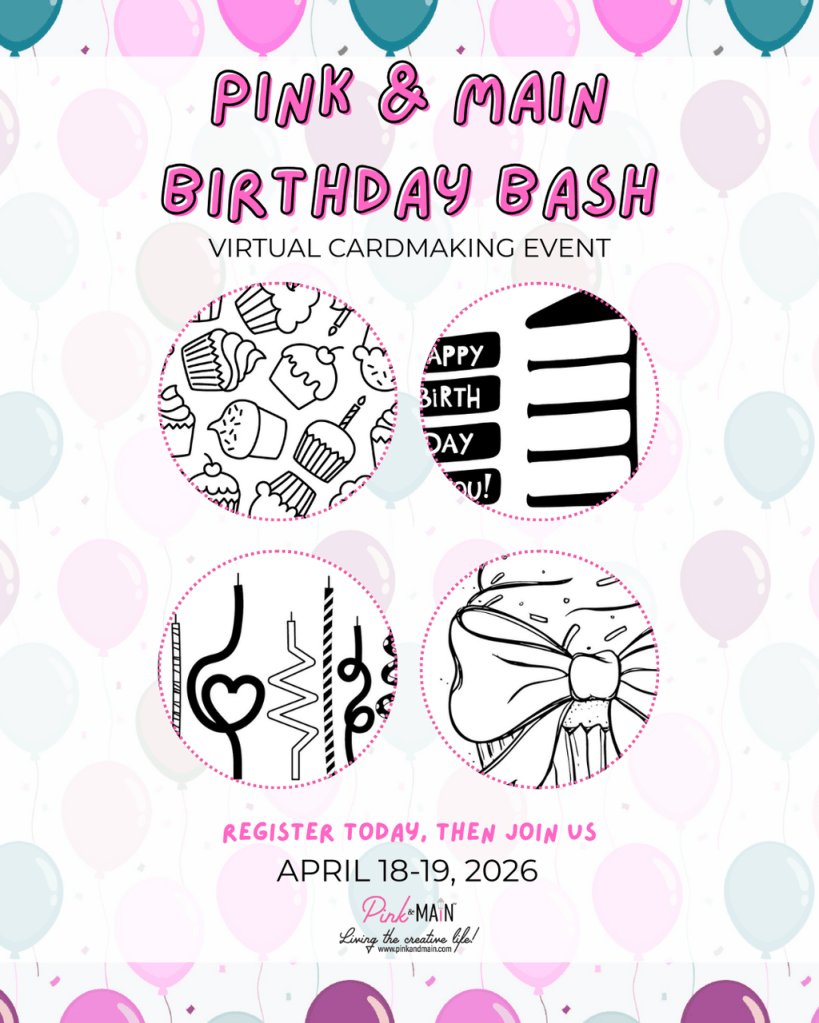
Pink and Main Birthday Bash!
https://tidd.ly/457LT31Are you Loving the Pink and Main Projects? Do not miss the upcoming Birthday Bash! It is going to be EPIC! I mean just look at that instructor Line up in the graphic below!
DO NOT WAIT SIGN UP TODAY

EVENT KITS WILL NOT SHIP UNTIL CLOSER TO THE EVENT – PLEASE DO NOT ADD OTHER ITEMS TO YOUR PURCHASE!
REMINDER! If you’re signing up for the Birthday Bash Virtual Event, the kit will not ship for a few months! If you add anything else to your order, it will be delayed until the kits ship!
Supply List
- Pink and Main Day 15 Sequins (Pastel Mix) (Sold Out)
- Alternate – Shop all Pink and Main Embellishments here
- Pink and Main Day 12 Rose Stamp Set (Sold Out)
- Black Ink
- Clear Embossing Ink
- Clear Embossing Powder
- Heat Tool
- White Cardstock (lightweight for layering)
- Light Pink Cardstock
- Oval Nesting Dies
- Acetate
- Foam Tape
- Liquid Adhesive
- Double-Sided Tape
- Olo Markers: R 5.1, R 5.3, G 5.1, G 5.3
- Paper Trimmer
- Scoreboard
- Removable Tape
Missed a 2025 Advent Project? Links Below
Spellbinders 2025 Advent
- Spellbinders Advent Day 1
- Spellbinders Advent Day 2
- Spellbinders Advent Day 3
- Spellbinders Advent Day 4
- Spellbinders Advent Day 5
- Spellbinders Advent Day 6
- Spellbinders Advent Day 7
- Spellbinders Advent Day 8
- Spellbinders Advent Day 9
- Spellbinders Advent Day 10
- Spellbinders Advent Day 11
- Spellbinders Advent Day 12
- Spellbinders Advent Day 13
- Spellbinders Advent Day 14
- Spellbinders Advent Day 15
Pink and Main 2025 Advent
- Pink and Main Day 1
- Pink and Main Day 2
- Pink and Main Day 4
- Pink and Main Day 5
- Pink and Main Day 6
- Pink and Main Day 7
- Pink and Main Day 8
- Pink and Main Day 9
- Pink and Main Day 10
- Pink and Main Day 11
- Pink and Main Day 12
- Pink and Main Day 13
- Pink and Main Day 14
Thank you so much for stopping by Crafty Cornerstones. Be sure to subscribe so you don’t miss future projects. Using my affiliate links is never an extra cost to you and helps me continue sharing crafty inspiration. I’d also love to hear from you—leave a comment below and let me know what you’re creating.


Leave a comment