A creative Spellbinders Day 15 project featuring a unique alcohol‑ink‑on‑acetate water effect
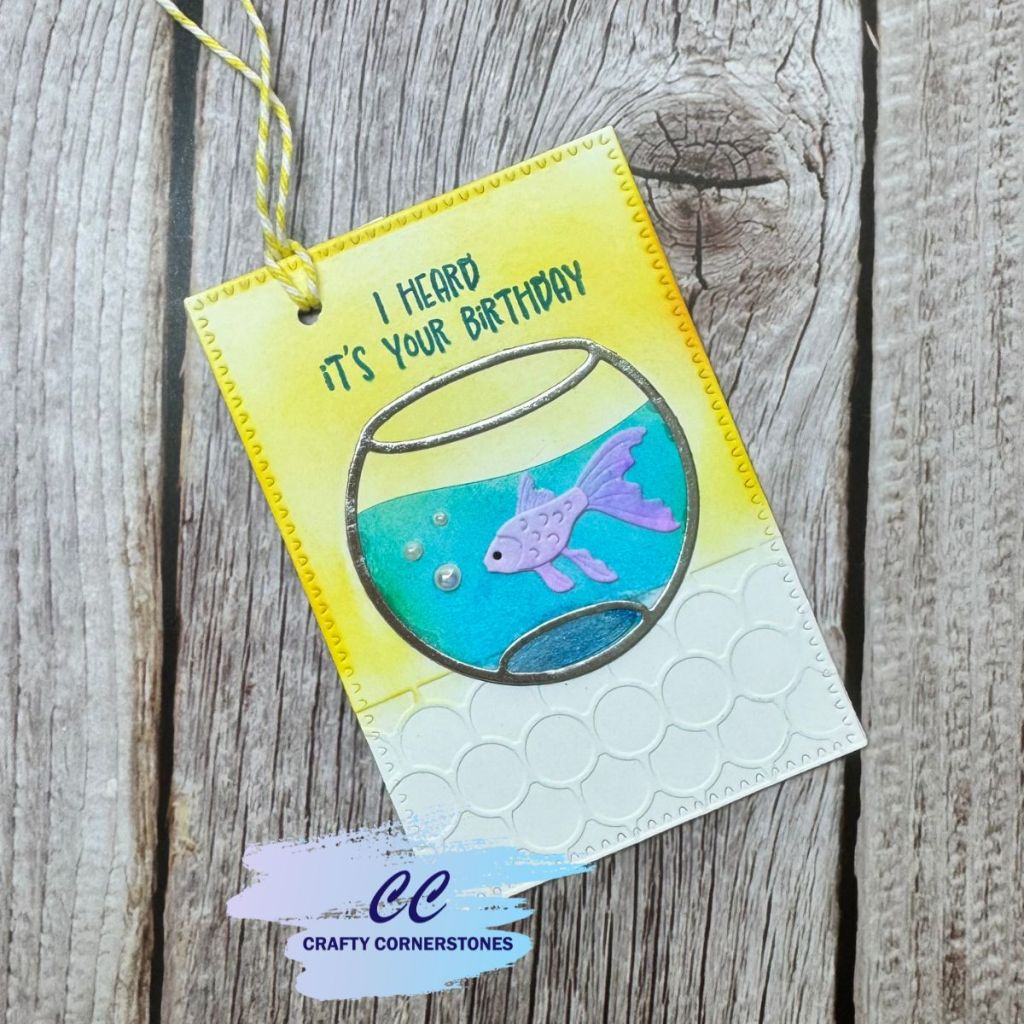
Spellbinders Day 15: Creating a Birthday Gift Tag with a Fishbowl Twist
Day 15 of the Spellbinders Advent surprises brought a delightful fish and fishbowl die set, and it turned into one of the most enjoyable projects of the month. This tag combines die cutting, embossing, alcohol ink, and a clever removable mini‑tag for gifting versatility. If you enjoy techniques that add dimension and realism, this one is especially fun.
Creating the Alcohol Ink Acetate Water Effect
I rarely pull out my alcohol inks for acetate, but this technique is always worth the extra step. To create the look of real water inside the fishbowl, I applied Pinata Baja Blue Alcohol Ink to the back of a piece of acetate.
A non‑porous lunch tray from the dollar store worked perfectly as a mixing surface. I added a couple of drops of ink, tapped a dome blending tool into it, and pounced the color onto the acetate until I reached the shade I wanted. If the color wasn’t quite right, a quick wipe with rubbing alcohol reset the surface. Once I was happy with the look, I set the acetate aside to dry completely.
Cutting the Tag and Die‑Cut Elements
While the acetate dried, I prepared the rest of the pieces:
- The fishbowl was cut from silver foil cardstock.
- The fish was cut from a piece of purple watercolor scrap paper.
- The main tag was cut twice from white cardstock using the Perfect Touch Rectangle Dies and Tag Set.
- A smaller tag was cut to hang behind the main tag for writing the To/From message. This allows the recipient to remove the small tag and reuse the main tag for another gift.
Adding Texture and Color to the Tag Base
One of the large tags was set aside for the back layer. On the second tag, I used the Spellbinders Day 6 embossing folder to emboss the bottom portion, creating a textured “table” for the fishbowl to sit on.
Using removable tape, I masked off the embossed area and ink‑blended the top portion with leftover yellow ink from my blending brush. This soft wash of color helped the fishbowl stand out beautifully.
Assembling the Fishbowl
Once the acetate was fully dry, I die‑cut it using the fishbowl water die and adhered it behind the silver foil bowl, making sure the inked side faced inward to keep the color sealed.
The fish was assembled and added to the front of the bowl. The water die includes small openings meant to mimic bubbles, so I covered those with flatback pearls to enhance the bubbly effect.
Final Assembly and Tag Construction
Before attaching the fishbowl, I positioned it on the tag to determine placement for the sentiment. Once aligned, I stamped the sentiment at the top using Deep Ocean Ink from Hero Arts.
The fishbowl was adhered using liquid glue along the edges and behind the fish, avoiding the acetate. A glass block helped keep everything flat while drying.
Afterward, I adhered the second large tag to the back for a clean finish. Holding the large tags and the smaller tag together, I punched a hole through all three layers and tied them with string. The smaller tag is not adhered, allowing it to be removed after gifting.
This little fishbowl project was such a joy to create, and I hope it inspires you to explore your Spellbinders Day 15 dies in a new way. I would love to hear how you used your fish and fishbowl set.
Supply List
- Spellbinders Day 15 Fish and Fishbowl Die Set (SOLD OUT)
- Alternate – Pink and Main Fish Bowl
- Spellbinders Day 6 Embossing Folder
- Alternate – Scallops Embossing Folder
- Perfect Touch Rectangle Dies and Tag Set
- Pinata Baja Blue Alcohol Ink
- Acetate sheet
- Silver foil cardstock
- Watercolored scrap paper (for fish)
- White cardstock
- Dome ink blending tool
- Rubbing alcohol
- Flatback pearls
- Deep Ocean Ink (Hero Arts)
- Liquid adhesive
- Hole punch
- Tag string
Missed a 2025 Advent Project? Links Below
Spellbinders 2025 Advent
- Spellbinders Advent Day 1
- Spellbinders Advent Day 2
- Spellbinders Advent Day 3
- Spellbinders Advent Day 4
- Spellbinders Advent Day 5
- Spellbinders Advent Day 6
- Spellbinders Advent Day 7
- Spellbinders Advent Day 8
- Spellbinders Advent Day 9
- Spellbinders Advent Day 10
- Spellbinders Advent Day 11
- Spellbinders Advent Day 12
- Spellbinders Advent Day 13
- Spellbinders Advent Day 14
Pink and Main 2025 Advent
- Pink and Main Day 1
- Pink and Main Day 2
- Pink and Main Day 4
- Pink and Main Day 5
- Pink and Main Day 6
- Pink and Main Day 7
- Pink and Main Day 8
- Pink and Main Day 9
- Pink and Main Day 10
- Pink and Main Day 11
- Pink and Main Day 12
- Pink and Main Day 13
- Pink and Main Day 14
Thank you so much for stopping by Crafty Cornerstones. Be sure to subscribe so you don’t miss future projects. Using my affiliate links is never an extra cost to you and helps me continue sharing crafty inspiration. I’d also love to hear from you—leave a comment below and let me know what you’re creating.
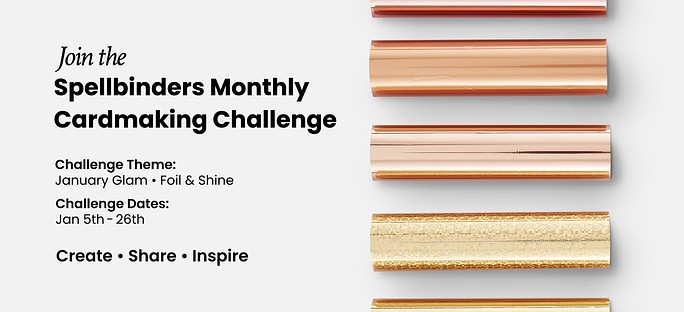
Before you go…. Did you hear Spellbinders is having their first ever Monthly Challenge?
Details are on the Spellbinder blog or click the image below.


Leave a comment