Advent Crafting Inspiration You Can Still Enjoy
By now, you’ve probably realized I am a bit behind on my Advent calendar projects and posts. But I figured if I was behind, others might be as well—and inspiration is always welcome, no matter the timing. I hope you enjoy this continued Advent inspiration as I work to finish everything over the next couple of weeks.
Today we’re diving into Day 11 of the Pink and Main Advent Calendar, and the gift was one I know I’ll be reaching for again and again.
Pink and Main Day 11: Patterned Paper Perfection
Day 11 brought a set of fun patterned papers featuring simple polka dot designs. These papers are incredibly versatile and provide a great palette for almost any card design. Clean, classic patterns like this make it easy to add interest without overwhelming the focal point.
I decided to use today’s patterned paper as the foundation of my card.
Creating the Card Base
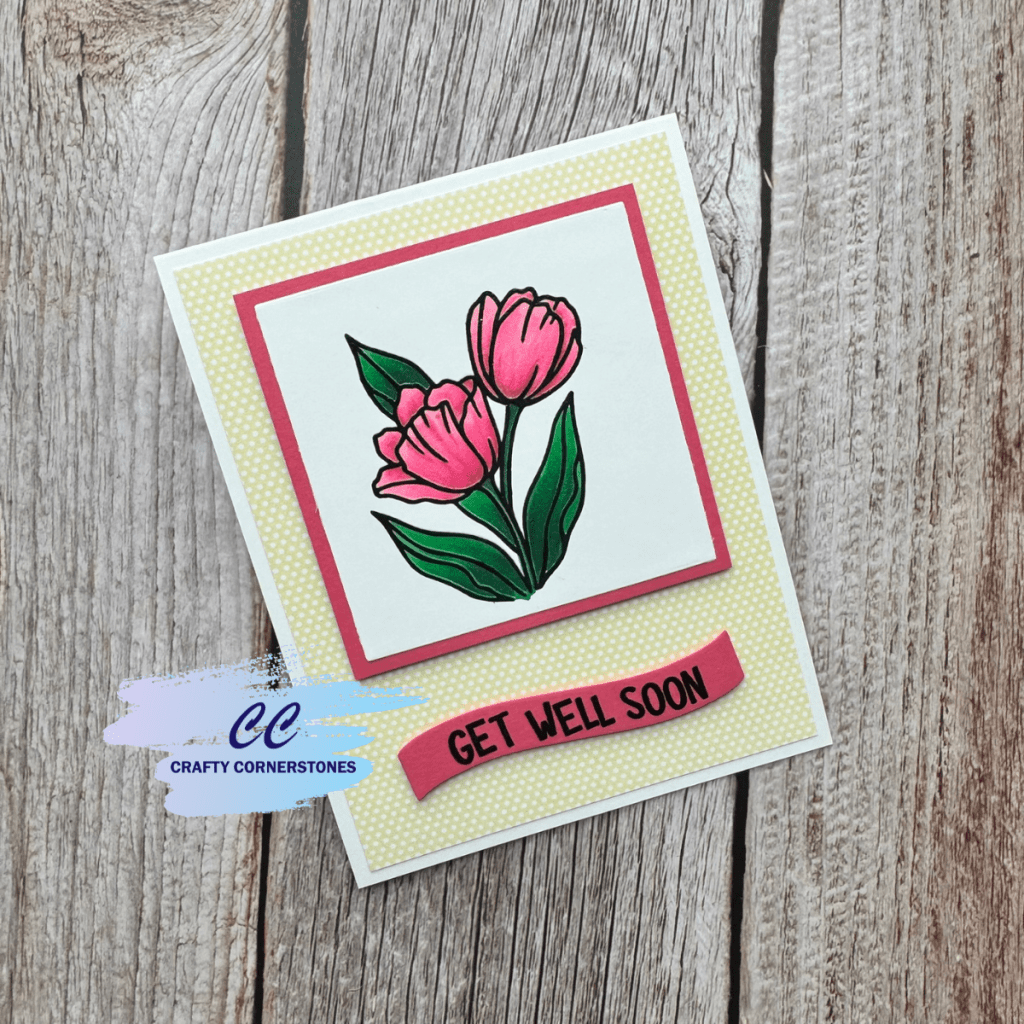
To start, I selected the Yellow Polka Dot paper and trimmed it down to 4 inches by 5.25 inches and adhered it directly to an A2 card base. Letting the patterned paper serve as the base helps the design feel cohesive and keeps the overall look clean and simple.
Choosing the Floral Focal Point
With the base complete, it was time to decide on the design. I reached back to an earlier Advent gift and chose the tulip image as my focal point.
For the color palette, I went with pink tulips and the yellow polka dots paper. These colors complement each other beautifully, and pink tulips always remind me of bright, hopeful days. When I’m not feeling well, cheerful colors can truly lift my spirits, which made this a perfect choice for a get well card.
Stamping, Heat Embossing, and Coloring
I stamped the tulip image in black ink and heat embossed it with clear embossing powder on white cardstock—one of my go-to techniques for crisp outlines and easy coloring.
For coloring, I used OLO markers:
- Petals: RV 0.6, RV 0.4, RV 0.2
- Stems and Leaves: G 1.8, G 1.7, G 1.5
These soft blends really helped bring the flowers to life without overpowering the patterned paper.
Building the Layered Square Design
Once the image was colored, I decided on a square framed layout. Using the 3-inch square die from an earlier Advent day, I cut the floral image.
For an extra layer, I trimmed a piece of pink cardstock—chosen to match the tulip tones—to 3.25 inches by 3.25 inches and adhered the floral square on top. This subtle mat adds depth while keeping the design balanced.
Adding the Sentiment
Using the same pink cardstock, I stamped the “Get Well Soon” sentiment from the Speedy Recovery stamp set in black ink and heat embossed it with clear embossing powder.
I then used the banner flag die from the Flower Cart die set to cut out the sentiment, giving it a clean, finished look that fits perfectly with the card’s simple style.
Final Assembly and Dimension
For the final assembly, I added 2mm foam tape to the back of both the floral square and the sentiment for dimension.
- The floral piece was centered toward the top of the card
- The sentiment was centered along the bottom
With everything adhered, the card was complete.
Why Simple Patterned Paper Works
I just love a good simple patterned paper that can elevate a design without taking attention away from the focal image. Polka dots, stripes, and subtle textures are some of my favorites because they work for so many occasions.
Tell me—do you like to use patterned paper in your cardmaking?
Are you enjoying the Pink and Main Advent Calendar as much as I am? Have you thought about signing up for the upcoming Pink and Main Birthday Bash? It is going to be EPIC! I mean just look at that instructor line up in the graphic below!
DO NOT WAIT SIGN UP TODAY

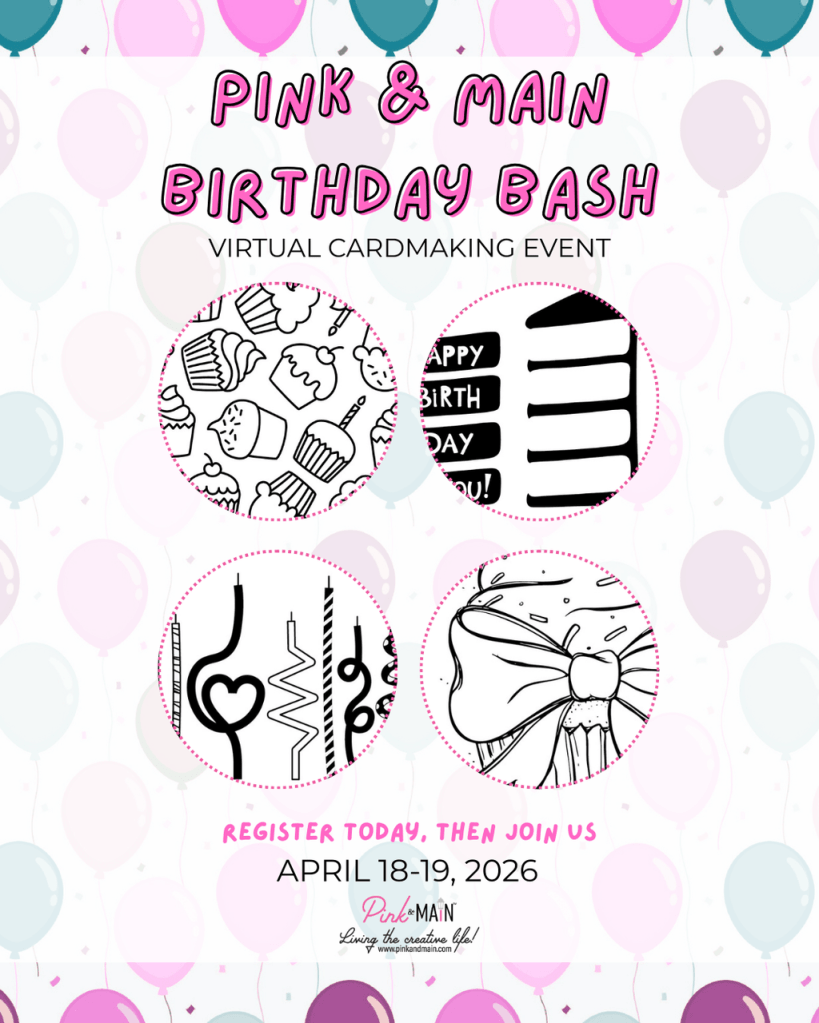
EVENT KITS WILL NOT SHIP UNTIL CLOSER TO THE EVENT – PLEASE DO NOT ADD OTHER ITEMS TO YOUR PURCHASE!
REMINDER! If you’re signing up for the Birthday Bash Virtual Event, the kit will not ship for a few months! If you add anything else to your order, it will be delayed until the kits ship!
Missed a 2025 Advent Project? Links Below
Spellbinders 2025 Advent
- Spellbinders Advent Day 1
- Spellbinders Advent Day 2
- Spellbinders Advent Day 3
- Spellbinders Advent Day 4
- Spellbinders Advent Day 5
- Spellbinders Advent Day 6
- Spellbinders Advent Day 7
- Spellbinders Advent Day 8
- Spellbinders Advent Day 9
- Spellbinders Advent Day 10
- Spellbinders Advent Day 11
Pink and Main 2025 Advent
- Pink and Main Day 1
- Pink and Main Day 2
- Pink and Main Day 4
- Pink and Main Day 5
- Pink and Main Day 6
- Pink and Main Day 7
- Pink and Main Day 8
- Pink and Main Day 9
- Pink and Main Day 10
Thank you so much for stopping by Crafty Cornerstones. Be sure to subscribe so you don’t miss future projects. Using my affiliate links is never an extra cost to you and helps me continue sharing crafty inspiration. I’d also love to hear from you—leave a comment below and let me know what you’re creating.
Supply List
- Pink and Main Day 11 Patterned Paper – Polka Dots (SOLD OUT)
- Alternate – Small Dots Foilables– Make your own!
- Alternate – Gradients and Dots 6 x 6 Paper Pack
- Alternate – Year Rounds Dots & Strips 6 x 6 Paper Pack
- Pink and Main Tulip Stamp (Day 4 Advent gift)
- Pink and Main Speedy Recovery Stamp Set
- Alternate – Floral Banner Sentiments
- Alternate – Fun Sentiment Banners Set 1
- Pink and Main Flower Cart Die Set (Banner Flag)
- 3” Square Die (Advent 2025)
- Alternate – Layered Squares Dies
- Alternate – Stitched Square Dies
- Alternate – Scallop Squares Dies
- White Cardstock
- Pink Cardstock
- Black Ink
- Detail Clear Embossing Powder
- Black Ink
- Embossing Ink
- Heat Tool
- OLO Markers: RV 0.6, RV 0.4, RV 0.2, G 1.8, G 1.7, G 1.5
- Foam Tape (2mm)
- Trimmer
- Adhesive


Leave a comment